
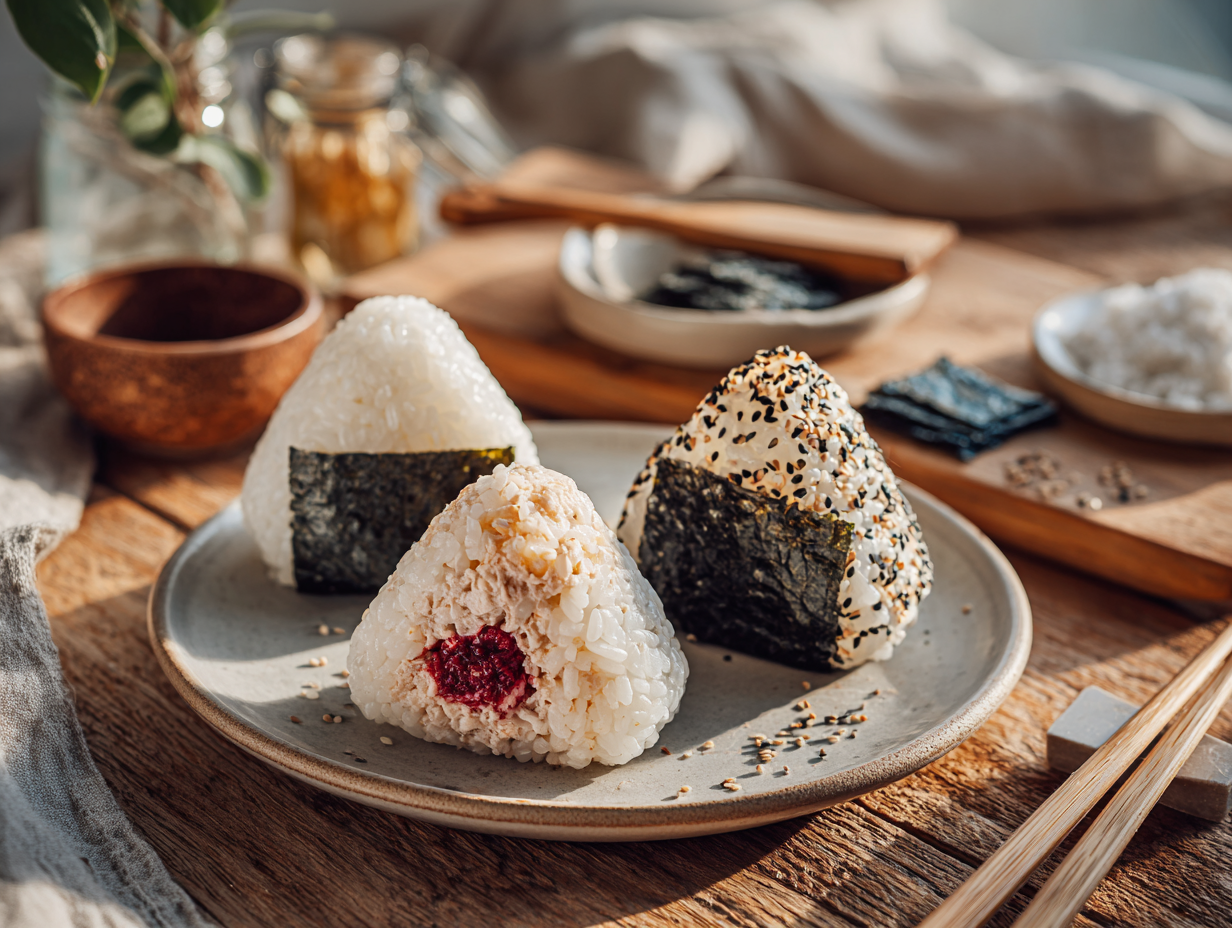
This recipe makes four onigiri — two tuna mayo, one umeboshi, one furikake — in about 25 minutes using warm cooked rice and a handful of pantry staples. The shaping looks intimidating the first time, but it clicks fast, and the result is a portable, filling lunch that costs almost nothing to make.
Why this recipe works
Two things actually matter here. First, the rice temperature: warm rice (not hot, not cold) compresses into a shape that holds without turning gummy. Cold rice cracks and crumbles; straight-from-the-pot rice is too sticky and burns your hands. Let it cool for about five minutes before you touch it. Second, the salted-water hand dip. Wetting your palms lightly before each onigiri stops the rice from sticking to you instead of to itself, and the salt seasons the outside of the rice as you shape — a small step that makes a noticeable difference in the finished flavor.
Mistakes to avoid
- Using the wrong rice: Long-grain rice like basmati won’t hold together. You need short-grain Japanese-style rice or a medium-grain sushi rice — the higher starch content is what lets it bind. Skip the garnish of extra furikake on top after wrapping; it falls off immediately and isn’t worth the extra dish.
- Overfilling: A teaspoon of filling is enough. More than that and the rice splits when you press it, leaving filling exposed and the shape lopsided. If you’re using umeboshi paste rather than a whole pit, a small smear is plenty — it’s very salty.
- Wrapping nori too early: If you wrap the nori around the onigiri more than a few minutes before eating, it goes soft and loses its texture. Wrap right before serving, or keep the nori strip separate and press it on at the table.
- Pressing too hard: Firm, even pressure from both palms is what you want — not a tight squeeze. Squeezing compacts the rice into a dense, chewy block. Think of it as cupping and rotating rather than crushing.
- Skipping the plastic wrap option if your hands run hot: Warm hands melt the rice surface and make shaping messy. If you’re struggling, lay a sheet of plastic wrap in your palm, add the rice and filling, and twist the wrap to form the triangle. It’s not traditional, but it works.
Storage and reheating
Onigiri are best eaten within two hours of making, but they’ll keep in the fridge for up to 24 hours if you wrap each one tightly in plastic wrap. Remove the nori before refrigerating — store it separately in a dry spot — and add it fresh when you’re ready to eat. Cold rice firms up significantly, so reheat refrigerated onigiri in the microwave for 30 to 45 seconds, covered loosely with a damp paper towel to keep the rice from drying out. Freezing is possible for the plain rice base (without filling), up to one month, but tuna mayo and umeboshi fillings don’t freeze well; the texture suffers. Thaw frozen rice onigiri overnight in the fridge and reheat the same way.
30-Minute Onigiri Recipe: Tuna Mayo, Umeboshi, and Furikake

Equipment
- Medium mixing bowl
- Small bowl (for salted hand-dip water)
- Measuring cups and spoons
- Fork or small whisk
- Rice paddle or flexible spatula
- Nonstick skillet (optional, for toasting sesame or yaki-onigiri)
- Cutting board and chef's knife
- Plastic wrap (optional for shaping)
- Kitchen towel
Ingredients
- 4 cups cooked Japanese short-grain rice Warm; Koshihikari or Tamanishiki preferred. Use two 8.8 oz microwave pouches or leftover rice gently reheated.
- 1 tbsp unseasoned rice vinegar Avoid seasoned sushi vinegar to control salt/sugar precisely.
- 1 tsp granulated sugar
- ½ tsp kosher salt For seasoning the rice
- 1 cup cold water For dipping hands to prevent sticking
- 1 tsp kosher salt For the hand-dip water
- 1 can (5 oz) tuna, well drained Japanese-style or solid light tuna; oil- or water-packed is fine.
- 2 tbsp Kewpie mayonnaise Kewpie for authentic flavor; regular mayo works in a pinch.
- 1 tsp soy sauce Light or regular; adjust to taste.
- 3 pieces umeboshi (pickled plum), pitted and torn Look for soft, high-quality umeboshi; adjust to your salt preference.
- 2 tbsp furikake rice seasoning Any style you like; nori-tama or shiso flavors are great.
- 4 sheets roasted nori Cut into 8 strips; add just before serving for maximum crispness.
- 2 tsp toasted white sesame seeds Optional garnish
- 1 tbsp neutral oil Optional, for pan-searing yaki-onigiri
- 1 tbsp soy sauce Optional, for brushing yaki-onigiri
Instructions
- Set up your station: In a small bowl, dissolve 1 tsp kosher salt in 1 cup cold water. This salted water prevents sticking and lightly seasons the surface of the rice. Keep a kitchen towel nearby to dab excess water from your hands.
- Season the warm rice: In a medium bowl, stir together 1 tbsp rice vinegar and 1 tsp sugar until dissolved. Sprinkle evenly over 4 cups warm rice with 1/2 tsp kosher salt. Fold gently with a rice paddle using slicing motions to avoid smashing grains. The rice should look glossy and smell lightly tangy.
- Mix tuna filling: In a separate small bowl, combine drained tuna with 2 tbsp Kewpie mayo and 1 tsp soy sauce. It should be creamy but not soupy. Taste and adjust with a pinch of salt if needed.
- Prep other fillings: Pit and tear 3 umeboshi into bite-size pieces. Set out 2 tbsp furikake. Cut 4 nori sheets into 8 strips (half-sheets).
- Optional toasting: Toast sesame seeds in a dry nonstick skillet over medium-low heat (about 300°F/150°C surface temperature) for 2–3 minutes, shaking until fragrant. Transfer to a dish to cool.
- Shape the onigiri: Dip clean hands into the salted water and shake off excess. Scoop about 1/2 cup rice into your palm. Make a small well, add about 1 tbsp of a filling (tuna, umeboshi, or a heavy sprinkle of furikake), then cover with a little rice. Using gentle three-sided presses, form a triangle: press the edges with your fingertips, rotating as you go. The onigiri should be compact, not crushed—surface slightly tacky, edges neat.
- Wrap and garnish: Press each onigiri lightly into sesame seeds if using. Wrap with a strip of nori just before serving so it stays crisp. For furikake onigiri, roll the triangle lightly in furikake or sprinkle on the outside.
- Optional yaki-onigiri (pan-seared): Heat 1 tbsp neutral oil in a nonstick skillet over medium heat (about 350°F/175°C surface temperature). Brush both sides of an onigiri with a little soy sauce and sear 30–45 seconds per side until lightly caramelized. Add nori after searing to preserve crispness.
Notes
Jen’s Tips
- Rice temperature: Warm (not hot) rice is easiest to shape; too hot and it steams the nori limp, too cold and it won’t stick together.
- Hand water vs. plastic wrap: If you prefer mess-free shaping, place rice on a sheet of plastic wrap, add filling, wrap and mold, then unwrap and add nori.
- Season balance: Rice should taste gently savory-sweet with a whisper of vinegar—adjust sugar or salt by 1/8 tsp at a time.
- Substitutions: Use vegan mayo with mashed chickpeas for a plant-based “tuna” filling; swap umeboshi with quick-pickled chopped cranberries for a playful tart note.
- Furikake variety: Try shiso furikake for a floral, minty lift or wasabi furikake for heat.
- Nori timing: Always add nori at the last moment for maximum crunch—especially if packing for lunch, keep it separate to wrap just before eating.
Serving Suggestions
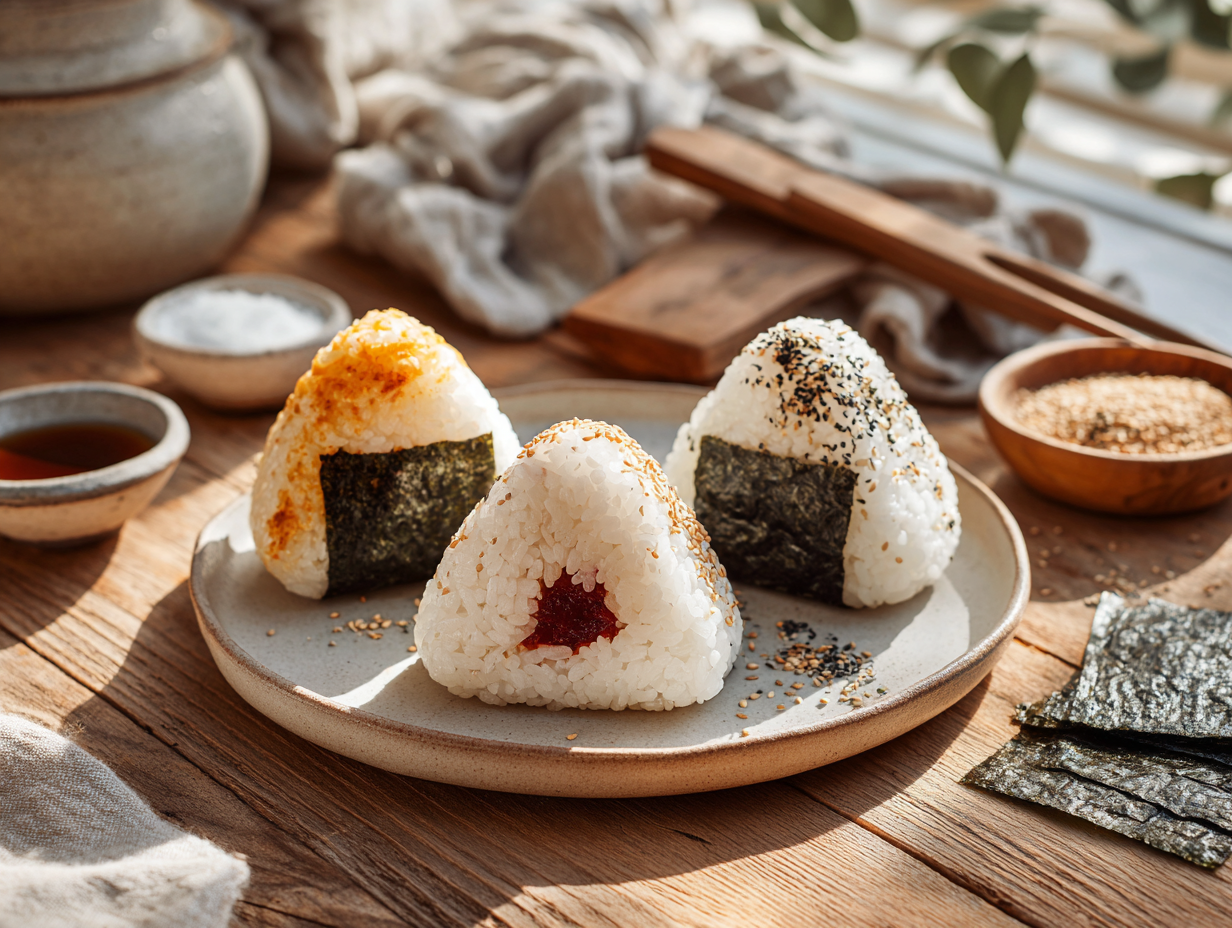
Plate three onigiri—one of each flavor—on a slate or light-colored plate for contrast. Stand them upright to showcase the clean triangle edges and the dark nori band. Garnish the plate with a sprinkle of sesame seeds and thin-sliced scallions. Serve with a small bowl of miso soup or chilled green tea. Perfect onigiri look satin-glossy, hold their shape, and release a gentle aroma of vinegar and seaweed when picked up.Culinary Context
Onigiri have been cherished in Japan for centuries as the ultimate travel food—simple, sturdy, and comforting. From samurai provisions to modern convenience-store artistry, their magic lies in the interplay of well-seasoned rice and a small but punchy filling. My version honors that heritage while streamlining the process for weeknights.Optional Advanced Instructions
- Cook rice from scratch (make-ahead): Rinse 1 1/2 cups uncooked short-grain rice until water runs mostly clear. Cook with 1 3/4 cups water: bring to a gentle boil, cover, and simmer 12 minutes; rest 10 minutes off heat. Fold in vinegar/sugar/salt while warm. This adds ~20 minutes but can be done ahead and rewarmed gently.
- Batch and freeze: Shape plain triangles and freeze. Reheat wrapped in a damp paper towel in the microwave until warm, then add nori and seasonings.
- Beginner alternative: Use a triangle mold for consistent shapes; lightly dampen the mold and pack gently to avoid dense rice.
Timing
- Prep Time: 0 hours 20 minutes
- Cook Time: 0 hours 5 minutes
- Total Time: 0 hours 25 minutes
Course & Origin
- Course: Lunch
- Cuisine: Japanese
- Origin: Japan
Nutrition
Common questions
Can I use a rice cooker rice that’s been sitting for a few hours?
Yes, as long as it was kept warm in the cooker and hasn’t dried out on the edges. Rice that has been sitting at room temperature for more than two hours will be too firm to shape well — microwave it for 30 seconds with a splash of water to loosen it up before you start.
What is Kewpie mayonnaise and can I substitute regular mayo?
Kewpie is a Japanese mayo made with egg yolks only and rice vinegar, which gives it a richer, slightly tangier flavor than American mayo. Regular mayo works fine as a substitute; the tuna filling will taste a little milder but still good.
My onigiri keeps falling apart when I pick it up — what am I doing wrong?
The most common cause is not enough pressure during shaping, or rice that was too dry to begin with. Make sure your rice is freshly cooked and still warm, re-wet your hands between each onigiri, and press firmly enough that the shape feels solid before you let go.
Where do I find nori, umeboshi, and furikake if my grocery store doesn’t carry them?
Any Asian grocery store will stock all three, and most large supermarkets carry nori in the international aisle. Online retailers are a reliable fallback — all three items have a long shelf life, so ordering in bulk is practical.
Can I make these ahead for a packed lunch the next day?
You can, but store the nori separately and add it right before eating so it stays crisp. Pack each onigiri in plastic wrap and keep them refrigerated; plan to eat them within 24 hours and reheat briefly if you prefer warm rice.