
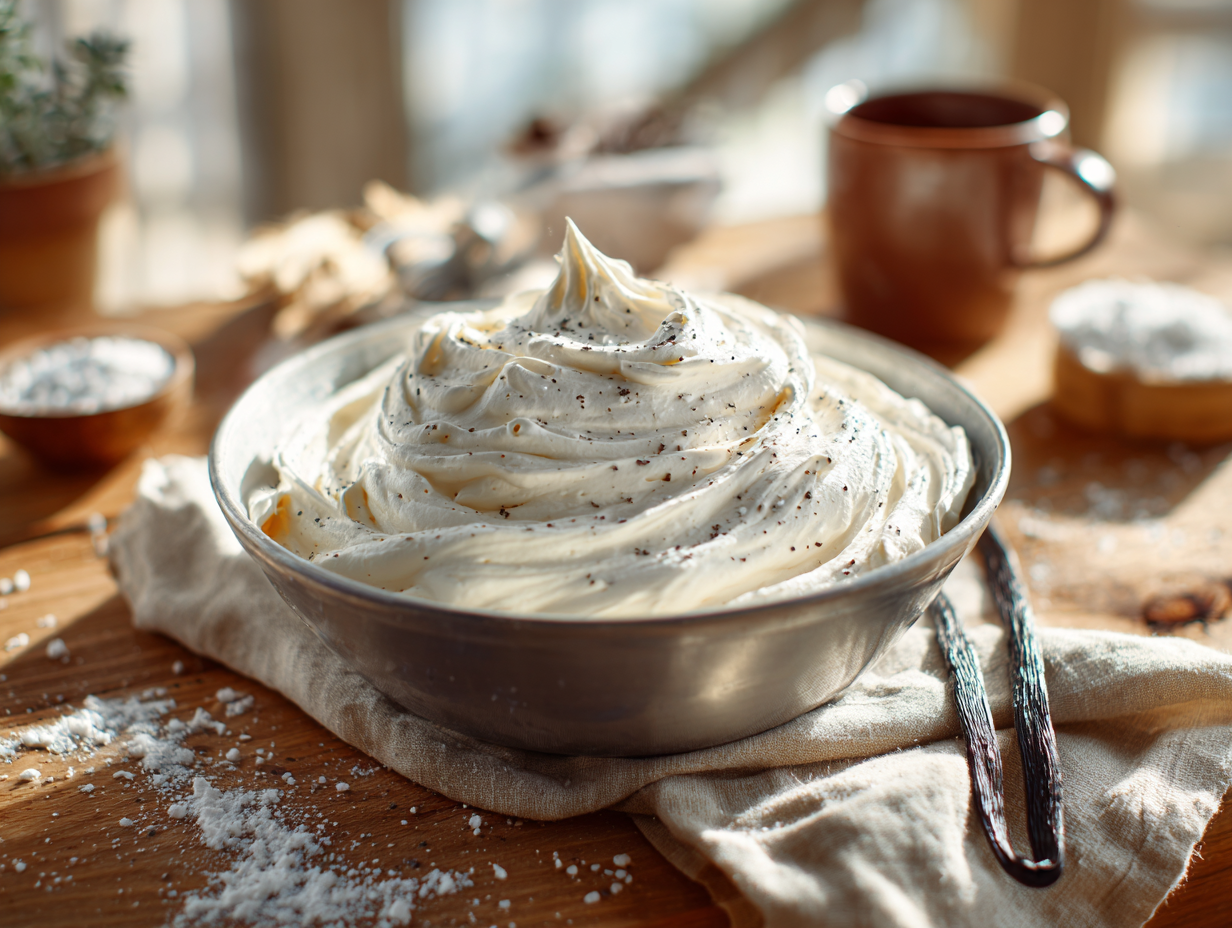
This is a straightforward vanilla whipped cream — real vanilla bean, heavy cream, confectioners’ sugar — ready in under 20 minutes and genuinely better than anything from a can. It includes an optional gelatin stabilization step that keeps the cream from weeping for up to 24 hours, which makes it worth doing if you’re topping something ahead of time. Make a full batch tonight and you’ll have enough to finish off pie, hot chocolate, and a bowl of fruit over the next two days without touching a mixer again.
Before you start
Cold equipment is the one thing that actually changes results here. Put your metal bowl and whisk attachment in the freezer for 10–15 minutes before you start — not because it’s a professional trick, but because warm fat doesn’t trap air efficiently, and warm cream can go from soft peaks to grainy butter faster than you expect. If you’re using the gelatin stabilizer, have it fully bloomed and melted before your cream hits the bowl; you’ll need to drizzle it in while the mixer runs, and it needs to be fluid but not hot. Pouring in gelatin that’s started to set will leave rubbery streaks you can’t fix.
Mistakes to avoid
- Whipping at full speed the whole time: Starting on high seems faster but creates large, uneven bubbles. Start on medium until the cream thickens noticeably, then increase speed. The final texture is smoother and holds longer.
- Adding gelatin too fast or too hot: If the gelatin is still steaming when it hits the cream, it can partially deflate what you’ve built. Let it cool to just above body temperature — warm to the touch, not hot — before streaming it in.
- Storing whipped cream directly against plastic wrap: Plastic pressed onto the surface traps condensation and makes the top layer weep faster. Loosely cover the bowl with a lid or tent the wrap so it doesn’t contact the cream.
- Using vanilla extract as a straight swap for vanilla bean: Extract works fine for flavor, but the alcohol can slightly thin the cream if you add more than a teaspoon. Stick to the recipe amount or use vanilla bean paste, which gives you the same specks without extra liquid.
- Skipping the re-whip check before serving leftovers: Stored whipped cream, even stabilized, often needs 15–20 seconds with a hand whisk to bring back its body. Don’t serve it straight from the fridge without checking the texture first — skip the garnish on the storage container, not worth the extra dish.
Make-ahead notes
Unstabilized whipped cream holds in the fridge for about 2 hours before it starts to weep; use it the same day and keep it cold until the last minute. The gelatin-stabilized version keeps well for up to 24 hours in an airtight container — 48 hours is possible but the texture gets denser. Spoon leftovers into a container with a tight lid rather than leaving them in the mixing bowl, where surface area speeds up breakdown. Whipped cream does not freeze successfully on its own; it separates when thawed and can’t be rescued. If you want to prep further ahead, freeze it already piped into individual dollops on a parchment-lined sheet, then transfer the frozen pieces to a zip bag — they thaw directly on a warm dessert in about 5 minutes and hold their shape better than refrigerated cream that’s been sitting.
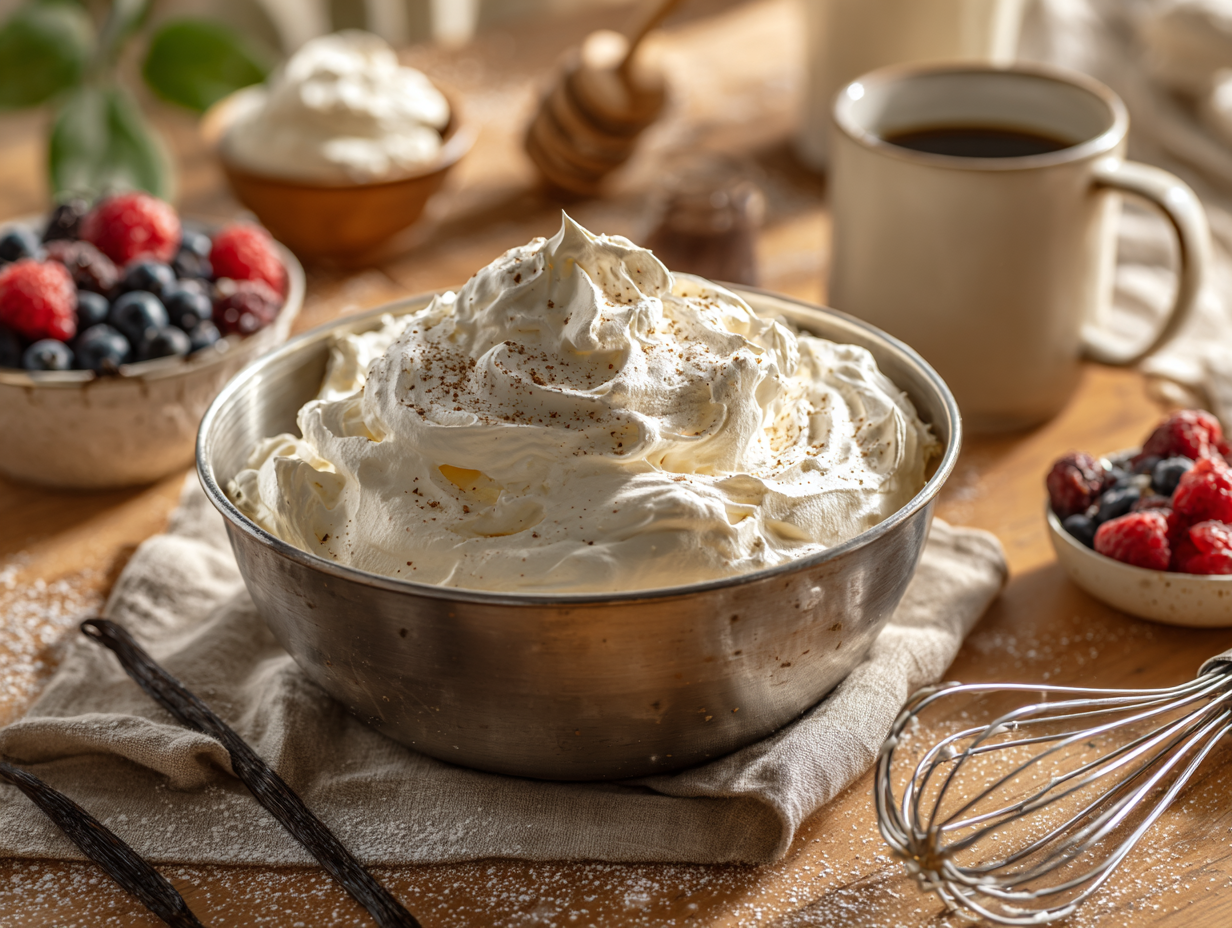
Silky Vanilla Bean Whipped Cream (Stabilized Option)

Equipment
- Large mixing bowl (preferably metal)
- Stand mixer with whisk attachment or hand mixer
- Balloon whisk (for finishing or hand-whipping)
- Measuring cups and spoons
- Paring knife or small knife (for vanilla bean)
- Rubber or silicone spatula
- Small microwave-safe cup or small saucepan (for gelatin, optional)
- Instant-read thermometer (optional, for gelatin)
- Fine-mesh sieve (optional, to strain gelatin if needed)
- Second bowl with ice and a little water (optional ice bath)
Ingredients
Whipped Cream Base
- 2 cups ice cubes Optional, for an ice bath to chill the mixing bowl quickly
- 1 cup cold water Optional, for ice bath
- 2 cups heavy cream Well-chilled; look for 36%+ milkfat and minimal additives for best whip
- ⅓ cup confectioners' sugar Also called powdered sugar; sift if clumpy
- 1 whole vanilla bean Split and scrape seeds; or use extract below
- 2 teaspoons pure vanilla extract Use instead of vanilla bean, not both; choose a quality pure extract
- ⅛ teaspoon fine sea salt Just a pinch enhances sweetness and flavor
Optional Stabilizer (choose one)
- 2 ounces mascarpone cheese Softened; adds gentle structure and a plush texture
- 1 ounce cream cheese Softened; use instead of mascarpone for a tangier profile
- 1 teaspoon unflavored powdered gelatin For a classic, neutral stabilization
- 1 tablespoon cold water For blooming the gelatin
Instructions
- Chill your tools (5–10 minutes): Nest the mixing bowl over an ice bath (2 cups ice + 1 cup cold water) or place bowl and whisk/beaters in the freezer. Aim to get the bowl cold to the touch, ideally below 45°F (7°C) so the cream whips faster and higher.
- Optional gelatin bloom (5 minutes + brief melt): Sprinkle 1 teaspoon gelatin evenly over 1 tablespoon cold water in a small cup. Let stand until the surface looks wrinkled and hydrated (about 5 minutes). Microwave 5–10 seconds or warm gently in a small saucepan just until liquefied and fluid, 105–115°F (40–46°C). If overheated, let cool until lukewarm so it won’t seize when added.
- Combine base ingredients: Pour 2 cups cold heavy cream into the chilled bowl. Add 1/3 cup confectioners' sugar, vanilla bean seeds (split and scrape) or 2 teaspoons pure vanilla extract, and 1/8 teaspoon fine sea salt. If using mascarpone or cream cheese, beat it separately in a small bowl until completely smooth, then add to the cream.
- Begin whipping: Start on low speed for 30 seconds to reduce splatter, then increase to medium. Look for the cream to thicken and leave soft trails, 1–2 minutes. Stop and scrape the bowl—vanilla seeds should be speckled evenly and the mixture should look glossy.
- Stabilize and finish: For the gelatin method, with the mixer on low, drizzle in the lukewarm melted gelatin in a thin stream; increase to medium and whip to desired peaks, about 30–60 seconds more. For the mascarpone/cream cheese method, continue whipping on medium until soft-to-medium peaks form. For un-stabilized Chantilly, stop at soft peaks for the most delicate texture. Visual cue: soft peaks bend gently at the tip; medium peaks hold a shape with a slight curl; stiff peaks stand straight and look slightly matte. Avoid over-whipping (grainy, clumpy look); if it happens, fold in 1–2 tablespoons fresh cream to rescue.
- Hold and serve: Use immediately or refrigerate covered. Best texture is between 36–40°F (2–4°C). Stabilized versions hold several hours (even overnight) without weeping; classic Chantilly is best within 2–3 hours.
Notes
Lisa’s Tips
- For faster whipping, use a chilled metal bowl and keep cream as cold as possible without freezing.
- Sweeteners: Confectioners' sugar dissolves quickly; for a cleaner dairy flavor, use 2–3 tablespoons superfine sugar instead. For maple or honey notes, whisk in 2 tablespoons maple syrup or 1 tablespoon mild honey after soft peaks form.
- Flavor twists: Add citrus zest, a splash of bourbon/rum, almond extract (1/4 teaspoon), or a spoon of cocoa powder for chocolate whipped cream.
- Stability shortcuts: 1 tablespoon instant vanilla pudding mix or 1 tablespoon milk powder can add subtle structure without gelatin.
- Over-whip fix: If the cream starts to look clumpy, gently fold in 1–2 tablespoons cold heavy cream by hand until smooth.
- By hand method: Use a balloon whisk and an ice bath. Whisk in a zigzag motion; it takes 3–6 minutes and offers the best control over peak stage.
Serving Suggestions
- Spoon or pipe in elegant swirls atop pies, tarts, hot cocoa, or Irish coffee. A soft, billowy look signals perfect soft peaks.
- With fruit: Mound over macerated berries; the speckled vanilla seeds add a luxe, artisanal look.
- For cakes: Opt for medium peaks for clean piping and rosettes that hold.
- Garnish ideas: Microplane a whisper of dark chocolate, dust with cocoa, or add a few citrus zests for color contrast.
Culinary Context
Known in France as Crème Chantilly, sweetened vanilla whipped cream dates to 17th-century French court cuisine and the town of Chantilly. Chefs prized its ephemeral texture—the way it dissolves into sauces and fruits. This version honors that heritage while offering a modern stabilizing option for today’s dessert tables.Optional Advanced Instructions
- Make-ahead: Chill bowl and whisk up to 24 hours in advance. If using gelatin, bloom and melt, then hold at room temp for up to 20 minutes; if it thickens, rewarm briefly to 105–115°F (40–46°C).
- Piping: Whip to medium peaks, transfer to a piping bag with a large star tip, and keep refrigerated until service.
- Strain gelatin: If any undissolved bits remain, strain through a fine-mesh sieve before adding to cream for a perfectly smooth finish.
Timing
Prep Time: 15 minutes (0 hours 15 minutes). Cook Time: 2 minutes (0 hours 2 minutes) for optional gelatin melt. Total Time: 17 minutes (0 hours 17 minutes). Times align with the steps above.Course & Origin
Course: Dessert. Cuisine/Origin: French (Chantilly).Nutrition
Your questions, answered
Can I make this without a stand mixer or hand mixer?
Yes — a balloon whisk and a cold metal bowl work, it just takes 4–6 minutes of active whisking instead of 2. Chill the bowl well beforehand and use a large whisk with a wide head; small whisks take significantly longer and tire your arm out before the cream is ready.
What’s the difference between soft peaks and stiff peaks, and which do I need?
Soft peaks droop when you lift the whisk; stiff peaks hold their shape and stand straight up. For dolloping over pie or fruit, soft to medium peaks are ideal — they look natural and melt nicely. For piping onto a cake or anything that needs to hold a shape for hours, go to stiff peaks, but stop the moment they hold firm or the cream will turn grainy.
My whipped cream turned out grainy — is it ruined?
Not necessarily. Grainy texture means you’ve gone slightly past stiff peaks toward butter, but if it’s just barely grainy, add 1–2 tablespoons of cold heavy cream and fold gently by hand — this can bring it back to a spreadable consistency. If it’s fully separated into butter and liquid, it can’t be reversed, but the solids are actually fresh butter you can use.
Can I sweeten this with honey or maple syrup instead of confectioners’ sugar?
You can, but use about half the volume since both are sweeter by weight, and add them gradually. Liquid sweeteners add moisture, which can make the cream slightly less stable and slower to whip — the gelatin stabilizer becomes more useful if you go this route.
If you liked this one
- Silky Chocolate Cream Pie
- Quick French Cream Puffs
- Mexican Hot Chocolate Recipe
- Quick Lemon Meringue Pie