
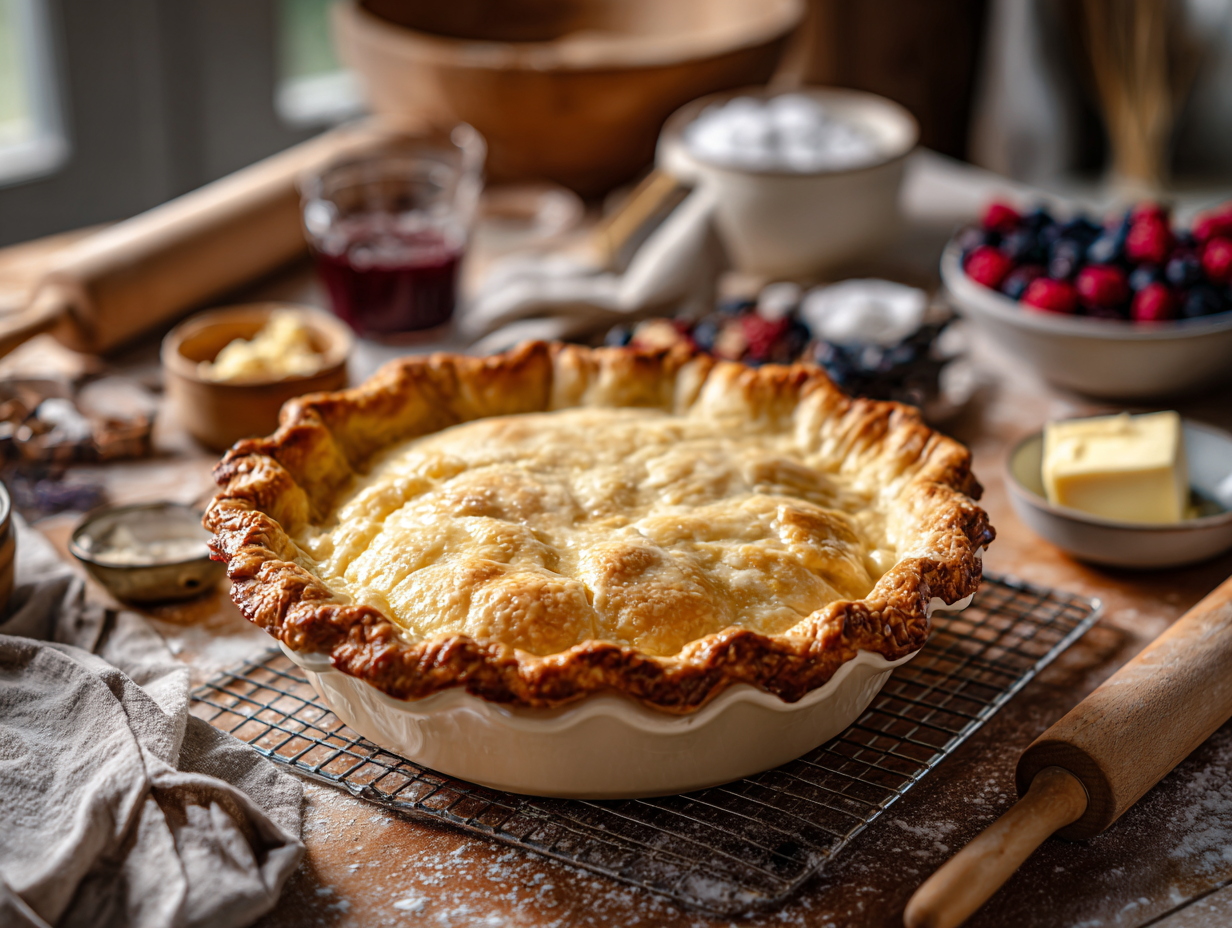
This is a single 9-inch all-butter pie crust that comes together in about 20 minutes of hands-on work, with a short freeze instead of a long refrigerator rest. It uses a quick lamination step — smearing and folding the dough — to build flaky layers without any special equipment. If you need a crust tonight and have never made one before, this is the right place to start.
The short version of why this works
Two things actually drive the flakiness here. First, the butter goes in cold and stays cold — cold butter doesn’t absorb into the flour, so it stays in small pieces that steam and separate into layers during baking. Second, the quick lamination (smearing the dough flat with your palm, then folding it over itself) creates thin sheets of butter running through the dough without requiring you to chill it for hours. That fold is what separates this from a standard crumbly shortcrust. The optional vinegar is worth adding: a small amount of acid slows gluten development, which keeps the baked crust tender even if you work the dough a little longer than ideal — useful when you’re still getting the feel for it.
Common problems and fixes
- Dough tears when you roll it: It’s too cold. Let it sit on the counter for 3-4 minutes, then try again. Don’t force it — pressing hard on a stiff dough tears it and compresses the layers.
- Crust shrinks down the sides of the pan during baking: The dough wasn’t rested long enough before baking, so the gluten snapped back. Next time, after fitting the dough into the pan, let it sit in the freezer for 10 minutes before it goes in the oven.
- Bottom is pale and soft after blind-baking: Your oven may run cool, or the pan is insulating too much. Use a metal pie pan rather than glass or ceramic — metal conducts heat faster and browns the bottom more reliably.
- Dough sticks to the counter while rolling: Flour the surface and the rolling pin, but also lift and rotate the dough a quarter turn every few passes. This prevents it from bonding to the counter and lets you catch sticking early before it tears.
- Edges brown too fast while the filling is still cooking: Fold a strip of foil loosely over the rim, or use a pie shield. Do this when the edges hit the color you want — don’t wait until they’re already dark.
Substitutions that actually work
- European-style butter vs. standard butter: European-style butter has more fat and less water, which gives you slightly more distinct layers. Standard American butter works fine — the difference in the finished crust is real but small. Skip the upgrade if it’s not already in your fridge.
- Apple cider vinegar vs. white vinegar: Either works. The quantity is small enough that the flavor doesn’t come through in either case.
- No pastry cutter: Two regular dinner forks work. So do your fingertips, as long as you work quickly so your body heat doesn’t warm the butter. A food processor also works — pulse in very short bursts and stop the moment the dough starts to clump.
- Gluten-free flour: A 1:1 gluten-free baking blend can be substituted by weight, but the dough will be more fragile. Roll it between two sheets of parchment instead of directly on the counter, and expect some patching.
Leftovers and make-ahead
Unbaked dough keeps well in the refrigerator for up to 3 days — wrap it tightly in plastic wrap and let it sit out for 5 minutes before rolling. For longer storage, freeze the dough as a flat disk for up to 2 months; thaw overnight in the refrigerator, not on the counter. A fully blind-baked crust can be made a day ahead and stored uncovered at room temperature — covering it traps steam and softens the shell. Skip reheating a pre-baked empty crust; just fill and bake as your recipe directs.
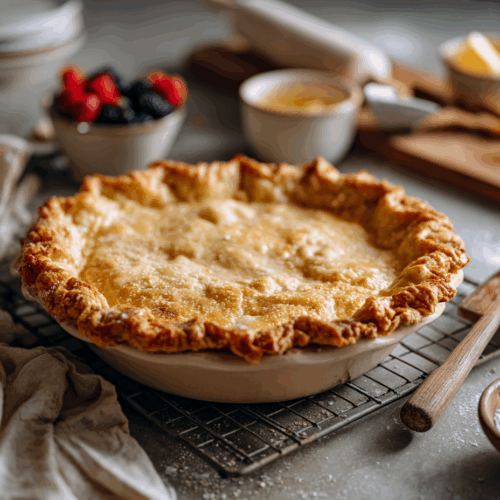
30-Minute Flaky All-Butter Pie Crust (Blind-Bake Option)

Equipment
- Large mixing bowl
- Pastry cutter or two forks (food processor optional)
- Measuring cups and spoons
- Liquid measuring cup (for ice water)
- Rolling Pin
- Bench scraper
- Plastic wrap
- 9-inch pie dish
- Parchment paper
- Pie weights or dried beans
- Fork
- Baking sheet
Ingredients
- 1 ¼ cups unbleached all-purpose flour spoon-and-level for accuracy; high-quality baking flour recommended
- 1 tablespoon granulated sugar enhances browning and tenderness; optional for savory pies
- ½ teaspoon kosher salt use 1/4 teaspoon if using fine sea salt
- 10 tablespoons unsalted butter, very cold, cut into 1/2-inch cubes European-style (82%+ butterfat) for extra flakiness
- 1 teaspoon apple cider vinegar (optional) tenderizes by limiting gluten; subtle flavor, not detectable
- 5 tablespoons ice water start with 4 tablespoons, add up to 1 additional tablespoon only if needed
- 1 large egg white (optional) for brushing to seal the crust when blind baking
Instructions
- Preheat the oven to 425°F (220°C). Place the cubed butter in the freezer for 5 minutes. Fill a liquid measuring cup with ice and water so the water stays very cold.
- Combine Dry Ingredients: In a large mixing bowl, whisk together the flour, sugar, and salt until evenly distributed. You should see a uniform, off-white color with no streaks of salt or sugar.
- Cut in Butter: Add the cold butter cubes. Using a pastry cutter (or two forks), cut the butter into the flour until you have a mix of pea-sized pieces with a few almond-sized shards. The mix should look irregular and feel cool and sandy, with visible butter flecks—the key to flakiness. Food processor option: Pulse flour, sugar, and salt, then add butter and pulse 6–8 short bursts until similar texture; dump into a bowl before adding water.
- Add Liquids: Stir the vinegar into 4 tablespoons of the ice water. Drizzle over the flour-butter mixture and toss with a fork. Pinch a bit in your fingers—if it holds together, stop; if it crumbles, add up to 1 more tablespoon ice water. The dough should form moist clumps that just hold when squeezed; avoid making it sticky or wet.
- Gather and Quick-Laminate: Turn the mixture onto a counter. Use a bench scraper to gently gather into a rough rectangle. With the heel of your hand, perform a quick fraisage by pressing small portions forward once to smear butter into thin sheets. Fold the rectangle like a letter (top third down, bottom third up), rotate 90°, and repeat the fold once. This 30-second lamination builds layers without overworking.
- Chill Fast: Press into a 6-inch disk, wrap tightly in plastic, and freeze 8–10 minutes until the edges feel firm but the center is still pliable. If it’s rock hard, rest at room temperature for 3–5 minutes before rolling.
- Roll: Lightly flour the counter and rolling pin. Roll from the center outward, turning the dough a quarter turn after each few passes, until you have a 12-inch circle about 1/8 inch thick. You should see marbled butter streaks and a smooth surface with minimal cracking at the edges. Brush excess flour away.
- Line the Dish: Ease the dough into a 9-inch pie dish without stretching—lift the edges to let it settle into the corners. Trim to a 1-inch overhang, tuck it under to build a sturdy rim, and crimp decoratively. Dock the base with a fork. For extra moisture barrier, lightly brush the interior with beaten egg white (optional).
- Blind-Bake Setup: Fit a sheet of parchment into the crust and fill to the brim with pie weights or dried beans to anchor the sides. Set the dish on a baking sheet for easy handling and even heat.
- Bake: Bake at 425°F (220°C) for 12 minutes until the crimped edge looks set and lightly golden. Carefully lift out the parchment with weights. If the base has puffed, gently press it down with the back of a spoon and dock again.
- Finish: For a par-baked crust (best for custard or pumpkin): return to the oven 3–5 minutes until the bottom looks dry and matte. For a fully baked crust (for cream or no-bake fillings): bake 8–10 minutes more until uniformly golden with a toasty-butter aroma. Cool on a rack until just warm or room temperature before filling.
Notes
Lisa’s Tips:
- Cold is King: Keep ingredients and tools cold to prevent butter from melting. If the dough softens, chill 5 minutes and continue.
- Texture Cues: Aim for pea-to-almond butter pieces pre-hydration; after mixing, the dough should hold together when squeezed without feeling sticky.
- Vinegar Swap: Use lemon juice instead of vinegar, or omit entirely.
- Dairy-Free: Substitute cold refined coconut oil (firm) for butter; expect a more tender, less flaky crust.
- Gluten-Free: Use a cup-for-cup gluten-free flour blend and add 1 extra tablespoon ice water if needed.
- No Pie Weights? Use dried beans or granulated sugar; sugar conducts heat well and toasts lightly for reuse.
- Edge Insurance: If edges brown fast, cover with a foil ring during the last minutes of baking.
Serving Suggestions:
For a par-baked crust, fill with silky pumpkin or custard and bake until just set. For a fully baked shell, pile in cool pastry cream and top with jewel-toned berries for a vivid contrast of golden crust, creamy white filling, and glossy fruit. Serve with a lightly whipped, unsweetened cream to let the buttery aroma shine. A chilled glass of dry cider or champagne pairs beautifully with that toasty-butter finish.Culinary Context:
This method modernizes classic American pie dough with a chef’s quick-lamination and fast freeze, echoing the principles of rough puff pastry—but streamlined for home kitchens. I learned to judge perfect hydration by the sound of the dough leaving the counter: a soft, clean pull means you nailed it.Optional Advanced Instructions:
- Make-Ahead: Dough disk can be refrigerated up to 2 days or frozen up to 2 months. Thaw in the fridge overnight before rolling.
- Parallel Prep: While the oven preheats, roll and crimp; while the crust blind-bakes, prepare your filling.
- Food Processor Alternative: Pulse dry ingredients, add butter and pulse to pea-sized bits, then drizzle ice water through the feed tube until clumpy; stop before a ball forms to avoid toughness.
Nutrition
Frequently asked questions
Can I make this without a pastry cutter or food processor?
Yes — two forks or your fingertips work fine. The key is speed: if you’re using your hands, work in short bursts and press the butter pieces against the flour quickly so your body heat doesn’t melt them.
How do I know when I’ve added enough water?
Stop when the dough just holds together when you press a clump between your fingers — it should look shaggy, not smooth. Adding too much water is the most common beginner mistake and it makes the baked crust tough, so go slowly and add one tablespoon at a time.
Do I really need to blind-bake, or can I skip it?
It depends on your filling. For custard pies, cream pies, or anything with a wet no-bake filling, blind-baking is not optional — skipping it gives you a raw, doughy bottom. For fruit pies where the filling bakes alongside the crust, you can skip it entirely.
My crust came out crumbly and fell apart when I sliced it. What went wrong?
Most likely the dough didn’t have enough water to hold together, or it wasn’t pressed firmly enough into the pan before baking. Make sure the dough is cohesive before you roll it, and press it gently but firmly against the sides and bottom of the pan so there are no air gaps underneath.