
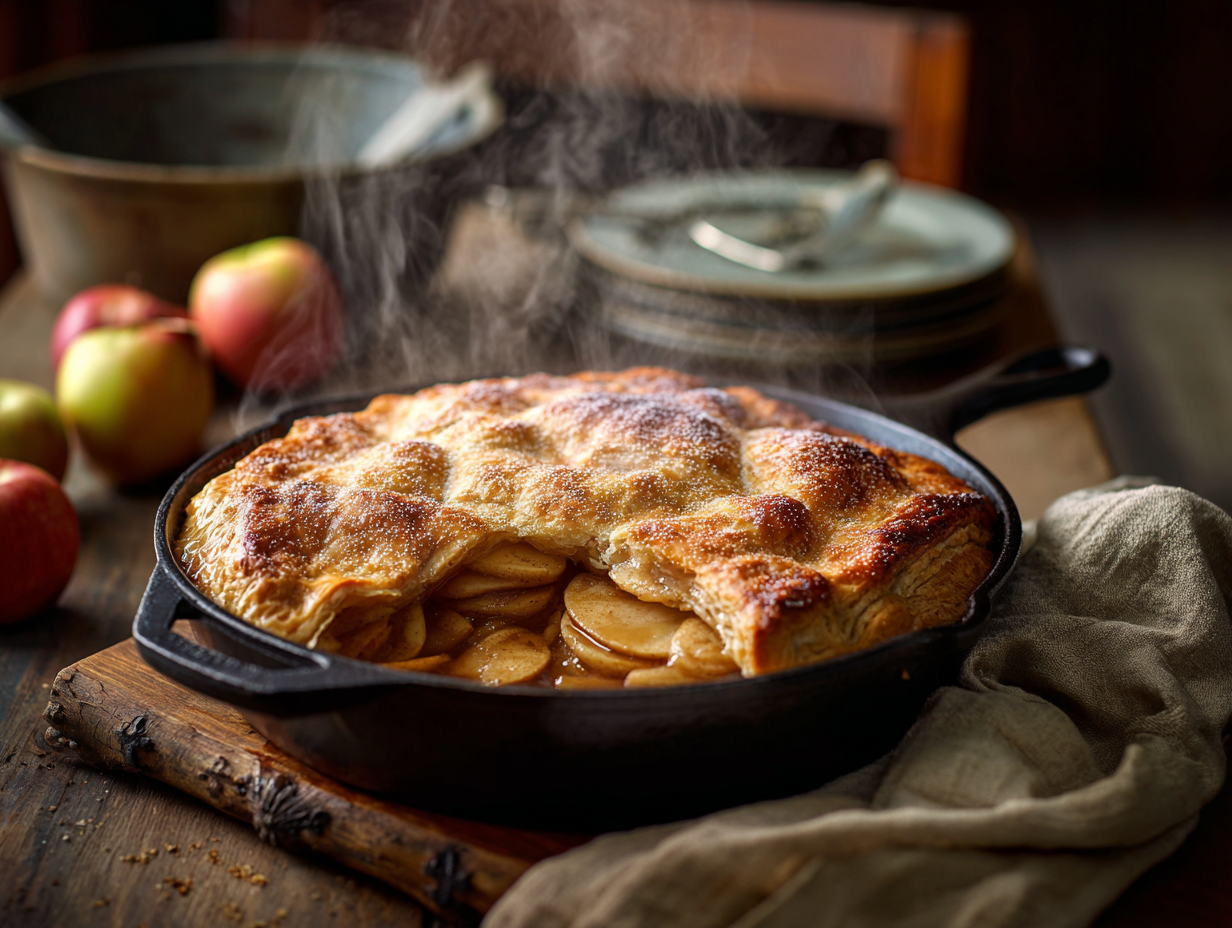
This skillet apple pie cooks a cinnamon-spiced apple filling on the stovetop, then finishes under a sheet of store-bought puff pastry in a hot oven — total time is about 35 minutes. You skip the pie dish, the homemade dough, and the hour-long bake. What you get is a bubbling, flaky dessert on a Tuesday night without clearing your whole evening.
Before you start
Two things determine whether this works. First, slice the apples thin and even — roughly ⅛ inch. Thick chunks stay crunchy in the middle while the filling around them overcooks; thin slices soften at the same rate and hold together when you serve it. Second, let your puff pastry thaw just enough to unroll without cracking, but keep it cold — a warm sheet of puff pastry goes limp and bakes up dense instead of flaky. Pull it from the freezer about 20 minutes before you need it, and work quickly once it’s out.
Make-ahead notes
The apple filling can be cooked on the stovetop, cooled completely, and stored in an airtight container in the fridge for up to three days — when you’re ready to eat, spoon it into the skillet, top with cold puff pastry, and bake straight away. The fully baked pie keeps in the fridge for up to three days as well; reheat individual portions in a 350°F oven for 8–10 minutes to bring the pastry back to life. Microwaving works in a pinch but the pastry goes soft, so use the oven if you have five extra minutes. The baked filling (without the pastry) also freezes well for up to two months — thaw overnight in the fridge, then top and bake fresh.
If something goes sideways
- The filling is watery: Apples release liquid as they cook; if your filling looks soupy before you add the pastry, keep the heat on medium-high and stir for another 2–3 minutes uncovered. The liquid will reduce quickly. Don’t add more sugar to compensate — it just makes the problem worse.
- The pastry isn’t browning: Your oven may run cool, or the pastry went in too warm. Crank the oven to 425°F for the last 3–4 minutes and watch it closely. Make sure the egg wash covered the entire surface — bare spots stay pale.
- The pastry is browning but the filling is cold: This usually means the filling wasn’t hot when the skillet went into the oven. Always bring the apple mixture back up to a simmer on the stovetop before laying the pastry on top.
- The pastry slid off-center and sealed unevenly: Skip trying to reposition it once it’s in the oven — it won’t move cleanly. Instead, press any lifted edges down with the back of a spoon in the first 5 minutes before the pastry sets. A slightly uneven edge is fine; an unsealed edge lets steam escape and makes the pastry soggy underneath.
- The apples taste flat: Brown sugar and cinnamon need a little sharpness to come forward. A teaspoon of lemon juice stirred into the filling before baking fixes this fast — skip the turbinado sugar garnish on top if you do, it’s not worth the extra dish.
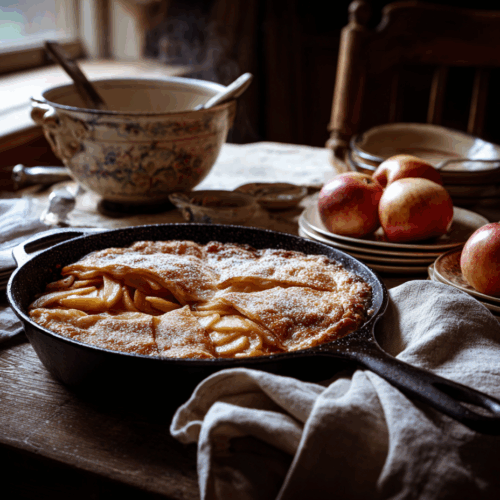
30-Minute Skillet Apple Pie

Equipment
- 10-inch oven-safe skillet (preferably cast iron)
- Vegetable peeler
- Knife and Cutting Board
- Mixing bowl
- Measuring cups and spoons
- Rolling Pin (optional, for puff pastry)
- Pastry Brush
Ingredients
For the Apple Filling:
- 5 medium apples, peeled, cored, and thinly sliced use a mix of Granny Smith and Honeycrisp for sweet-tart balance
- ¼ cup granulated sugar
- ¼ cup light brown sugar, packed
- 1 tsp ground cinnamon
- ¼ tsp ground nutmeg
- ⅛ tsp sea salt
- 2 tbsp unsalted butter
For the Pastry Top:
- 1 sheet frozen puff pastry, thawed such as Pepperidge Farm, thawed in fridge overnight or on counter for 30 mins
- 1 large egg, beaten for egg wash
- 1 tbsp turbinado sugar optional, for sprinkling crust
Instructions
- Preheat oven to 400°F (205°C). Set an oven rack in the middle position.
- In a mixing bowl, toss the sliced apples with granulated sugar, brown sugar, cinnamon, nutmeg, and salt until evenly coated. Set aside.
- Heat butter in the skillet over medium heat until melted and foamy. Add the apple mixture and sauté for 6–8 minutes, stirring occasionally, until the apples are just tender and juices slightly reduced.
- While the apples cook, lightly roll out the puff pastry to just larger than your skillet. Cut a small X in the center for ventilation.
- Turn off the heat. Carefully place the puff pastry over the apples in the skillet, tucking edges inside the pan slightly. Brush with beaten egg and sprinkle with turbinado sugar if using.
- Transfer skillet to oven and bake for 15–18 minutes, until pastry is puffed and deep golden brown.
- Let rest 5 minutes before serving. Slice into wedges straight from skillet or invert onto a plate for rustic presentation.
Notes
- Substitute puff pastry with chilled pie dough for a more traditional lid.
- Add 1 tsp lemon juice for brighter apple flavor.
- To make vegan, use plant-based butter and brush pastry with almond milk instead of egg.
- Use a mix of firm and slightly soft apples to vary texture.
Nutrition
FAQ
Can I use a different type of apple if I can’t find Honeycrisp or Granny Smith?
Yes — use any firm apple that holds its shape when cooked. Braeburn, Fuji, or Pink Lady all work well. Avoid Red Delicious or McIntosh; they turn mushy and watery in the skillet.
Does the skillet have to be cast iron?
No, but it needs to be oven-safe to at least 400°F. A stainless steel skillet works fine. Avoid nonstick pans with plastic handles, and check your pan’s maximum temperature rating before it goes in the oven.
Can I make this without eggs for the wash?
Yes — brush the pastry with whole milk or heavy cream instead. The crust will brown a little less deeply but will still crisp up properly. Plant-based milk works too, though the color will be lighter.
What to cook next
- Quick Apple Fritters
- Quick Double Chocolate Cookies
- Quick French Cream Puffs
- Brown Sugar Crumble Cookies