
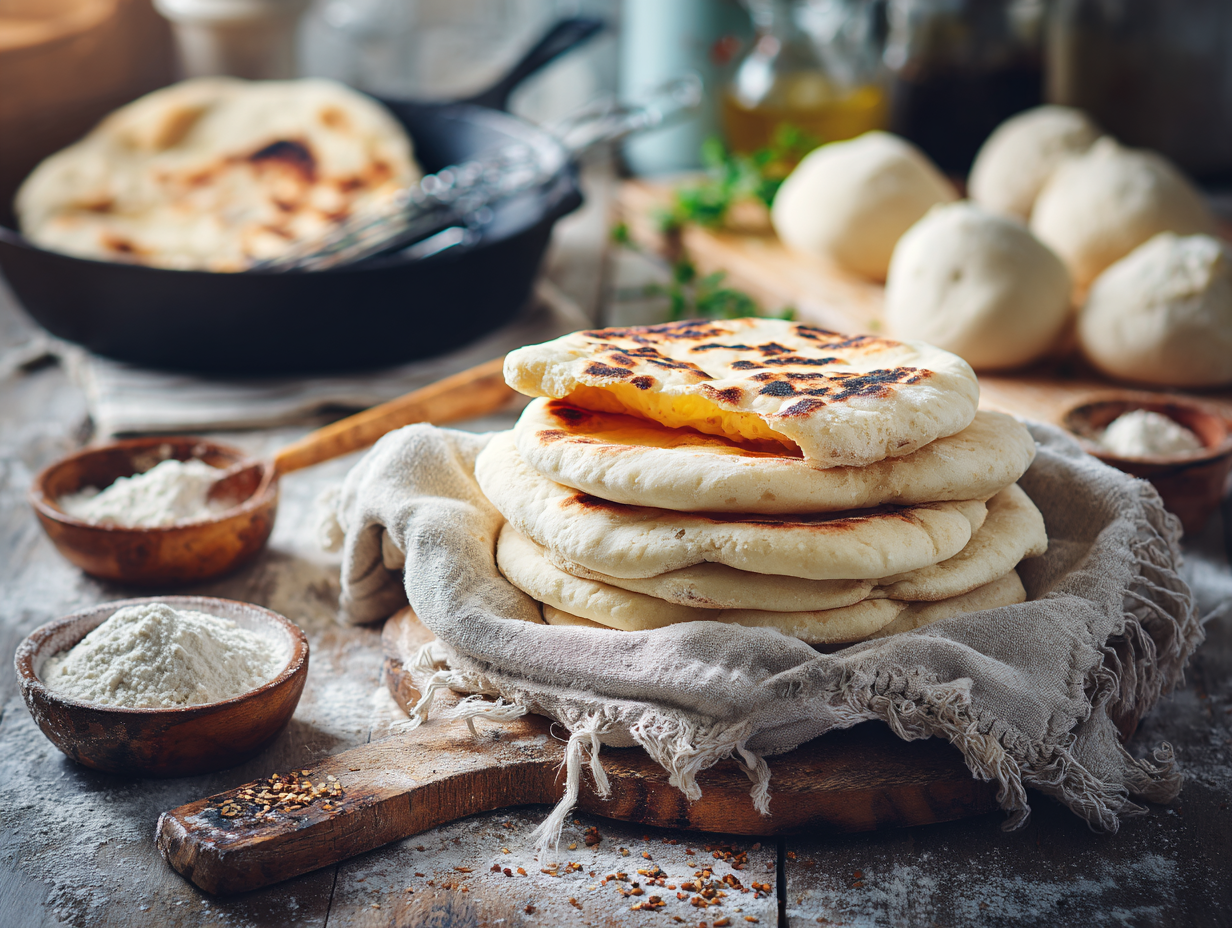
This recipe makes six pitas in about 40 minutes using rapid-rise yeast, a hot pan or oven, and one bowl. The pockets form reliably, the bread stays soft and flexible, and you won’t have a pile of dishes waiting for you when dinner is done.
Why this recipe works
Two things actually drive the result here. First, rapid-rise yeast cuts the fermentation window to about 10 minutes without hurting the pocket — the dough doesn’t need a long rise to puff, it needs steam, and that comes from heat. Second, the short bench rest after mixing lets the gluten relax just enough that rolling each round thin is easy and fast. Roll them too thick and the steam can’t split the layers; too thin and the structure collapses before a pocket can form. Hitting roughly ¼-inch thickness is the target, and a relaxed dough gets you there without fighting the rolling pin.
If something goes sideways
- Pitas aren’t puffing at all: The pan or oven isn’t hot enough. Cast iron needs a full 3–4 minutes of preheating over medium-high before the first pita goes in. An oven should be at its maximum temperature — 500°F or as close as your oven gets — with the baking surface preheated inside it.
- Pitas puff unevenly or only on one side: The dough round probably has uneven thickness. Thicker spots resist steam; thinner spots blow out. Take an extra 20 seconds to roll each piece consistently before it hits the heat.
- Pitas come out stiff and cracker-like: They were left uncovered after cooking. Stack finished pitas immediately under a clean kitchen towel — the trapped steam keeps them pliable as they cool.
- Dough is tearing when you roll it: It hasn’t rested long enough. Give it another 3–5 minutes covered. Gluten tightens up during mixing and needs a moment to settle before it rolls without fighting back.
- Pitas are sticking to the pan: The surface isn’t hot enough yet, or the dough has too much moisture on the outside. Lightly flour each round just before rolling and make sure the pan is properly preheated before each pita goes in.
About the ingredients
Bread flour will give you slightly chewier pitas with a bit more structure; all-purpose works fine and produces a softer result — either is a legitimate choice. Rapid-rise yeast (also sold as instant yeast) is not the same as active dry yeast; active dry needs to be proofed in warm water first and adds time, so stick with rapid-rise here. If you want to work in whole wheat flour, swap no more than one-third of the total flour — more than that and the pitas tend to stay flat. Skip the olive oil brush after baking — not worth the extra dish, since the bread is already soft and flavorful on its own.
Make-ahead notes
Cooked pitas keep well at room temperature for up to 2 days wrapped tightly in foil or sealed in a zip-top bag — don’t refrigerate them, which dries them out fast. For longer storage, freeze them in a single layer first, then stack and seal in a freezer bag; they keep for up to 2 months. To reheat, wrap a stack in a damp paper towel and microwave for 20–30 seconds, or warm them directly in a dry skillet over medium heat for about 30 seconds per side. If you want to prep ahead without cooking, the shaped dough rounds can be refrigerated on a lightly floured sheet pan, covered with plastic wrap, for up to 8 hours — pull them out and let them sit at room temperature for 10 minutes before cooking.
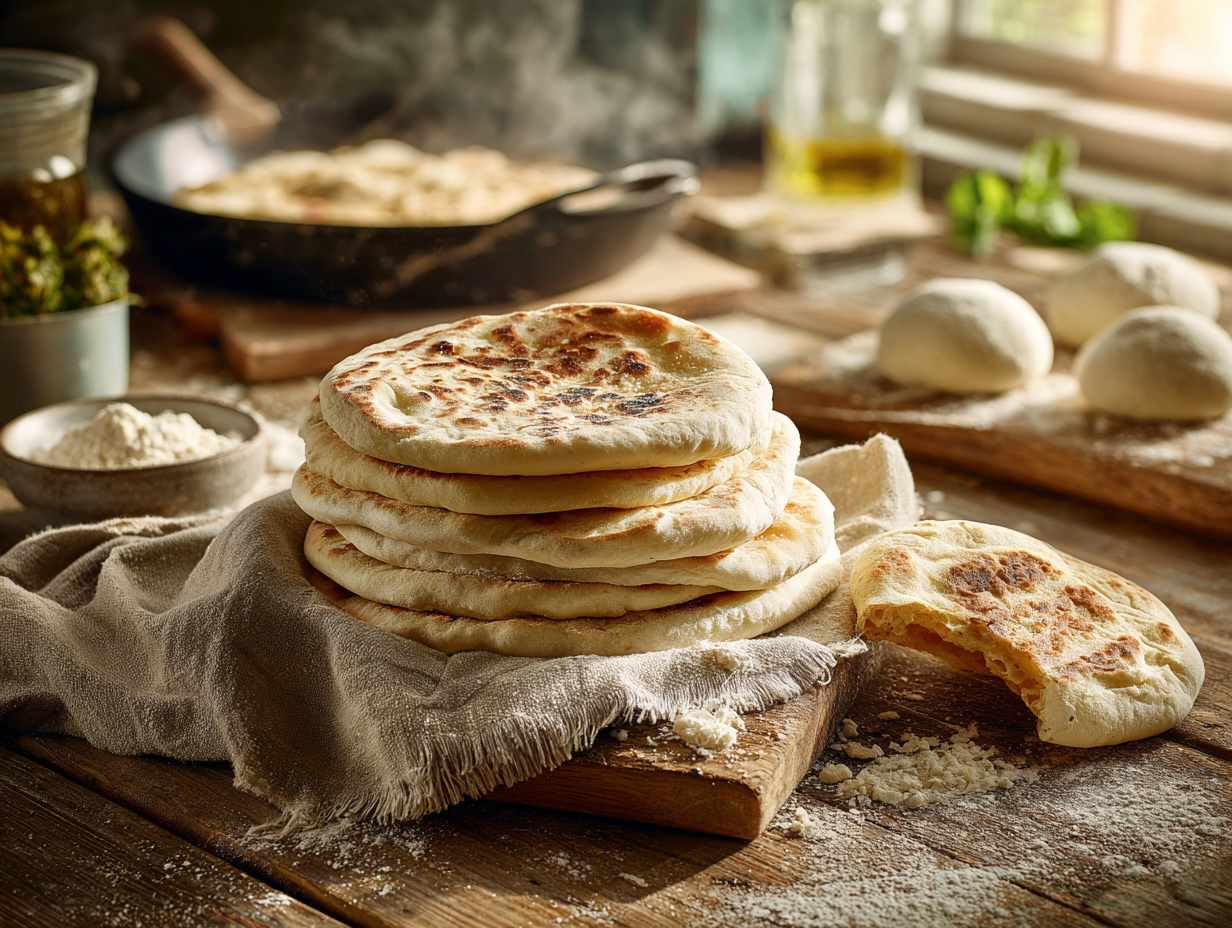
Quick Skillet or Oven Pita Bread (About 30 Minutes)

Equipment
- Large mixing bowl
- Wooden spoon or dough whisk
- Stand mixer with dough hook (optional)
- Measuring cups and spoons
- Rolling pin (or wine bottle)
- Cast-iron skillet or griddle
- Baking steel/stone or inverted baking sheet (oven method)
- Parchment paper
- Sheet pan or pizza peel
- Clean kitchen towel
- Tongs
- Wire Rack
Ingredients
- 1 cup warm water 105–110°F; filtered water preferred for best yeast activity
- 1 teaspoon granulated sugar helps jumpstart the yeast
- 1 ½ teaspoons instant (rapid-rise) yeast for speed; use active dry if needed (see Tips)
- 2 cups bread flour plus more as needed; high-protein flour yields better puff (AP flour works)
- 1 teaspoon kosher salt Diamond Crystal preferred; use 3/4 tsp if using Morton
- 1 tablespoon extra-virgin olive oil fruity, good-quality oil adds tenderness
- ½ cup all-purpose flour, for dusting use as needed while rolling
- 1 tablespoon fine cornmeal (optional) for sliding pitas if using a peel/stone
- 1 teaspoon neutral oil (optional) for lightly greasing skillet if needed
Instructions
- Preheat High Heat Surfaces (overlaps with prep): For oven, place a baking steel/stone or an inverted baking sheet on the top-middle rack and preheat to 500°F (260°C) for at least 15 minutes. For skillet, preheat a cast-iron over medium-high heat for 5–7 minutes. Preheating overlaps with dough resting/rolling and doesn’t add to the cook time.
- Mix the Dough (about 4 minutes): In a large bowl, whisk warm water and sugar to dissolve. Sprinkle in the instant yeast and whisk briefly. Add bread flour and salt, then drizzle in olive oil. Stir with a wooden spoon (or mix on low in a stand mixer) until a shaggy dough forms and all dry spots are moistened. Dough should be tacky, not wet.
- Knead to Develop Gluten (about 6 minutes): Turn the dough onto a lightly floured surface and knead with the heel of your hand—push, fold, rotate—until smooth and elastic. If using a mixer, knead on medium-low. The dough should spring back when poked. Add 1–2 teaspoons flour only if it clings heavily to your hands.
- Quick Bench Rest (10 minutes): Form a ball, cover the bowl with a towel, and rest 10 minutes. This relaxes gluten so the pitas roll thin and puff evenly.
- Divide and Pre-Shape (2 minutes): Cut dough into 6 equal pieces. Tuck edges under to form tight balls—smooth side up. Keep covered to prevent drying.
- Roll Thin (about 8 minutes): Lightly dust the counter and each piece with AP flour for dusting. Roll each ball into a 6–7 inch round, about 1/8 inch thick. Aim for even thickness—this is key to a full pocket. Keep rolled rounds covered with a towel while you finish the batch.
- Oven Method (total for all pitas: about 10 minutes): If using a peel, dust with a little cornmeal (optional). Slide 3 pitas onto the hot steel/stone or inverted sheet. Bake at 500°F (260°C) for 2–3 minutes until fully puffed with light golden spots.Optional: Flip and bake 20–30 seconds for extra color. Repeat with remaining pitas. Total cooking time for all 6 pitas is about 10 minutes.
- Skillet Method (alternative, also ~10 minutes total): Lightly wipe the hot cast-iron with neutral oil if needed. Lay a round into the dry skillet and cook 1–2 minutes until bubbles form and underside has toasted spots; flip and cook 1–1.5 minutes more. Press gently with a spatula to encourage puff. Cook 2 at a time if your pan allows; total time for all 6 is about 10 minutes.
- Steam-Soften and Serve: Transfer hot pitas to a wire rack and immediately cover with a clean towel to trap steam—this keeps them soft and supple. Serve warm.
Notes
Jen’s Tips:
- Flour Choice: Bread flour gives the best puff; all-purpose works but may be slightly softer. For a nuttier flavor, swap 1/2 cup flour with whole wheat and add 1–2 teaspoons extra water if needed.
- Yeast Swap: Using active dry yeast? Bloom in the warm water with sugar for 5 minutes until foamy, then proceed. This may add a couple of minutes.
- Even Thickness: Roll edges and center to the same thickness. Uneven rounds puff unevenly.
- Heat is Everything: A thoroughly preheated steel/stone or a ripping-hot skillet creates instant steam to inflate the pocket.
- Flavor Twists: Brush cooked pitas with olive oil and sprinkle with za’atar, sesame seeds, or flaky salt. For garlic pitas, rub a cut clove over the warm surface.
- Make Ahead: Dough can rest in the fridge up to 24 hours (covered). Bring to room temp 30 minutes before rolling for best puff.
- Storage: Keep cooled pitas in a zip-top bag up to 2 days or freeze up to 2 months. Rewarm in a 350°F (175°C) oven for 3–4 minutes wrapped in foil.
Serving Suggestions:
- Plating: Stack warm pitas in a folded towel on a wooden board. The pale-gold blisters and soft, flexible crumb are your visual cues of perfection.
- Pairings: Serve with creamy hummus, smoky baba ghanoush, bright tabbouleh, or as pockets for chicken shawarma, falafel, or grilled halloumi.
- Drinks: Crisp white wine (Assyrtiko) or mint tea complements the warm spices and sesame notes often found in mezze.
Culinary Context:
Pita, a staple across the Levant and Mediterranean, relies on ancient logic: flat dough, fierce heat, and trapped steam. My first bite of a just-baked pita in a Jerusalem market—hot, fragrant, and impossibly light—inspired this streamlined home method.Optional Advanced Instructions:
- Cold Ferment for Depth: After kneading, refrigerate dough 12–24 hours. You’ll get deeper flavor and even better puff. Roll straight from the fridge after a brief 10–15 minute warm-up.
- No Rolling Pin? Press with your fingertips and finish with a wide-bottomed skillet as a makeshift press.
- Parallel Prep: Roll the next batch while the first bakes to stay within the 40-minute total.
Timing:
- Prep Time: 30 minutes total (mix 4 min + knead 6 min + rest 10 min + divide/roll 10 min)
- Cook Time: 10 minutes total (two oven batches or multiple skillet rounds)
Nutrition
Frequently asked questions
Can I make these without a cast-iron skillet?
Yes — a heavy stainless or nonstick skillet works, though cast iron holds heat more evenly and gives you better blistering. If you’re using a lighter pan, keep the heat at medium-high and expect slightly less char on the surface.
Why did my pita come out as a flatbread with no pocket?
The most common reason is that the dough wasn’t rolled thin enough, or the cooking surface wasn’t hot enough to generate the burst of steam that splits the layers. Aim for about ¼-inch thickness and make sure your pan or oven is fully preheated before the dough touches it.
Can I use all-purpose flour instead of bread flour?
All-purpose flour works well and is what most home cooks will have on hand. The pitas will be a little softer and slightly less chewy than bread-flour versions, but they’ll still form pockets and taste great.
Do I need a stand mixer, or can I mix by hand?
You can absolutely mix and knead by hand — it takes about 8 minutes of kneading on a lightly floured surface until the dough is smooth and springs back when poked. A stand mixer with a dough hook just makes it faster and less messy.
If you liked this one
- Greek Beef Pitas Fast
- Smoky Baba Ganoush in 30 Minutes
- Weeknight Shakshuka
- Smoky Mediterranean Bean Skillet