
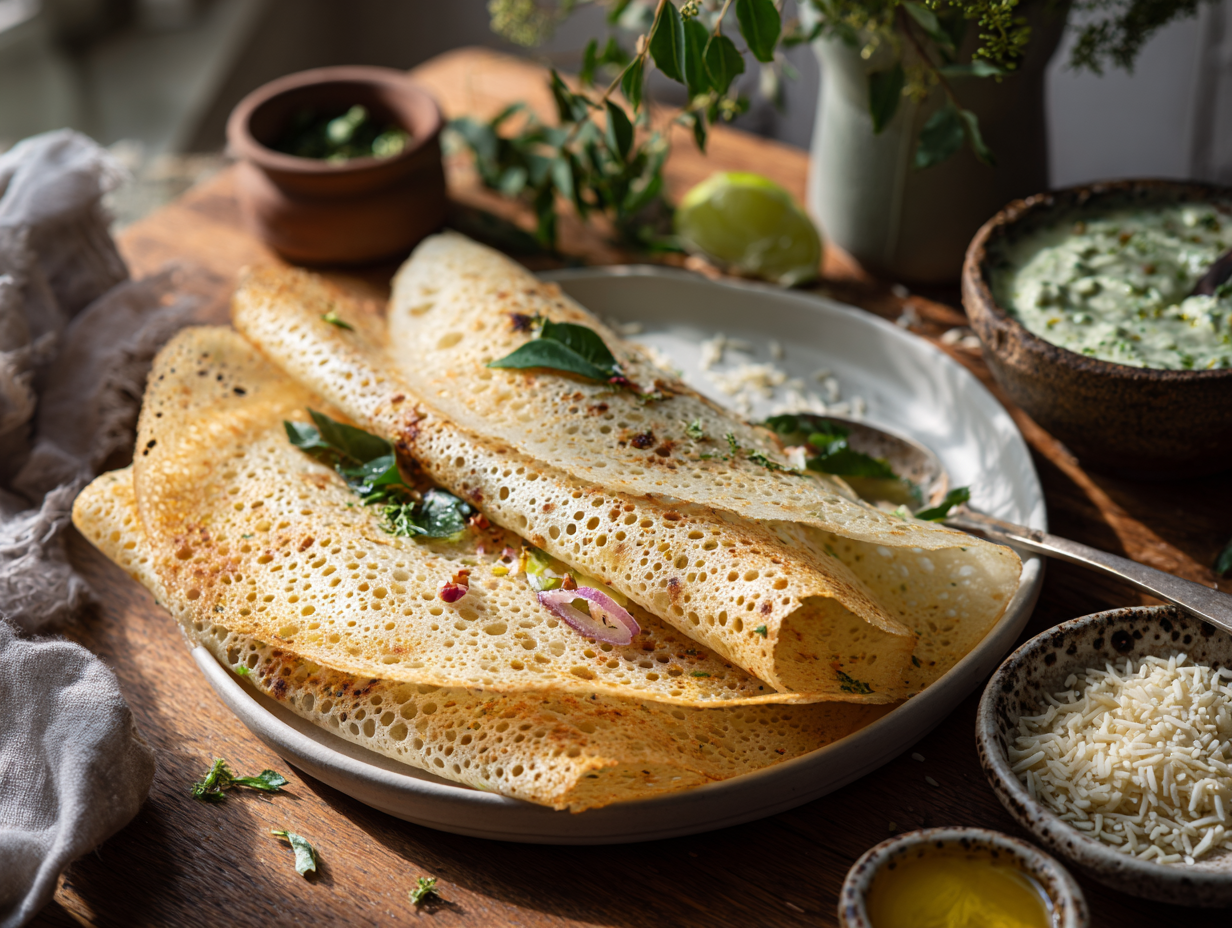
Rava dosa skips the overnight fermentation of traditional dosa by using semolina and rice flour — the batter is ready in 15 minutes and cooks in another 15. The result is a thin, lacy crepe with a genuine crunch, paired with a blender coconut-cilantro chutney that comes together while the first dosa cooks. If you need a fast, satisfying dinner that isn’t another pasta night, this is it.
What makes this version work
Two things matter most here. First, the batter has to be genuinely thin — closer to water than to pancake batter. That low viscosity is what lets it spread across a hot pan before it sets, forming the holes and lacy edges that give rava dosa its crunch. If the batter looks too thin when you mix it, that’s correct. Second, the semolina settles fast. Stir the batter every single time before you ladle it out — not once at the start, every pour. Skip that step and the last few dosas will be dense and pale while the first ones were perfect.
Substitutions that actually work
- Fine semolina (sooji/rava): This is the one ingredient worth seeking out at an Indian grocery store. Coarse semolina won’t hydrate the same way and produces a grainier, less crisp result. In a pinch, cream of wheat (fine ground) is a closer substitute than coarse semolina.
- Ghee vs. oil: Ghee gives a slightly richer flavor, but a neutral oil like avocado or vegetable oil works fine and keeps the recipe vegan. Skip the garnish of extra ghee drizzled at the end — not worth the extra dish.
- Fresh coconut in the chutney: Frozen grated coconut (thawed) works just as well as fresh and is much easier to find. Desiccated coconut is too dry and sweet; avoid it here.
- Yogurt in the chutney: Replace with an equal amount of water if you’re cooking dairy-free. The chutney will be slightly thinner but still flavorful.
Storage and reheating
Cooked dosas do not store well — they go soft within an hour and don’t recover their crunch in a microwave. If you have leftover batter, refrigerate it in a covered container for up to 24 hours; stir well before using and expect the first dosa from cold batter to be a throwaway while the pan comes back up to temperature. The coconut chutney keeps in the fridge for up to 2 days in a sealed container. It will thicken slightly — stir in a teaspoon of water to loosen it before serving. Do not freeze the chutney; the fresh herbs turn dark and the texture breaks.
Common problems and fixes
- Dosa tears when you try to lift it: It’s not ready yet. A properly cooked rava dosa releases cleanly on its own when the edges are set and the surface looks dry. Forcing it early is the main cause of tearing — give it another 30 to 60 seconds.
- Batter won’t spread and clumps in the center: The pan is too hot. Let it cool for 30 seconds, wipe it with a damp cloth, and try again. Rava dosa needs consistent medium-high heat, not screaming high heat.
- Dosa is soft and rubbery instead of crisp: The batter was too thick. Add water, a tablespoon at a time, until it looks almost watery again, then stir and re-test on the pan.
- Onion and chili pieces burning before the dosa cooks through: Chop the onion and chili finely — larger pieces scorch on a hot surface before the batter around them sets. A rough mince, not chunks.
- Chutney is bitter: Too much cilantro stem or over-blended green chili can cause this. Use mostly cilantro leaves, and blend in short pulses rather than running the blender continuously.
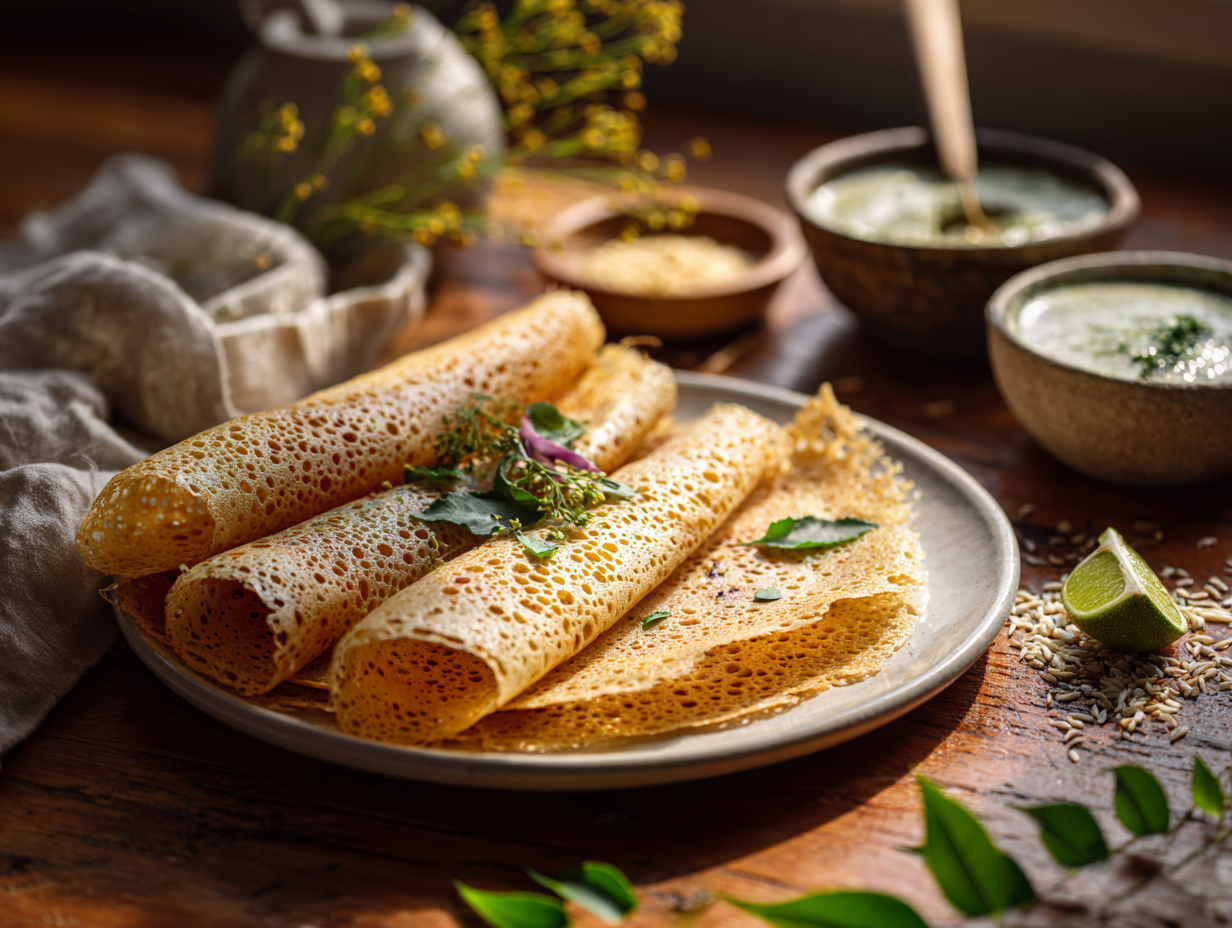
Crispy Instant Rava Dosa with Quick Coconut-Cilantro Chutney

Equipment
- 10- to 12-inch nonstick skillet or well-seasoned cast-iron tawa
- Medium mixing bowl
- Whisk
- Ladle or measuring cup with spout
- Flexible spatula
- Measuring cups and spoons
- Blender or small food processor (for chutney)
- Small oil brush or folded paper towel
Ingredients
For the Rava Dosa Batter
- 1 cup fine semolina (sooji/rava) Look for fine-grade rava for the crispiest texture.
- ½ cup rice flour Adds snap and helps the lacey structure.
- 2 tbsp urad dal flour Optional; adds classic dosa savor. Sub chickpea flour if needed.
- ½ tsp kosher salt Diamond Crystal preferred; adjust to taste.
- ¼ tsp freshly ground black pepper Optional, for a gentle warmth.
- ½ tsp cumin seeds Bloom beautifully on the hot pan.
- 1 tsp fresh ginger, finely grated Choose young, juicy ginger for best aroma.
- 1 small green chili, finely chopped Serrano or Thai; seed for less heat.
- 2 tbsp red onion, finely chopped For sweet-savory pops in the lace.
- 1 tbsp fresh cilantro, chopped Leaves and tender stems.
- 6 to 8 leaves fresh curry leaves, chopped Optional but highly aromatic.
- 2 cups cold water Start here; batter should be very thin.
- 2 to 4 tbsp additional cold water, as needed To thin after resting; aim for buttermilk consistency.
For Cooking
- 2 tbsp ghee, melted For nutty flavor and crisp edges; sub neutral oil if vegan.
- 2 tbsp neutral oil Avocado or canola; mix with ghee for perfect sizzle.
For the Quick Coconut-Cilantro Chutney
- ½ cup unsweetened shredded coconut Fresh or desiccated; do not use sweetened.
- ¼ cup roasted unsalted peanuts or roasted chana dal Adds body and nuttiness.
- ½ cup fresh cilantro leaves, packed Rinse and pat dry for a fresh, bright flavor.
- 1 small garlic clove Fresh, not pre-minced, for clean flavor.
- ½ inch piece fresh ginger, sliced Peel if skin is tough.
- 1 small green chili, stemmed Adjust to heat preference.
- 3 tbsp plain whole-milk yogurt Use cold water instead for a vegan chutney.
- ½ tsp kosher salt Adjust to taste.
- 1 tbsp fresh lime juice About 1/2 lime.
- 2 to 4 tbsp cold water, for blending Adjust to reach a spoonable consistency.
Instructions
- Whisk the dry base: In a medium bowl, whisk together semolina, rice flour, urad dal flour, salt, black pepper, and cumin seeds until evenly combined.
- Build flavor and hydrate: Stir in ginger, green chili, red onion, cilantro, and curry leaves. Gradually whisk in 2 cups cold water to form a very thin, pourable batter—think buttermilk. Tiny bubbles should rise when whisked. Let rest 10 minutes to hydrate.
- Make the chutney (during rest): In a blender, combine coconut, peanuts (or roasted chana dal), cilantro, garlic, ginger, green chili, yogurt, salt, lime juice, and 2 tbsp cold water. Blend until smooth and spoonable, 30–45 seconds. Add more water, 1 tbsp at a time, if needed. Taste and adjust salt and lime. Chill until serving.
- Preheat the pan: Set a 10–12 inch nonstick skillet or seasoned tawa over medium-high heat until a flick of water sizzles and evaporates on contact, about 2–3 minutes; target about 375°F (190°C). Lightly oil the surface with a brush or paper towel.
- Final batter check: After resting, whisk the batter well—semolina settles quickly. If it has thickened, whisk in 2–4 tbsp additional cold water. The batter should be so thin that it pours like milk and quickly spreads into a web.
- Pour for a lacey dosa: Keeping the pan hot, pour a ladleful in a circular motion around the outer edge, then fill the center, letting gaps remain for a lacey pattern. Do not spread with the ladle. Drizzle about 1 tsp of the ghee-oil blend around the edges and into holes for extra crisping.
- Cook until crisp: Cook without moving until the edges turn deep golden and the center looks set and glassy-crisp, 2–3 minutes. If it browns too fast, lower to medium. The dosa should release easily with a spatula when ready.
- Optional flip: For extra caramelization, flip and cook 15–30 seconds more. Fold into thirds or roll into a cone. Transfer to a wire rack or warmed plate.
- Repeat: Stir the batter before each dosa to keep solids suspended; adjust with a splash of water as needed to maintain a thin consistency. Re-grease the pan lightly between dosas. Keep finished dosas warm in a 200°F (95°C) oven if desired.
- Serve: Plate hot, crisp dosas with generous spoons of coconut-cilantro chutney. Garnish with cilantro and a wedge of lime. Enjoy immediately.
Notes
Lisa’s Tips
- Ultra-thin batter: Rava dosa batter should be almost watery. If it’s too thick, it won’t form the characteristic lace.
- Temperature control: Aim for a hot surface—about 375°F (190°C). If your first dosa sticks or looks pale, increase heat slightly; if it scorches, reduce to medium.
- Stir often: Semolina settles quickly. Whisk the batter before each pour for consistent texture.
- Fat blend for crispness: A mix of ghee and neutral oil gives nutty flavor and high-heat performance. Use oil only for a vegan version.
- Substitutions: No urad dal flour? Use 2 tbsp chickpea flour. No peanuts? Use roasted chana dal or cashews. Dairy-free chutney: replace yogurt with cold water plus a splash more lime.
- No blender? Finely chop cilantro and pound the chutney in a mortar and pestle; texture will be rustic but delicious.
Serving Suggestions
- Plating: Fold dosas into thirds and stack slightly offset. Spoon chutney to one side, creating a swoosh. Garnish with cilantro and a lime wedge.
- Color & aroma: Look for deep golden-brown lace, wisps of steam, and toasty cumin-ginger fragrance—your cue it’s perfectly cooked.
- Pairings: Serve with warm sambar for a heartier meal, or a cup of masala chai or salted buttermilk for balance.
Culinary Context
Rava dosa is a beloved South Indian restaurant classic, particularly associated with Udupi-style eateries. Unlike traditional dosa, it skips fermentation, relying on semolina and rice flour for instant, lacy crispness—ideal for busy mornings or impromptu dinners.Optional Advanced Instructions
- Make-ahead: Mix all dry batter ingredients in a jar up to 3 days ahead. Blend the chutney up to 24 hours in advance; stir in a splash of water to loosen before serving.
- Chutney tempering (advanced, optional): Heat 1 tsp oil; pop 1/2 tsp mustard seeds, then add 5–6 curry leaves for 15–20 seconds. Pour over the chutney for a restaurant-style finish.
Timing
- Prep Time: 0 hours 15 minutes (batter 5 minutes + 10-minute rest; chutney blended during rest)
- Cook Time: 0 hours 15 minutes (about 5–6 dosas at 2–3 minutes each, some overlapping heat-up time)
Course & Origin
Course: Breakfast (also great for Lunch or Light Dinner)Cuisine: South Indian, Indian
Origin: Popularized by Udupi restaurants across Karnataka and Tamil Nadu.
Nutrition
Common questions
Can I make the batter ahead of time?
Yes, but only up to 24 hours in the fridge. The semolina continues to absorb liquid as it sits, so the batter will be noticeably thicker the next day — whisk in water a tablespoon at a time until it’s back to that almost-watery consistency before you cook.
Do I need a cast-iron tawa, or will a regular nonstick pan work?
A good nonstick skillet works fine for this recipe. The key is that the pan is fully preheated before the first pour — a nonstick pan that isn’t hot enough will produce a pale, soft dosa regardless of the batter.
Why does my first dosa always come out wrong?
The first dosa is almost always a test dosa, and that’s normal. The pan needs one round to reach the right temperature and get a light coat of oil worked in — treat it as a calibration run and adjust heat or batter consistency before the second one.
More quick recipes to try
- Quick Weeknight Pulao Recipe
- Quick Khaman Dhokla Recipe
- Quick Skillet Garlic Flatbreads
- Easy Classic French Crêpes