
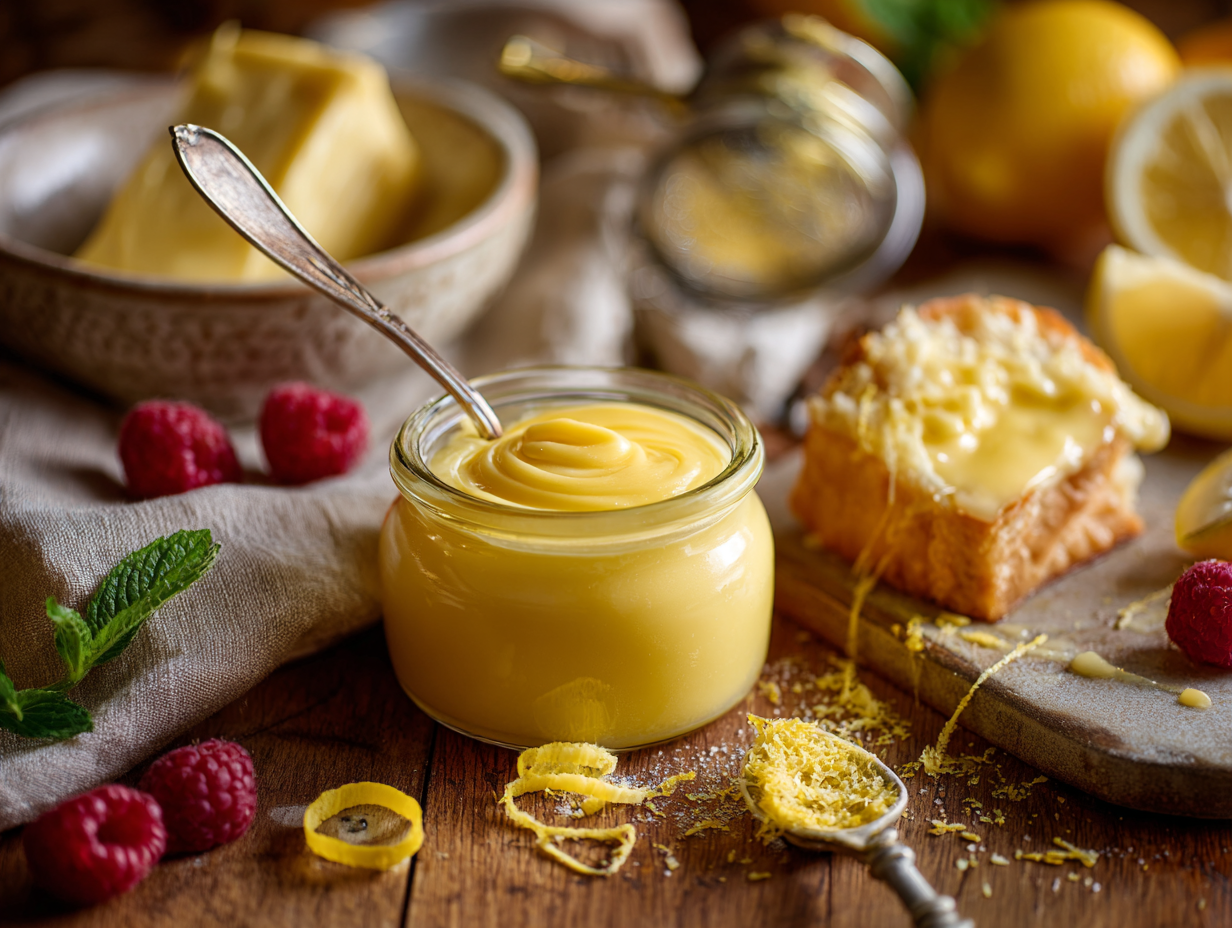
This is a small-batch stovetop lemon curd that takes 25 minutes start to finish — 10 to prep, 15 to cook. It gives you a glossy, tart-sweet spread that works on toast, in a tart shell, or stirred into yogurt. If you have eggs, sugar, butter, and a lemon, you have everything you need.
What makes this version work
Two things actually matter here. First, low and steady heat. Lemon curd scrambles fast if the pan gets too hot — keeping the burner at medium-low the whole time gives the egg proteins time to thicken the mixture gradually instead of seizing into curds. Second, the cold butter goes in off the heat, not while the pan is still on the burner. That step stops the cooking immediately, adds fat that smooths out the texture, and gives the finished curd its glossy look. Everything else — the stirring, the sieve — is just insurance for those two core moves.
Shopping notes
- Lemons: Fresh juice is worth it here because it’s the main flavor. Bottled lemon juice is more acidic and thinner-tasting; if it’s all you have, start with a little less and taste as you go. Conventional lemons work fine — no need to buy organic unless you plan to use a lot of zest.
- Sugar: Regular granulated sugar is completely fine. Ultrafine (baker’s) sugar dissolves a few seconds faster, but it’s not worth a special trip to the store.
- Butter: Standard unsalted butter works. European-style butter has more fat and makes a slightly richer curd, but the difference is small. If you only have salted butter, skip any added salt in the recipe.
- Eggs: Yolk color affects the final hue — deeper-yolked eggs make a more golden curd. Any fresh large eggs will work regardless of label.
What can go wrong
- Curd smells or tastes eggy: The heat was too high or the mixture sat without stirring. There’s no fix once it’s cooked — start over with lower heat and keep the whisk moving the whole time.
- Curd won’t thicken after 15 minutes: The burner is probably too low. Nudge the heat up slightly and keep stirring. It should coat the back of a spoon and hold a line drawn through it before you pull it off the heat.
- Grainy or lumpy texture: Small egg bits cooked too fast. Strain the finished curd through a fine mesh sieve — this catches most of the problem and takes 30 seconds. Skip the garnish — not worth the extra dish.
- Curd is too thin after chilling: It will thicken considerably as it cools in the fridge. If it’s still loose after two hours cold, it likely needed more time on the stove. A thin batch still tastes good as a sauce or yogurt swirl.
- Surface skin forms in the jar: Press a piece of plastic wrap directly onto the surface before sealing. This keeps air off the curd and prevents that rubbery top layer.
Storage and reheating
Spoon the finished curd into a clean jar with a tight lid and refrigerate it. It keeps well for up to one week — the flavor actually sharpens a bit after the first day. For longer storage, freeze it in a sealed container for up to two months. Thaw overnight in the fridge, then whisk it briefly if the texture looks separated. To loosen cold curd for spreading or filling, set the jar in a bowl of warm water for a few minutes rather than microwaving it, which can overheat the edges and change the texture.
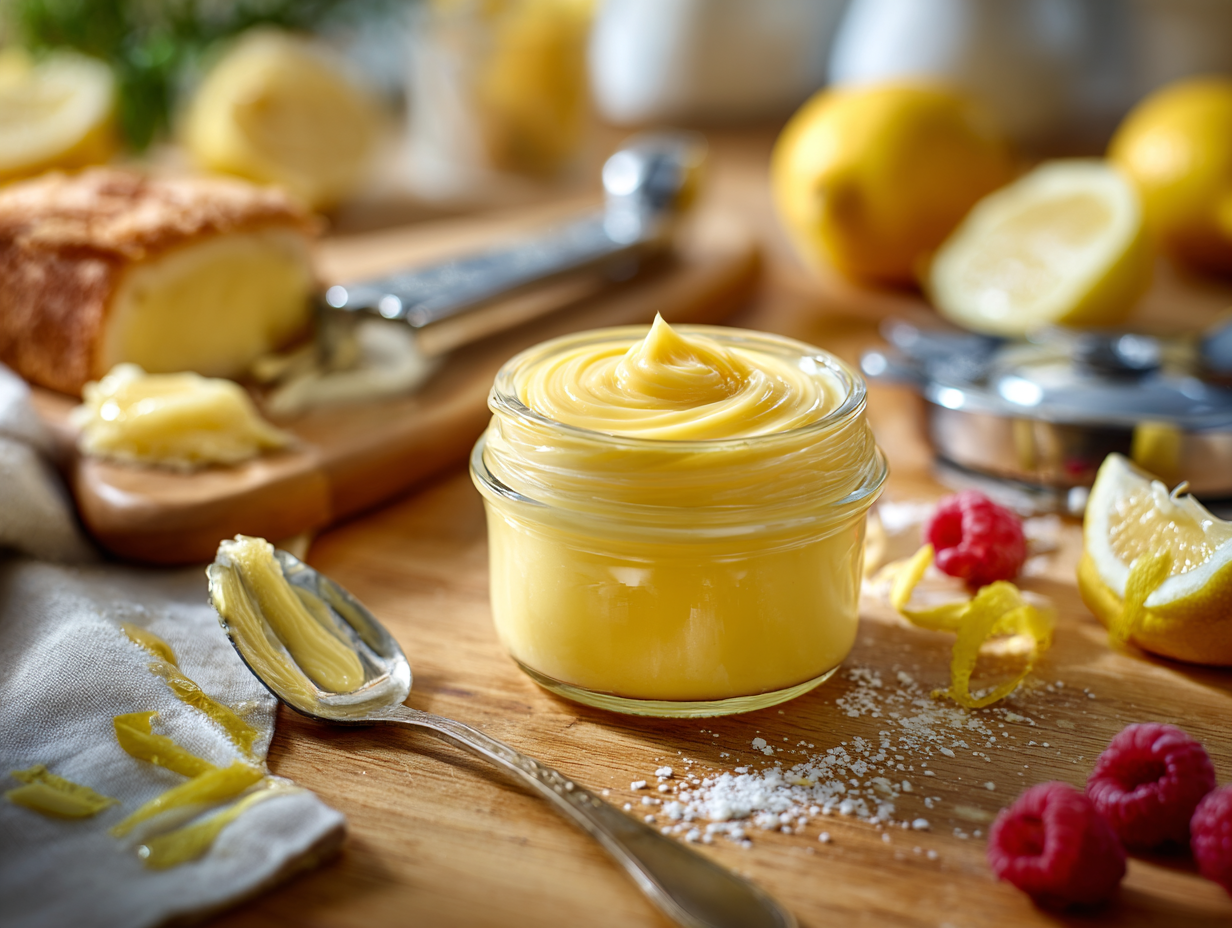
Velvety Stovetop Lemon Curd (Ready in About 25 Minutes)

Equipment
- Microplane zester
- Citrus juicer
- Nonreactive saucepan (stainless steel or enameled)
- Heatproof mixing bowl (for optional double-boiler)
- Balloon whisk
- Silicone spatula
- Instant-read thermometer
- Fine mesh sieve
- Heatproof jar with lid
- Immersion blender (optional)
Ingredients
- ¾ cup granulated sugar use ultrafine baker’s sugar if available for faster dissolution
- 1 tablespoon finely grated lemon zest from 2–3 organic lemons; avoid the bitter white pith
- 3 large eggs room temperature for smoother emulsification
- 3 large egg yolks save whites for meringue or omelets
- ½ cup freshly squeezed lemon juice, strained bright, just-pressed juice makes the flavor pop
- ⅛ teaspoon fine sea salt just enough to amplify the citrus
- 6 tablespoons unsalted butter, cut into 1/2-inch cubes room temperature; European-style (82% butterfat) preferred for richness
- ½ teaspoon vanilla bean paste (optional) adds floral depth without dulling the lemon
- 1/16 teaspoon ground turmeric (optional) a tiny pinch boosts color; you shouldn’t taste it
Instructions
- Mise En Place: Set out your nonreactive saucepan, whisk, and silicone spatula. Place a fine-mesh sieve over a clean bowl or jar for straining later. Have butter cut into small cubes so it melts quickly and emulsifies smoothly.
- Perfume the Sugar: In a mixing bowl, combine the granulated sugar and lemon zest. Use your fingertips to rub the zest into the sugar for 30–60 seconds until the sugar feels slightly damp and smells intensely lemony—this releases aromatic oils for a brighter curd.
- Whisk the Eggs: In the saucepan (off heat), whisk together the eggs and egg yolks until completely homogeneous and slightly lightened—no streaks of white or yolk should remain.
- Combine: Whisk the lemon-sugar mixture into the eggs, then whisk in the strained lemon juice and salt (and turmeric if using). The mixture should be smooth and fluid.
- Cook Low and Slow: Place the saucepan over medium-low heat and cook, stirring constantly with the silicone spatula, making sure to sweep the corners and sides to prevent curdling. The mixture will first become frothy, then silky, and finally thicken. Aim for a gentle steam but no simmering. Cook until it coats the back of a spoon (nappe) and a finger-drawn line holds, or the mixture reaches 170°F / 77°C, about 8–12 minutes depending on your burner and pan.
- Alternative (double boiler): If you prefer extra insurance, place a heatproof bowl over a pot of barely simmering water (185°F / 85°C water, no vigorous bubbling). Cook as above, stirring constantly, 10–15 minutes until thickened and at 170°F / 77°C.
- Finish with Butter: Remove from heat. Immediately whisk in the butter a few cubes at a time until fully melted and the curd is glossy and smooth. Whisk in vanilla bean paste if using.
- Strain and Cool: Pour the curd through the prepared sieve into your jar or bowl, pressing gently to catch any zest or tiny egg solids. Press parchment or plastic wrap directly onto the surface to prevent a skin. Let cool briefly at room temperature before refrigerating. It will thicken further as it cools.
- Serve: Once cool and silky, spoon over yogurt, fill tart shells, or spread on toasted brioche. Store refrigerated up to 1 week.
Notes
Jen’s Tips:
- Egg Insurance: Keep heat moderate and stir constantly. If you see the tiniest flecks, don’t panic—an immersion blender will smooth them out before straining.
- Taste Balance: For a sweeter curd, increase sugar to 1 cup. For extra tartness, reduce sugar to 2/3 cup.
- Dairy-Free: Swap butter with vegan butter or refined coconut oil; add a pinch more salt and a drop of vanilla to round flavors.
- Flavor Twists: Replace part of the lemon juice with Meyer lemon, lime, or passion fruit juice. A few drops of orange blossom water add intrigue.
- Color Cue: A pinch of turmeric boosts golden hue without altering flavor. Add sparingly.
- Ultra-Smooth Texture: Chill the finished curd over an ice bath, stirring, for a rapid set and extra gloss.
Serving Suggestions:
- Elegant Tart: Fill a prebaked tart shell, top with fresh raspberries, and dust with confectioners’ sugar.
- Breakfast Luxe: Swirl into Greek yogurt and granola; garnish with lemon zest ribbons for fragrance and color.
- Cake Companion: Layer between sponge cakes with whipped cream; finish with thin lemon slices and mint.
- Plating Tip: For clean lines, spoon curd, tap the plate gently to spread, then drag the back of a warm spoon for a glossy swoosh.
Culinary Context:
Lemon curd originated in England and became a staple of afternoon tea, traditionally served with scones and clotted cream. My take leans on gentle heat and a butter finish for a modern, custard-smooth texture that’s as at home in simple breakfasts as it is in refined desserts.Optional Advanced Instructions:
- Make-Ahead: Lemon curd keeps refrigerated up to 1 week or frozen up to 2 months. Thaw overnight in the refrigerator and whisk briefly to restore silkiness.
- Tempering Method (for beginners): Warm the lemon juice separately until hot but not boiling. Whisk it slowly into the eggs while stirring constantly to gently raise their temperature, then return everything to the pan to finish cooking to 170°F / 77°C.
- Small-Batch Scaling: Halve all ingredients and cook in a smaller pan, stirring even more vigilantly to prevent scorching.
Timing:
- Prep Time: 10 minutes (zesting, juicing, measuring)
- Cook Time: 15 minutes (to 170°F / 77°C, stovetop)
Nutrition
Your questions, answered
Can I use whole eggs instead of just yolks?
Yes, though the result will be slightly less rich and a paler yellow. Whole eggs contain more white protein, which can make the curd set a little firmer — use them if that’s what you have, just watch the heat carefully since whites scramble faster than yolks.
What if I don’t have a nonreactive pan?
Use a stainless steel or enameled saucepan. Avoid uncoated aluminum or cast iron — the acid in lemon juice reacts with those metals and can give the curd a metallic taste. A regular stainless skillet works in a pinch.
Can I double the recipe?
Yes, but expect the cooking time to increase by 5 to 8 minutes since there’s more mass to heat through. Keep the burner at medium-low and don’t rush it — a bigger batch is more likely to overheat on the bottom if you try to speed things up.
Do I have to use a sieve?
Not if the curd looks smooth and no bits are visible. The sieve is a safety net for catching any egg that cooked slightly too fast. If the texture looks clean when you pull it off the heat, you can skip it.
Can I make this without a thermometer?
Yes. The curd is ready when it thickly coats the back of a spoon and a line drawn through it with your finger holds its shape without running. A thermometer takes the guesswork out, but it’s not required.
My lemon only gave me a small amount of juice — can I stretch it with water or another citrus?
Lime juice is the closest swap and makes a good curd on its own or mixed with lemon. Orange juice works but produces a much sweeter, milder result. Avoid adding plain water — it dilutes flavor without adding anything back.