
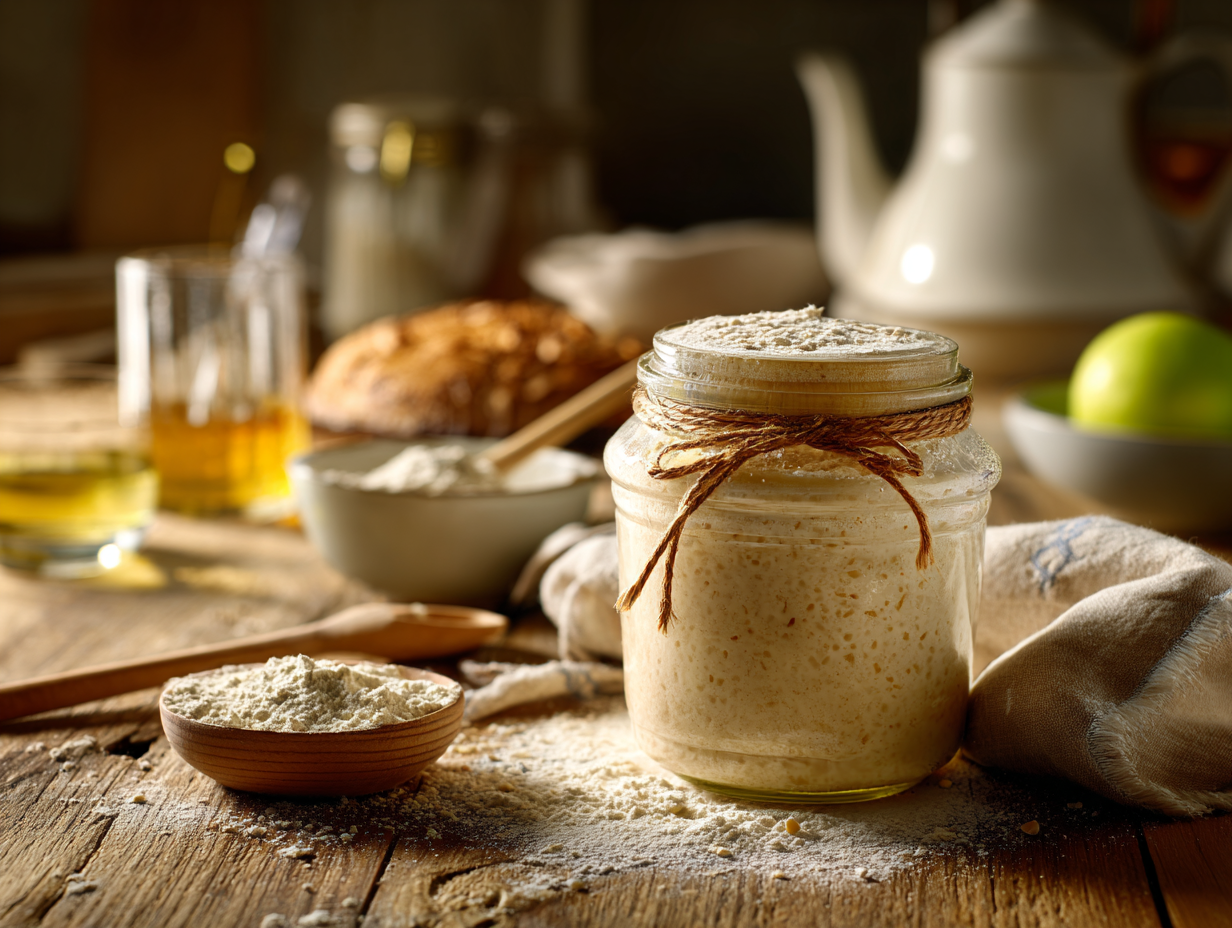
This starter uses whole rye flour and a small amount of fruit on day one to get wild yeast moving faster than all-purpose flour alone. Each daily feeding takes about 30 minutes of active work — the culture does the rest on its own. If you want a reliable homemade leavener without weeks of uncertainty, this method gets you there.
What makes this version work
Two things actually move the needle here. First, whole rye flour on day one — it carries more wild yeast and enzymes than refined flour, so fermentation kicks off faster and more reliably. Second, the fruit juice addition in the early days lowers the pH right away, which discourages the wrong bacteria from taking hold before your beneficial culture has a chance to establish itself. That early acidity mimics what a mature starter already has, so you’re not waiting for the environment to self-correct over two weeks. Skip the fruit juice and you can still get there, but expect slower, less predictable results in the first few days.
Mistakes to avoid
- Using chlorinated tap water: Chlorine can slow or stall fermentation. Let tap water sit uncovered for 30 minutes before using it, or use filtered water from the start.
- Keeping the jar in a cold spot: A counter near an air vent or a cool corner of the kitchen can drop your ambient temperature below the effective range. The top of the refrigerator or inside an oven with just the light on are reliable warm spots if your kitchen runs cold.
- Sealing the jar airtight: The culture needs to breathe and release gas. Use a loose lid, a piece of plastic wrap with a small hole, or a cloth secured with a rubber band — a sealed jar can crack or overflow.
- Panicking when it smells sharp or funky early on: An acetone or nail-polish smell in the first couple of days is normal and temporary. It means the culture is active but hungry. Feed it on schedule and the smell will shift to something yeasty and pleasantly sour within a day or two.
- Skipping the discard on day two and beyond: It feels wasteful, but keeping the full volume means you’re diluting the culture with too much fresh flour relative to active microorganisms. The discard step keeps the ratio right — use the discard in pancake batter or crackers so nothing goes to waste.
Storage and reheating
Once your starter is active and passing the float test, move it to the refrigerator in a loosely covered jar. A cold, established starter needs feeding only once a week — take it out, discard half, feed it with fresh flour and water, let it sit at room temperature for 4 to 6 hours until it peaks, then return it to the fridge. If you haven’t baked in a few weeks and the starter looks sluggish or has a thin gray liquid on top (called hooch), pour off the liquid, discard all but a tablespoon, and do two consecutive daily feedings at room temperature before using it again. Freezing is an option for long-term backup — spread a thin layer on parchment, freeze until solid, then store the flakes in a zip bag for up to 3 months. Revive frozen starter with three or four daily feedings before baking with it. There’s no reheating step here; just bring it to room temperature and feed it. Honestly, refrigerator storage is the only method most home bakers will ever need — freezing is worth it only if you’re going months without baking.
Sourdough Starter Recipe (30-Minute Active Rye & Apple Kickstart)

Equipment
- 1-quart wide-mouth glass jar (heat-safe)
- Small pot or kettle (for boiling water)
- Instant-read thermometer
- Measuring cups and spoons
- Flexible spatula or spoon
- Rubber band and permanent marker
- Clean cloth or coffee filter
Ingredients
For Sterilizing & Setup:
- 4 cups water for boiling/sterilizing jar and tools
For the Day 1 Starter Mix:
- ½ cup whole rye flour pumpernickel or stone-ground preferred for lively fermentation
- ½ cup unsweetened pineapple juice room temperature; helps create an acidic environment
- 2 tbsp filtered water room temperature; add as needed to adjust consistency
For the Daily Feeding (Days 2–5) — per feeding:
- ½ cup unbleached all-purpose flour per feeding; can substitute 50% bread flour for structure
- ¼ cup filtered water (75–80°F / 24–27°C) per feeding; lukewarm encourages activity
Instructions
- Preparation: Sterilize the Jar (Cook: 10 minutes): Place your clean, heat-safe glass jar and spoon in a small pot. Cover with the 4 cups water. Bring to a boil and gently simmer for 10 minutes at about 212°F / 100°C. This minimizes unwanted microbes. Remove carefully with tongs and let air-dry upside down on a clean towel. Allow the jar to cool to room temperature before use.
- Day 1: Mix the Starter (Prep: 10 minutes): In the cooled jar, add 1/2 cup whole rye flour and 1/2 cup pineapple juice. Stir vigorously to aerate. If too thick, add up to 2 tbsp filtered water until it resembles a thick batter—like creamy peanut butter. Aim for 75–80°F / 24–27°C mixture temperature for a head start. Scrape down the sides. Level the surface and mark the height on the glass with a rubber band or marker. Cover the jar with a breathable cloth or coffee filter secured with a band. Rest the jar in a warm spot, ideally 72–78°F / 22–26°C, away from direct sunlight.Sensory Cue: You may notice a fruity aroma and tiny pinprick bubbles within 12–24 hours—promising signs.
- Day 2: First Feeding (Prep: 5 minutes): Check aroma (mildly tangy) and look for light bubbling. Stir to assess texture. Discard roughly half the mixture (down to about 1/2 cup in the jar). Add 1/2 cup all-purpose flour and 1/4 cup lukewarm water (75–80°F / 24–27°C). Stir until smooth and tacky, then re-mark level.
- Day 3: Increase the Rhythm (Prep: 5 minutes): If the starter is rising noticeably and smells pleasantly tangy, continue with the same discard-and-feed: 1/2 cup flour + 1/4 cup water. If it doubles in under 12 hours, feed twice today—morning and evening—keeping the same per-feeding amounts.Sensory Cue: Look for a dome of bubbles and a spongy, webbed interior when stirred.
- Days 4–5: Strengthen and Test: Continue daily (or twice-daily) feedings until the starter doubles in 4–6 hours at 75°F / 24°C. Aroma should shift from fruity to clean, lactic-tangy.Readiness Checks: (a) Peak rise with a slightly domed top; (b) A spoonful floats in water at room temp; (c) Sweetly sour aroma without harsh notes.
- Maintenance: Room temp, daily bakes: keep at room temp, feed once or twice daily using the same per-feeding amounts. Weekly bakes: refrigerate after it peaks; feed 1–2 times before baking to re-energize. Hydration cue: aim for a thick but stirrable paste. If runny, add a spoon of flour; if stiff, a teaspoon or two of water.
Notes
Jen’s Tips:
- Flour Choice: Whole rye on Day 1 speeds activity; switch to all-purpose for a cleaner flavor profile. For more tang, keep 25–50% whole grain in feedings.
- Water Quality: If tap water is heavily chlorinated, use filtered or rest it uncovered 30 minutes before use.
- Temperature Control: A warm spot like the top of a refrigerator or an oven with the light on (no heat) often sits around 75–80°F / 24–27°C.
- Consistency Matters: Thicker starters rise higher; thinner ones ferment faster. Adjust to your schedule.
- Substitution: If you don’t have pineapple juice, use unsweetened apple cider or water with a squeeze of lemon (about 1 tsp per 1/2 cup water).
- For reliable results, keep notes on rise times, aroma, and temperature.
- Discard can be used in crackers, pancakes, or muffins to minimize waste.
- If you encounter pink or orange streaks or an off, rotten smell, discard and restart.
Serving Suggestions:
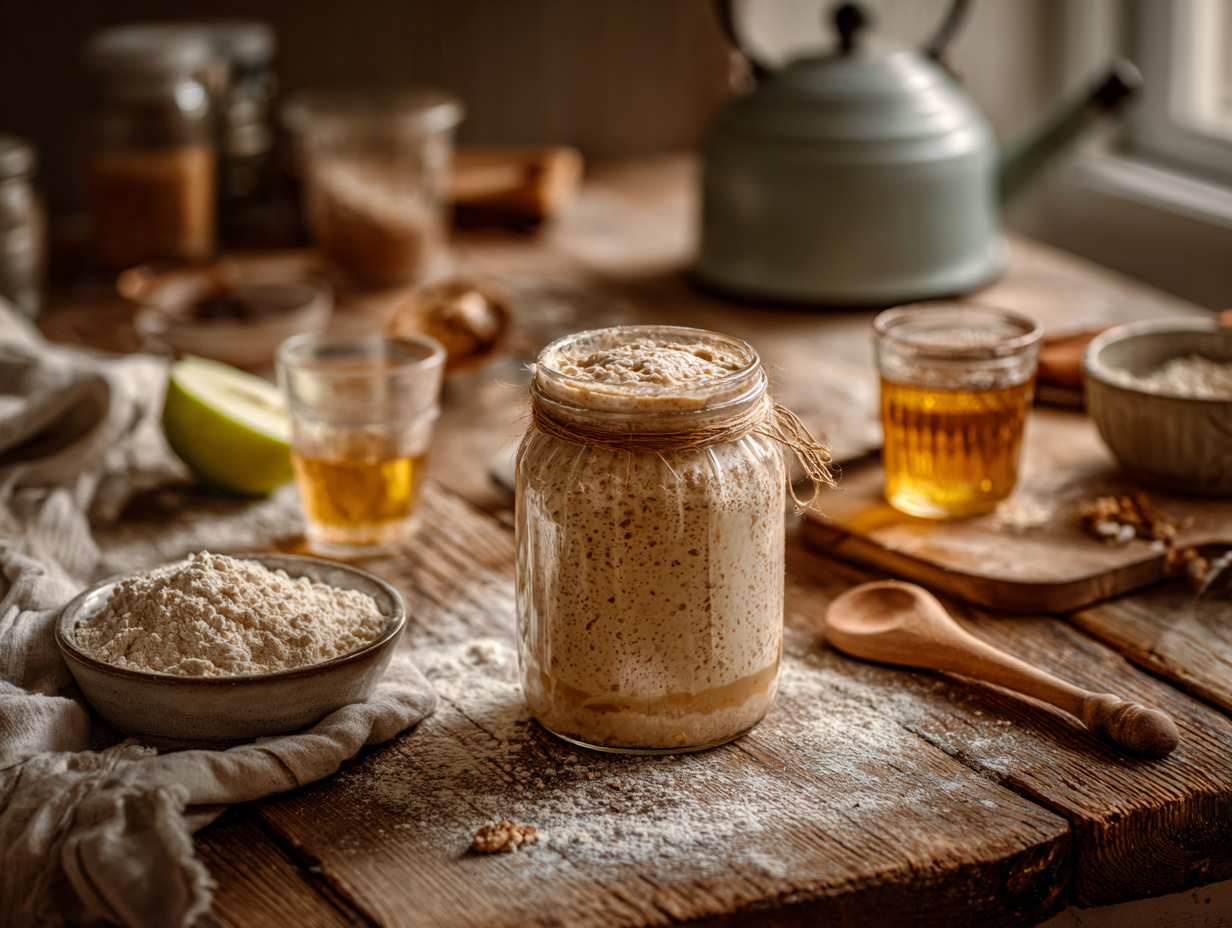
While the starter itself isn’t served as-is, it’s your gateway to beautiful bakes. Once reliably doubling, try: Breakfast: sourdough pancakes or waffles using discard—golden edges, tender crumb, subtle tang. Bakery classics: country loaves with blistered crusts and custardy interiors. Presentation: store your active starter in a clear jar with a tidy label and rubber band marker—creamy beige with fine bubbles indicates perfect vigor.Culinary Context:
Sourdough predates commercial yeast by millennia, with roots across Europe and the Middle East. Bakers cherished starters as family heirlooms—living cultures passed from hand to hand. This method nods to that heritage while using modern cues (temperature, acidity) to get you baking sooner.Optional Advanced Instructions:
- Build Ahead: Pre-warm flour and water to 78°F / 26°C for a quicker start.
- Stiffer Build (50–60% hydration): Knead into a doughy ball for travel; it ferments slower and is easier to transport.
- Food Processor Alternative: If mixing large builds, a few pulses incorporate air quickly, though hand mixing gives better feel.
Timing:
- Prep Time: 20 minutes total (10 minutes to mix and mark, plus brief setup steps).
- Cook Time: 10 minutes (boiling/sterilizing jar and tools at 212°F / 100°C).
- Total Active Time Today: 30 minutes.
Nutrition
Common questions
Can I use all-purpose flour instead of rye to start?
Yes, but expect the process to take several days longer. Rye has a higher concentration of wild yeast and nutrients than all-purpose flour, so swapping it out removes one of the main shortcuts in this method. Once your starter is established, you can switch to feeding it with all-purpose flour if that’s what you have on hand.
How do I know when the starter is actually ready to bake with?
Drop a small spoonful into a glass of water — if it floats, the starter has enough gas production to leaven bread. You should also see it reliably doubling in size within 4 to 8 hours of a feeding and smell yeasty and tangy rather than sharp or alcoholic.
What if nothing seems to be happening after two or three days?
Move the jar somewhere warmer first — temperature is the most common reason a starter stalls early. If you’re already in the right range and still see no bubbles by day three, try replacing half the flour in the next feeding with fresh whole rye, which will reintroduce more wild yeast to the mix.
Try these next
- Quick Skillet Garlic Flatbreads
- Quick Soft Pretzels
- Quick No-Yeast Beignets
- Easy Classic French Crêpes