
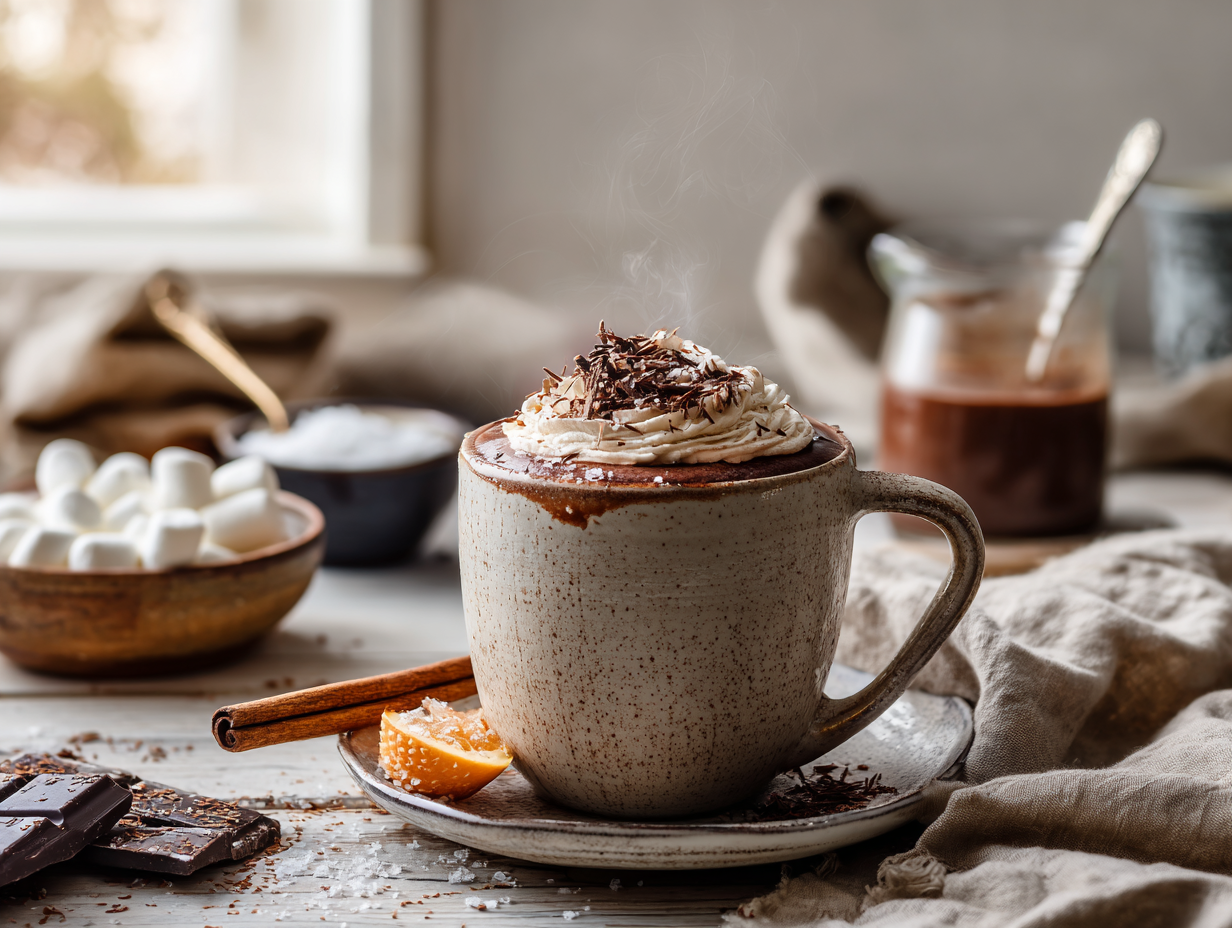
This hot cocoa makes four generous mugs in about 20 minutes using Dutch-process cocoa, a small amount of real chocolate, and a salted cocoa whipped cream on top. The blooming step and temperature control are what separate it from a packet mix — both are straightforward once you know what to look for. It also scales up cleanly, so making a double batch on a cold night means tomorrow’s cocoa is already done.
Before you start
Two things actually move the needle here. First, blooming: you whisk the cocoa powder with a small amount of warm liquid into a paste before adding the rest of the milk. This isn’t fussy — it just gives the cocoa powder direct heat and moisture so it dissolves fully and tastes noticeably deeper, not dusty or flat. Second, temperature. You want the milk hot enough to melt the chocolate and create a proper sipping temp, but not boiling — boiling scorches the milk solids and breaks the smooth texture you’re after. Pull the pan off the heat the moment you see small bubbles forming around the edges and wisps of steam rising steadily. If you have an instant-read thermometer, 170–180°F is your target. Skip the thermometer if you don’t own one; the visual cues are reliable enough.
If something goes sideways
- Cocoa paste seized into lumps: This usually means the liquid was added too fast or the cocoa wasn’t fully whisked before the milk went in. Remove from heat, add a splash of warm milk, and whisk hard — most lumps will smooth out. Strain through a fine mesh sieve if needed.
- Chocolate didn’t fully melt: The milk wasn’t hot enough when the chocolate went in. Return the pan to low heat and whisk constantly for 60–90 seconds. Don’t crank the heat — you’ll overshoot the temperature.
- Whipped cream won’t hold peaks: Your bowl or cream wasn’t cold enough. Pop both in the freezer for 10 minutes and try again. Warm cream resists whipping no matter how long you go.
- Cocoa tastes thin or one-dimensional: Dutch-process cocoa varies a lot by brand. If yours is on the mild side, add an extra half-ounce of chopped chocolate and a small pinch of salt directly to the pot — that usually fixes it without starting over.
- Skin forming on the surface while it sits: Lay a piece of plastic wrap directly on the surface of the cocoa if you’re holding it warm on the stove. Stir before ladling. Skip the garnish — not worth the extra dish when you’re serving a crowd and the cocoa needs to move fast.
Make-ahead notes
The cocoa base — everything except the whipped cream — keeps well in the fridge for up to four days in a sealed container. Make a double batch intentionally and you’ve got quick weeknight cocoa with almost no effort on nights two through four. To reheat, warm it gently in a saucepan over medium-low heat, whisking occasionally, until it hits that 170–180°F range again; don’t microwave it in a large batch because the edges overheat before the center is warm. The whipped cream is best made fresh each time since it deflates within a few hours, but if you need to prep ahead, stabilize it with a teaspoon of powdered sugar per cup of cream and refrigerate it in a fine mesh strainer set over a bowl — it’ll hold for up to 24 hours that way.
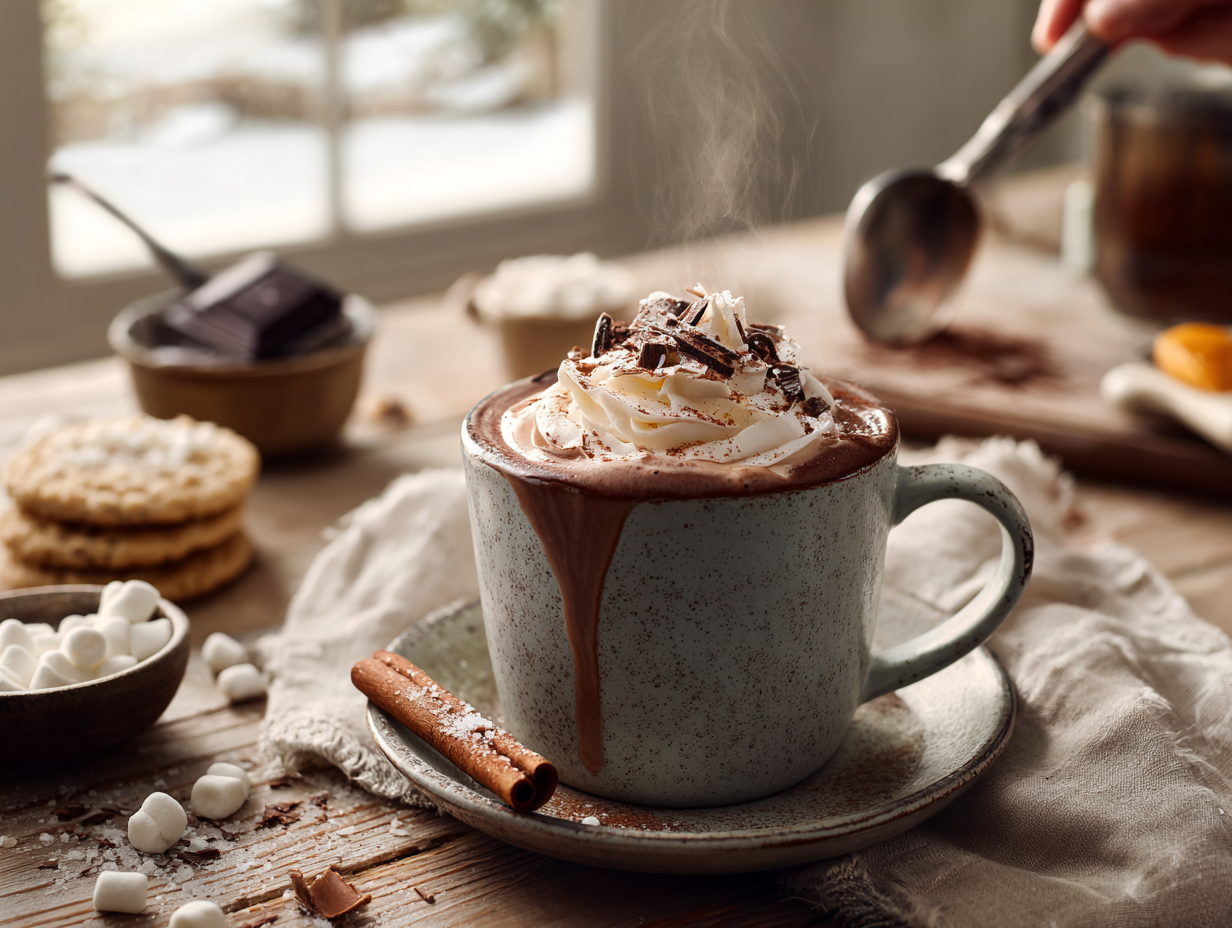
Silky Hot Cocoa with Salted Cocoa Whipped Cream

Equipment
- 2- to 3-quart heavy-bottomed saucepan
- Whisk
- Heatproof spatula
- Measuring cups and spoons
- Fine mesh sieve (optional, for extra smoothness)
- Instant-read thermometer (optional)
- Mixing bowl (chilled) for whipped cream
- Hand mixer or balloon whisk
- Ladle
- 4 heatproof mugs
Ingredients
For the Hot Cocoa Base:
- ⅓ cup granulated sugar adjust to taste
- 3 tbsp Dutch-process cocoa powder look for high-quality like Valrhona or Guittard; natural cocoa works but tastes brighter
- ½ tsp instant espresso powder optional; amplifies chocolate flavor without tasting like coffee
- ⅛ tsp kosher salt balances sweetness
- 3 cup whole milk for best texture, do not use nonfat
- 1 cup half-and-half for extra richness; sub with 1 cup whole milk for lighter cocoa
- 3 oz semi-sweet chocolate, finely chopped (60–70%) Ghirardelli, Guittard, or similar; chop finely for quick melting
- 1 tsp pure vanilla extract add off heat for best aroma
- 1 stick cinnamon optional; 3-inch stick for gentle spice
- 1 strip orange peel (2-inch) optional; use a peeler for minimal pith
For the Salted Cocoa Whipped Cream (Optional):
- ½ cup heavy whipping cream, cold chill bowl and beaters for faster whipping
- 1 tbsp powdered sugar also called confectioners’ sugar
- 1 tsp unsweetened cocoa powder Dutch-process preferred for smoothness
- 1 pinch flaky sea salt enhances cocoa flavor
For Garnish (Optional):
- ½ cup mini marshmallows optional
- 1 oz dark chocolate bar, for shaving use a peeler for curls
- ¼ tsp ground cinnamon optional, for dusting
Instructions
- Stage Your Tools (1 minute): Chill a mixing bowl for whipped cream. Set a saucepan over the stove and place a whisk and spatula nearby.
- Bloom the Cocoa (1–2 minutes): In the saucepan off heat, whisk together 1/3 cup sugar, 3 tbsp cocoa powder, 1/2 tsp espresso powder (optional), and 1/8 tsp kosher salt. Whisk in about 1/3 cup of the milk to form a smooth, glossy paste with no dry pockets. Turn heat to medium and warm just until the paste steams and deepens in aroma—this “blooming” unlocks chocolatey depth.
- Warm the Dairy (5–7 minutes): Gradually whisk in the remaining 2 2/3 cups milk and 1 cup half-and-half. Add the cinnamon stick and orange peel if using. Heat over medium, whisking occasionally, until the mixture is steaming hot but not boiling—about 170–180°F / 77–82°C. You’ll see wisps of steam and tiny bubbles around the edges; avoid a rolling boil to keep it silky.
- Melt the Chocolate (1–2 minutes): Remove from heat. Add the 3 oz finely chopped chocolate and 1 tsp vanilla. Let sit 30 seconds, then whisk gently until completely smooth and glossy. If a few flecks remain, return to low heat and whisk another minute.
- Froth for Body (15–30 seconds): Whisk vigorously or use an immersion blender for 15–30 seconds to aerate slightly—this creates a luxurious, café-style texture.
- Make the Whipped Cream (2–3 minutes, can be done in parallel): In the chilled bowl, whisk or beat 1/2 cup heavy cream, 1 tbsp powdered sugar, 1 tsp cocoa powder, and a pinch of flaky salt until soft peaks form. Soft peaks will curl over gently when the whisk is lifted.
- Strain (optional, 30 seconds): For ultra-smooth cocoa, pass through a fine-mesh sieve back into the warm saucepan or a pitcher.
- Serve (1 minute): Ladle into warm mugs. Top with a dollop of salted cocoa whipped cream or a handful of mini marshmallows. Finish with chocolate shavings and a whisper of cinnamon, if you like.Cook Time Reference: Bloom 1–2 minutes; Warm dairy 5–7 minutes; Melt/froth 2–3 minutes. Total active heating is about 10 minutes.
Notes
Jen’s Tips:
- Dutch vs. Natural Cocoa: Dutch-process gives a smoother, rounder chocolate flavor; natural cocoa tastes fruitier. Both work—adjust sugar to taste.
- Thickness Control: For a richer, sippable texture, sub the half-and-half with heavy cream. For even thicker “drinking chocolate,” whisk in a slurry of 1 tsp cornstarch + 1 tbsp cold milk and simmer 30 seconds (about 185°F / 85°C), whisking.
- Dairy-Free/Vegan: Use 3 cups unsweetened almond milk + 1 cup canned light coconut milk. Swap the chocolate for a dairy-free bar and top with coconut whipped cream.
- Sweetener Swaps: Replace sugar with 1/4 cup pure maple syrup or 3 tbsp light brown sugar for caramel notes.
- Flavor Twists: Peppermint (add 1/4–1/2 tsp peppermint extract off heat), Mexican-inspired (add 1/8 tsp cayenne + 1/2 tsp ground cinnamon), Mocha (add a hot espresso shot to each mug).
- Pre-Warm Mugs: Fill with hot water for 1–2 minutes, then dump and dry. This keeps cocoa hotter, longer.
Serving Suggestions:
- Presentation: Aim for a glossy, mahogany sheen with a pillowy cap of whipped cream. Finish with delicate chocolate curls (use a vegetable peeler) and a light cinnamon dust.
- Pairings: Serve with butter cookies, biscotti, or churros. A side of fresh orange slices brightens the palate.
- Beverage Pairings: Espresso for a DIY mocha; for adults, a splash of coffee liqueur or peppermint schnapps.
Culinary Context:
Hot cocoa traces its roots to Mesoamerican cacao drinks—spiced, unsweetened, and symbolic—later sweetened and softened with milk in Europe and the U.S. This version nods to that journey: spice and citrus optional, modern technique for texture, and a touch of real chocolate for old-world richness.Optional Advanced Instructions:
- Make-Ahead Mix: Combine 1 cup sugar, 1 cup Dutch cocoa, 2 tsp espresso powder, and 1 tsp fine salt in a jar. For each 1 cup milk, use 1 heaping tbsp of the mix and adjust to taste.
- Parallel Prep: Start whipping the cream while the dairy warms. Strain cocoa into a warmed pitcher for clean service.
- No Whisk? Use a blender: blend hot cocoa carefully on low, venting the lid to release steam.
Timing:
- Prep Time: 10 minutes (measure, chop chocolate, chill bowl, optional garnishes)
- Cook Time: 10 minutes (bloom 1–2 min; warm 5–7 min to 170–180°F / 77–82°C; melt/froth 2–3 min)
Course:
- Dessert
Origin:
- American
Nutrition
FAQ
Can I use natural cocoa powder instead of Dutch-process?
Yes, but the flavor will be sharper and slightly more acidic. Natural cocoa hasn’t been alkalized, so it has a brighter, more bitter edge — the finished cocoa will still taste good, just different. If that’s what you have, it works fine.
Can I make this dairy-free?
Full-fat oat milk or canned coconut milk are the best swaps — both have enough fat to give you a creamy result. Thin plant milks like rice milk tend to produce a watery cocoa that doesn’t hold the chocolate in suspension as well.
What kind of chocolate should I use?
A bittersweet or semisweet bar chocolate in the 60–70% cacao range works best here. Chocolate chips can work in a pinch, but many contain stabilizers that make the texture slightly grainy compared to a chopped bar.
How do I keep the cocoa warm if I’m serving it over a longer stretch?
A slow cooker on the warm setting holds it well for up to two hours without scorching. Stir it every 30 minutes or so, and keep the lid slightly ajar so condensation doesn’t drip back in and thin it out.
Can I cut the sugar without wrecking the recipe?
You can reduce it by up to a third without a noticeable change in texture. Going further than that can make the cocoa taste harsh because the sugar balances the bitterness of both the cocoa powder and the dark chocolate.