
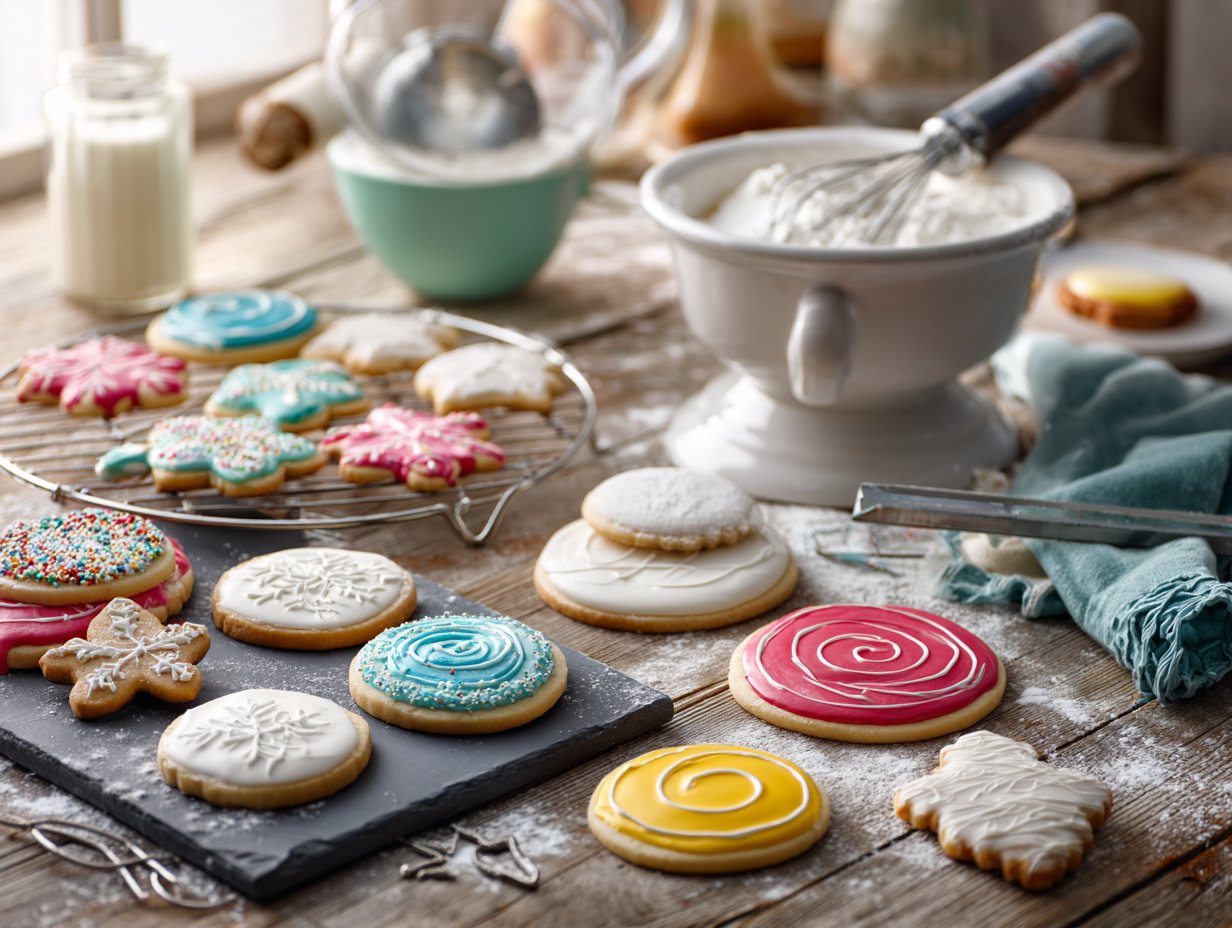
This royal icing comes together in 15 minutes using meringue powder and confectioners’ sugar — both pantry staples that keep for months. It pipes cleanly for outlines and thins down for flooding cookie surfaces, then dries to a hard, stackable finish. If you have sugar cookies to decorate tonight, this is the recipe that actually gets them done.
The technique that matters
Consistency control is everything with royal icing, and it comes down to water — added one teaspoon at a time. The base recipe gives you a stiff icing that holds peaks. From there, thin it gradually for outlining (a ribbon falling off the spoon should hold its shape for a few seconds) or thin it further for flooding (the ribbon should disappear into the surface in about 10 seconds). Going too fast and adding too much water at once is how you end up with icing that bleeds under your outlines or never fully firms up. The other thing that matters: beat the icing long enough. Under-mixed icing looks glossy but stays soft and won’t dry to a hard finish. Two to three minutes on medium-high in a stand mixer, or a solid four to five minutes with a hand mixer, is the minimum. Stop when stiff peaks form and the icing looks bright white and matte, not wet and shiny.
If something goes sideways
- Icing won’t dry hard after several hours: Humidity is usually the culprit. Move decorated cookies to a cool, dry spot — near an air vent works. Avoid covering them while they dry. A small fan on low aimed near (not directly at) the cookies speeds things up without cratering the surface.
- Colors look spotty or streaky after mixing: Gel food coloring needs time to fully hydrate into the icing. Stir, cover the bowl with a damp cloth for 10 minutes, then stir again. The color will even out. Skipping the rest is the most common reason for uneven color.
- Icing is grainy or gritty: Your confectioners’ sugar wasn’t sifted, or it had lumps from moisture. Sift it before mixing — skip the sifting and you’ll feel it in the finished icing.
- Flood icing bleeds outside the outline: The outline wasn’t dry enough before flooding. Give outlines at least 15 to 20 minutes to crust before you flood inside them, even if they look set.
- Meringue powder substitution: No meringue powder on hand? Use 3 tablespoons of aquafaba (the liquid from a can of chickpeas) in place of the meringue powder and water called for in the recipe. It whips up similarly and dries hard — skip the garnish on the can label, not worth the extra dish.
Make-ahead notes
Royal icing keeps well in an airtight container at room temperature for up to 3 days, or in the fridge for up to 2 weeks. Press plastic wrap directly against the surface of the icing before sealing — even a thin air gap will cause a crust to form on top. When you’re ready to use refrigerated icing, bring it to room temperature and re-whip it briefly (about 1 minute) to restore the texture. Pre-tinted portions in small lidded containers or zip-top bags also refrigerate fine using the same method. Decorated, fully dried cookies can be stacked with parchment between layers and stored at room temperature in an airtight container for up to a week without the icing cracking or bleeding.
Classic Royal Icing (Glossy, Pipeable, and Quick)

Equipment
- Stand mixer with whisk attachment
- Large mixing bowl
- Fine mesh sieve
- Silicone spatula
- Piping bags
- Couplers and assorted piping tips
- Toothpicks or scribe tool
- Small bowls for coloring
- Spray bottle or dropper
- Damp kitchen towel or plastic wrap
- Parchment paper
Ingredients
For the Royal Icing:
- 4 cups confectioners’ sugar (10X), sifted about 1 lb; sift for the smoothest finish
- 3 tbsp meringue powder preferred for stability and food safety
- 6 tbsp water, room temperature start with 6 tbsp; add more as needed
- 1 tsp clear vanilla extract clear keeps icing bright white
- 1 tsp fresh lemon juice optional, balances sweetness and brightens flavor
- 1 tsp light corn syrup optional, for extra gloss and a softer bite
- 2-4 tbsp additional water, as needed adjust in small increments to reach desired consistency
- 1 bottle gel food coloring or as needed; gel or paste colors won’t thin the icing
For Alternative (if not using meringue powder):
- 2 large pasteurized egg whites about 1/4 cup; omit meringue powder and reduce starting water to 2 tbsp
Instructions
- Sift the Sugar: Place 4 cups sifted confectioners’ sugar in the bowl of a stand mixer. Sifting ensures a silky, lump-free finish—essential for fine piping.
- Hydrate the Meringue Base: In a separate cup, whisk 3 tbsp meringue powder with 6 tbsp room-temperature water (about 80–90°F / 27–32°C) until foamy and fully dissolved, 20–30 seconds.
- Begin Mixing: Add the hydrated meringue to the sugar. Beat on low just until combined (30–60 seconds), scraping the bowl and whisk as needed to bring down any sugar clinging to the sides.
- Whip to Peaks: Increase to medium speed and whip 2–3 minutes until the icing becomes bright white and glossy with soft-to-medium peaks that curl at the tips. Avoid overbeating; a dry, bubbly appearance means it has gone too far.
- Flavor and Finish: Mix in 1 tsp clear vanilla, plus 1 tsp lemon juice and 1 tsp light corn syrup if using. Beat 10–15 seconds on low to incorporate. This is your stiff icing for fine lines and flowers.
- Adjust Consistency: For piping/medium, add water a few drops at a time and stir by hand until a ribbon of icing disappears into itself in 20–25 seconds. For flood, thin further to a 10–15 second ribbon. Use a spray bottle or dropper for precision, and keep bowls covered with a damp towel to prevent crusting.
- Color Smartly: Divide icing into small bowls. Tint with gel colors (a toothpick dab at a time). Stir gently to avoid bubbles; let sit 2–3 minutes, then pop any surface bubbles with a toothpick.
- Bag and Pipe: Fit piping bags with tips and couplers. Load stiff icing for outlines and details; use flood icing for fills. Outline first, then flood within the barrier. Shake or gently wiggle cookies to self-level; use a scribe to coax icing into corners and to create marbling effects.
- Drying Guidance (not cooking): Allow iced pieces to dry at cool room temperature around 68–72°F (20–22°C) with low humidity. Surface set in 20–30 minutes; fully dry 6–8 hours or overnight before stacking. No baking or heat cooking is required for the icing itself.
- Alternative with Pasteurized Egg Whites: Use 2 large pasteurized egg whites (about 1/4 cup) in place of meringue powder and reduce the starting water to 2 tbsp, adding more as needed. Ensure egg whites are labeled pasteurized (treated to 160°F / 71°C) for safety.
Notes
Jen’s Tips:
- Use room-temperature water around 80–90°F (27–32°C) for quicker hydration.
- For a pristine white, choose clear vanilla; natural vanilla adds a soft ivory hue.
- Consistency Test: drag a ribbon of icing over itself—10–15 seconds for flood, 20–25 seconds for medium piping, 30+ seconds for stiff outlining.
- Keep a damp towel over bowls to prevent crusting while you work.
- Add 1 teaspoon light corn syrup for a glassy finish that resists micro-cracking.
- Storage: Press plastic wrap directly onto the icing's surface and refrigerate up to 1 week. Re-stir gently and bring to room temperature before use. For ultra-smooth floods, let thinned icing rest 10 minutes covered to release bubbles, then stir slowly. If over-thinned, whisk in 1–2 tbsp sifted confectioners’ sugar. Humid day? Add an extra teaspoon of meringue powder for faster set.
Serving Suggestions:
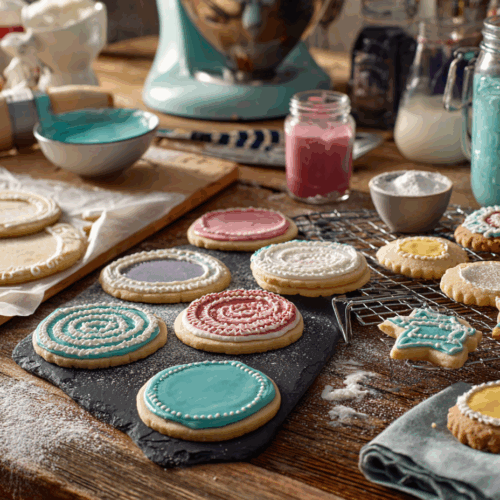
Pipe crisp outlines, then flood with slightly thinner icing for a mirror-smooth finish. Swirl colors with a scribe for marbling, or layer details after the flood sets matte to the touch (about 20–30 minutes). Present cookies on a dark slate to make colors pop; the ideal finish looks glossy-wet at first, drying to a smooth, satiny shell with vivid, even color.Culinary Context:
Royal icing has British roots and rose to fame on royal celebration cakes for its strength and porcelain sheen. I learned to judge consistency by sound and sight—the gentle whisper of the whisk and ribbons that melt just on cue. Master that, and your designs will look bakery-perfect.Optional Advanced Instructions:
- Make-Ahead: Mix base icing up to 3 days in advance; store airtight with plastic wrap touching the surface. Rewhip on low to smooth.
- Parallel Prep: While the mixer runs, set out piping tips and prep coloring bowls to streamline decorating.
- No Stand Mixer: A handheld mixer works—add 1–2 extra minutes of whipping time.
Timing:
Prep Time: 15 minutesCook Time: 0 minutes (no cooking required)
Total Time: 15 minutes
Course:
DessertOrigin:
BritishNutrition
FAQ
Can I use regular egg whites instead of meringue powder?
Yes — 2 tablespoons of pasteurized liquid egg whites can substitute for the meringue powder and water in most recipes. Pasteurized egg whites are the safer choice since the icing isn’t cooked; straight raw egg whites work structurally but carry a small food safety risk, especially for kids or anyone immunocompromised.
Why does my royal icing turn yellow after it dries?
Meringue powder icing can yellow slightly if it’s exposed to light while drying, or if it dries too slowly in a warm spot. Dry your decorated cookies away from direct sunlight and in a cool area. Once fully dry and stored in an airtight container away from light, the color stays stable.
Do I need a stand mixer, or will a hand mixer work?
A hand mixer works fine — it just takes a couple of extra minutes to reach stiff peaks. Plan for 4 to 5 minutes on medium-high speed instead of the 2 to 3 minutes a stand mixer needs. A whisk by hand is not practical here; you won’t get enough air incorporation to build the structure the icing needs.
Try these next
- Quick Double Chocolate Cookies
- Brown Sugar Crumble Cookies
- Quick Classic Snickerdoodle Cookies
- Silky Italian Meringue Magic