
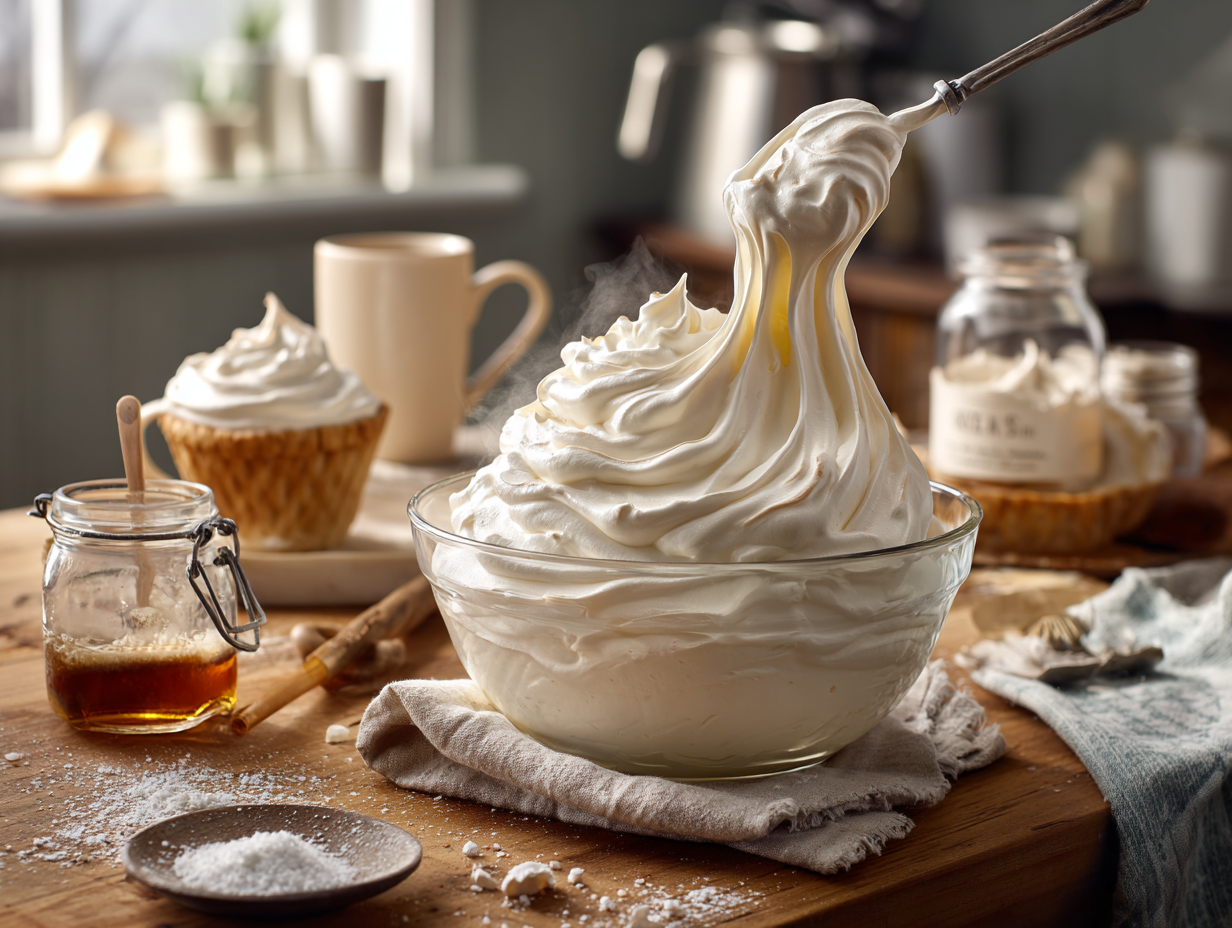
This is a stovetop marshmallow fluff made with egg whites and a hot sugar syrup — no gelatin, no overnight wait, done in 25 minutes. It tastes cleaner than the jarred version and costs less than a specialty store tub. If you have a pie cooling, a batch of hot cocoa on the stove, or cupcakes that need something on top, this is the fastest way to get there from scratch.
The technique that matters
The one thing that makes or breaks this recipe is how you add the hot syrup to the egg whites. Pour it too fast and you’ll scramble the whites or end up with sugary lumps. The fix is simple: with the mixer running on medium, aim the syrup stream down the inside wall of the bowl, not directly onto the whisk. That slows the contact and lets the heat distribute evenly. The second thing worth knowing is temperature. You need the syrup to hit 240°F — the soft-ball stage — because that’s the point where it has enough concentrated sugar to denature the egg proteins and hold the foam stable. Below that and the fluff will weep and collapse within an hour. A cheap clip-on candy thermometer handles this fine; you don’t need anything fancy.
About the ingredients
- Pasteurized egg whites from a carton: These work well here and remove any food-safety concern, especially if you’re serving kids or anyone immunocompromised. Use the same weight as fresh whites — check the carton for the conversion.
- Corn syrup: It prevents the sugar from crystallizing and keeps the finished fluff smooth. If you’re out, a small amount of cream of tartar added to the sugar syrup does a similar job — about ¼ teaspoon per cup of sugar.
- Vanilla bean: Real vanilla bean gives you the specks and a cleaner fragrance, but a teaspoon of good vanilla extract works fine and saves money. Skip the vanilla bean paste if you don’t already own it — not worth buying just for this.
- Granulated white sugar: Standard works. Don’t substitute brown sugar or powdered sugar — both will change the texture and color of the finished fluff.
If something goes sideways
- Fluff is weeping liquid after it cools: The syrup likely didn’t reach 240°F. Next time, give it another minute on the heat and confirm with a thermometer before pouring. You can’t fix a batch that’s already collapsed, but it still tastes fine stirred into hot drinks.
- Whites won’t whip up: There was probably fat in the bowl or on the whisk — even a trace of egg yolk will do it. Wipe everything down with a paper towel dampened with white vinegar, dry completely, and start with fresh whites.
- Fluff is grainy or has sugar crystals: Sugar crystals on the side of the pan fell back into the syrup while it cooked. Next time, brush the sides down with a wet pastry brush once the syrup starts boiling, and don’t stir after it comes to a boil.
- Fluff is too stiff to spread: It was whipped past the glossy-peak stage, or the syrup was slightly too hot. Fold in a teaspoon of warm water at a time until it loosens to a spreadable consistency.
- Fluff tastes flat: Sugar-heavy recipes need a pinch of salt to taste like anything. Add a small pinch to the egg whites before whipping if the finished batch seems one-dimensional.
Keeping and reheating
Store the fluff in a clean, dry glass jar or airtight container in the refrigerator for up to 2 weeks. It will firm up when cold — just let it sit at room temperature for 10 to 15 minutes before using, or stir it briefly and it loosens right up. This fluff doesn’t freeze well; the foam structure breaks down and it turns watery on thawing. For hot drinks, drop a spoonful straight from the cold jar — it melts in within seconds and you don’t need to bring it to room temperature first.
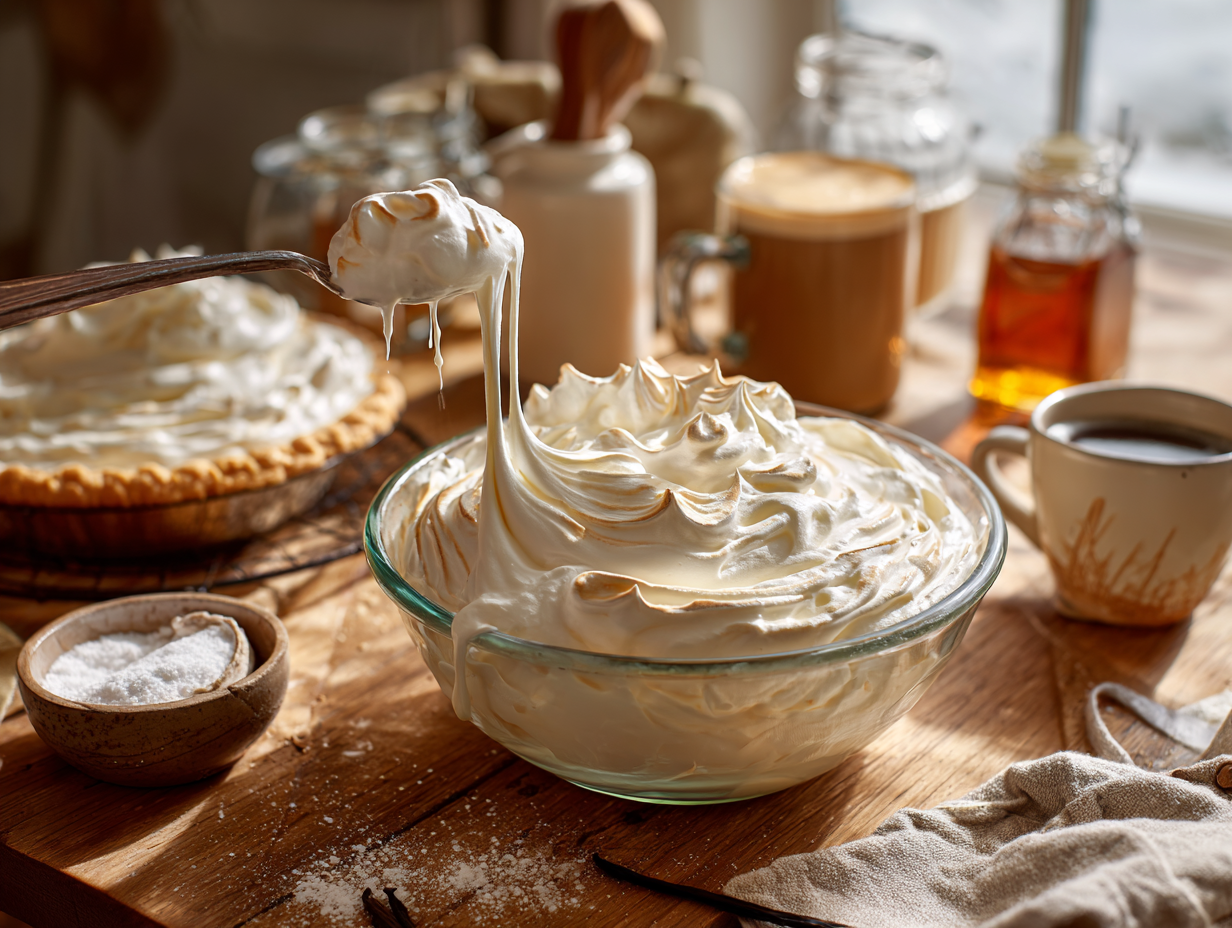
Stovetop Vanilla Bean Marshmallow Fluff (Homemade Marshmallow Crème)

Equipment
- Stand mixer with whisk attachment (or hand mixer and large metal bowl)
- Heavy-bottomed 2–3 quart saucepan
- Candy thermometer or instant-read thermometer with clip
- Heatproof silicone spatula
- Measuring cups and spoons
- Small pitcher or heatproof measuring cup (for controlled pouring)
- Clean, dry glass jars or airtight container for storage
Ingredients
- 1 cup granulated sugar choose a fine, fresh granulated sugar for faster dissolving and a smoother syrup
- ¾ cup light corn syrup Karo light corn syrup recommended for clean flavor and reliable crystallization control
- ¼ cup water use cool, clean water; filtered if possible
- 2 large pasteurized egg whites room temperature for best volume; carton pasteurized whites are ideal for safety
- ¼ teaspoon cream of tartar stabilizes the meringue; fresh is best
- ⅛ teaspoon fine sea salt balances sweetness and brightens vanilla flavor
- 1 ½ teaspoons pure vanilla extract or scrape seeds from 1/2 plump vanilla bean for speckled luxury
- 2 tablespoons confectioners’ sugar optional, to slightly stiffen for piping; sift before use
Instructions
- Mise En Place (2–3 minutes): Ensure the mixer bowl and whisk are impeccably clean and grease-free (any fat deflates meringue). Separate and measure ingredients. Fit the thermometer to your saucepan so the tip sits in the syrup, not touching the bottom.
- Start the Syrup (10–12 minutes cook): In a heavy-bottomed saucepan, combine 1 cup sugar, 3/4 cup light corn syrup, and 1/4 cup water. Stir just until the sugar looks like wet sand. Place over medium heat and cook without stirring until the syrup reaches 240°F (115°C). Swirl the pan gently if needed.Visual Cue: The bubbles will tighten and rise more slowly as you approach temperature.
- Soft-Ball Test Alternative: If you don't have a thermometer, drop a little syrup into cold water; it should form a soft, pliable ball that flattens when pressed—this indicates ~240°F (115°C). A thermometer is more precise, but this classic test works well in a pinch.
- Begin the Meringue (3–4 minutes during syrup cook): When the syrup hits about 230°F (110°C), start whipping 2 large pasteurized egg whites with 1/4 teaspoon cream of tartar on medium speed until soft peaks form—peaks should curl over gently when the whisk is lifted. Add 1/8 teaspoon fine sea salt once soft peaks appear.
- Stream in the Syrup Safely (1 minute): With the mixer on medium speed, carefully stream the 240°F (115°C) syrup down the side of the bowl in a thin ribbon. Aim for the gap between the bowl wall and the whisk to avoid splatter and graininess. Do not pour directly onto the whisk.
- Whip to Glossy Peaks (4–6 minutes): Increase speed to medium-high and whip until the mixture is thick, glossy, and forms sturdy peaks. The bowl should feel just warm to the touch. Sensory cue: the fluff will pull away from the bowl in silky ropes and hold a curl with shine.
- Flavor and Finish (30–60 seconds): Beat in 1 1/2 teaspoons pure vanilla extract (or vanilla bean seeds). For a slightly firmer, pipeable finish, sift and fold in 2 tablespoons confectioners’ sugar. Use immediately or transfer to clean jars.
- Storage: Store in an airtight container at room temperature for up to 2 days, or refrigerate up to 1 week. Re-whisk briefly if it loosens. For flame-toasted peaks, spread and torch lightly until mahogany flecks appear; the aroma should be warmly caramelized, not burnt.
Notes
Jen’s Tips:
- No Thermometer? Use the soft-ball test: a spoonful of syrup dropped into ice water should form a soft, malleable ball that flattens under gentle pressure.
- Stability Boost: Add 1 teaspoon lemon juice with the vanilla for subtle brightness. Acid helps maintain structure.
- Vegan Option: Substitute 6 tablespoons aquafaba (liquid from unsalted canned chickpeas) for egg whites. Whip to soft peaks first, then stream in syrup exactly as written.
- Flavor Variations: Fold in 2 tablespoons sifted freeze-dried strawberry powder, or 1/2 teaspoon almond extract with the vanilla. For s’mores style, swirl 2 teaspoons cocoa powder at the end for a marbled look.
- Anti-Crystallization: Avoid stirring once the syrup begins to boil; use a wet pastry brush to wash down stray sugar crystals if needed.
- Faster Caramel Notes: Take a small portion of the syrup a shade darker (243–245°F / 117–118°C) and whisk it in last for a faint toasted-sugar depth.
Serving Suggestions:
- Pies and Tarts: Spoon into dramatic swoops and peaks; lightly torch until tips turn golden to mahogany with a fragrant toasted aroma.
- Hot Cocoa or Coffee: Dollop generously; the heat will relax the fluff into a glossy cap.
- Cakes and Cupcakes: Pipe rosettes or clouds. For clean swoops, dip the spatula in hot water, shake off excess, then sweep.
- Sandwich Magic: Spread between peanut butter cookies for a playful fluffernutter vibe.
Culinary Context:
Modern marshmallow crème traces back to Italian meringue technique—stabilizing whipped whites with hot sugar syrup. In the U.S., New England popularized it in the early 1900s, leading to the beloved fluffernutter sandwich. This recipe channels that heritage with restaurant-level gloss and flavor, streamlined for the home cook.Optional Advanced Instructions:
- Make-Ahead: You can prepare the syrup to ~230°F (110°C), hold on low heat, then bring to 240°F (115°C) right before streaming.
- Beginner Alternative: If hand-mixing, set the bowl on a damp towel to stabilize while pouring the syrup.
- Parallel Tasks: Start whipping whites the moment the syrup passes 230°F (110°C) to synchronize soft peaks with syrup readiness.
Timing:
- Prep Time: 0 hrs 10 mins
- Cook Time: 0 hrs 15 mins
- Total Time: 0 hrs 25 mins
Course:
DessertOrigin / Cuisine:
AmericanNutrition
Your questions, answered
Can I make this without a stand mixer?
Yes — a hand mixer works fine as long as your bowl is large enough to handle the volume increase when the whites are fully whipped. Use a deep metal or glass bowl rather than plastic, since plastic can hold onto grease residue that interferes with whipping.
What if I don’t have a candy thermometer?
Drop a small amount of syrup into a glass of cold water — if it forms a soft, pliable ball you can squish between your fingers, it’s ready. This is the traditional soft-ball test and it’s reliable, though a thermometer is faster and removes the guesswork.
Is this safe to eat without cooking the egg whites fully?
The hot syrup poured at 240°F raises the temperature of the egg whites enough to pasteurize them during mixing. Using carton pasteurized egg whites gives you an extra layer of certainty if you’re serving anyone who needs to avoid raw eggs entirely.
If you liked this one
- Quick Lemon Meringue Pie
- Silky Chocolate Cream Pie
- Mexican Hot Chocolate Recipe
- Quick Double Chocolate Cookies