
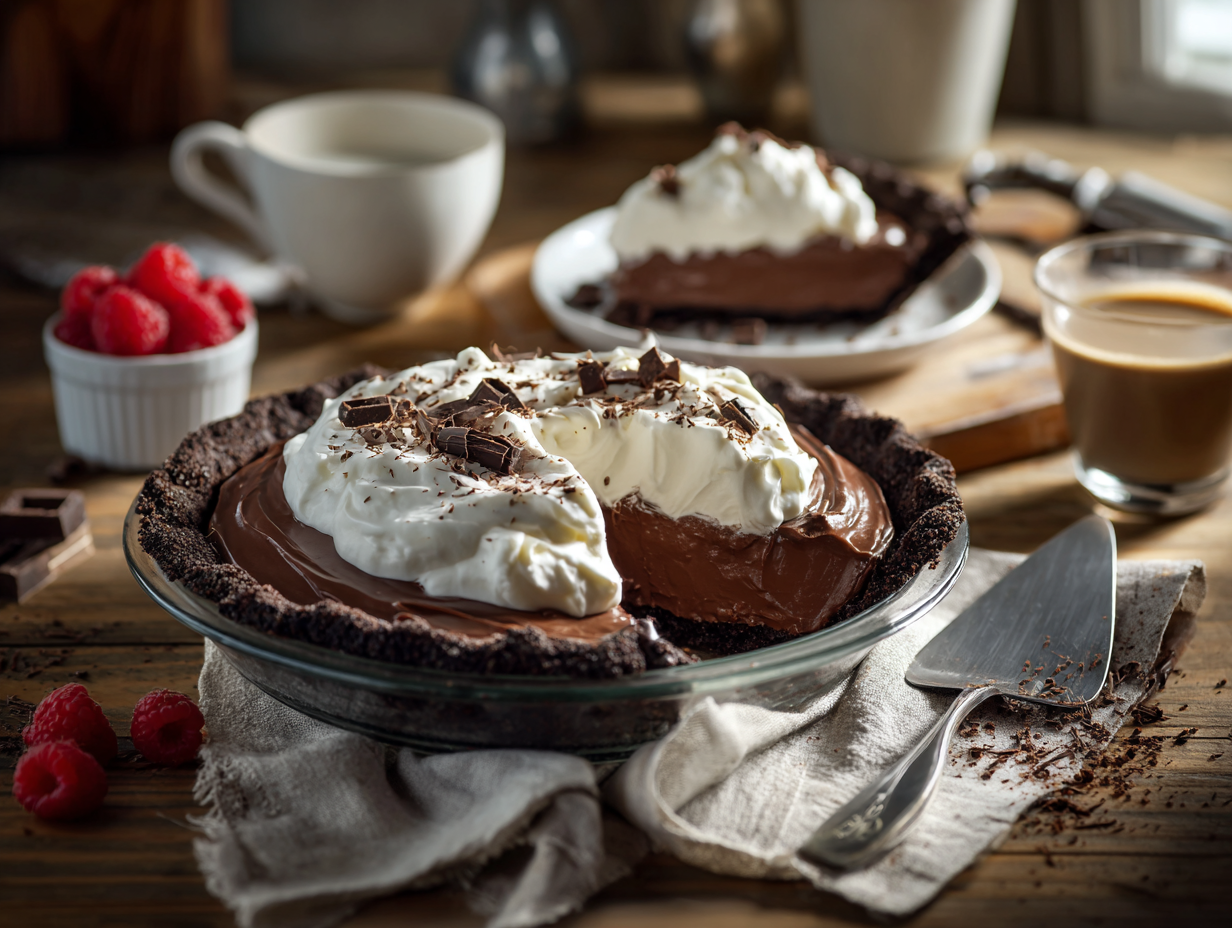
This chocolate cream pie uses a stovetop cornstarch custard made with Dutch-process cocoa and real melted chocolate, poured into a toasted chocolate cookie crust and topped with whipped cream. The whole thing takes about 33 minutes of active work, and the filling sets without baking or overnight chilling. If you need a dessert tonight that looks like you planned ahead, this is it.
Why this recipe works
Two things make this pie reliable for a first-time cook. First, using cornstarch as the thickener instead of eggs means you don’t have to worry about scrambling the custard — cornstarch is forgiving, and the filling will thicken cleanly as long as you keep whisking over medium heat. Second, the temperature contrast between the freezer-chilled crust and the hot filling jump-starts the setting process, so you’re not waiting hours for the custard to firm up. Using both cocoa powder and real chopped chocolate isn’t redundant — the cocoa builds depth and the melted chocolate adds body and gloss that cocoa alone can’t deliver.
About the ingredients
- Dutch-process cocoa: This is the one ingredient worth seeking out. It’s less acidic than natural cocoa and produces a darker, smoother flavor in pudding-style fillings. It’s sold at most grocery stores near the baking aisle — look for brands like Droste or Hershey’s Special Dark.
- Chocolate wafer cookies for the crust: Nabisco Famous Chocolate Wafers are the standard choice. If you can’t find them, Oreos with the filling scraped out work well. Skip the garnish — not worth the extra dish.
- Cornstarch: Don’t swap this for flour. Flour-thickened pudding turns cloudy and starchy-tasting. Cornstarch gives you the clean, glossy set this filling needs.
- Heavy cream for whipping: It needs to be cold to whip properly. If your kitchen is warm, chill the bowl and beaters for 10 minutes first.
Make-ahead notes
The finished pie keeps well in the refrigerator, covered loosely with plastic wrap, for up to 3 days. Add the whipped cream topping no more than a few hours before serving — it will weep and deflate if it sits overnight. If you want to prep further ahead, make the crust and the filling separately: the baked crust can sit at room temperature for up to 24 hours, and the cooled filling can be refrigerated in a bowl for up to 2 days before you pour and set it. Freezing the assembled pie is not recommended — the custard filling breaks and turns grainy when thawed.
If something goes sideways
- The filling isn’t thickening after several minutes of cooking: Your heat is probably too low. Increase to medium-high and keep whisking constantly. Cornstarch needs to reach a full simmer to activate — you’ll see large bubbles breaking the surface when it’s ready.
- The custard has lumps: Strain it through a fine-mesh sieve directly into the crust. This catches any lumps before they set and takes about 30 seconds.
- The crust crumbles when you slice it: It didn’t have enough time in the freezer to firm up before the filling went in. Next time, freeze for the full 10 minutes. For now, serve the slices in bowls — it still tastes right.
- The whipped cream won’t hold peaks: The cream wasn’t cold enough, or it was over-whipped and started to separate. If it’s soupy, refrigerate it for 15 minutes and try again. If it looks curdled and greasy, it’s gone too far — start with a fresh batch.
- The filling tastes flat or too bitter: Add a small pinch of salt and a bit more sugar, then stir over low heat for one minute. Salt sharpens chocolate flavor noticeably.
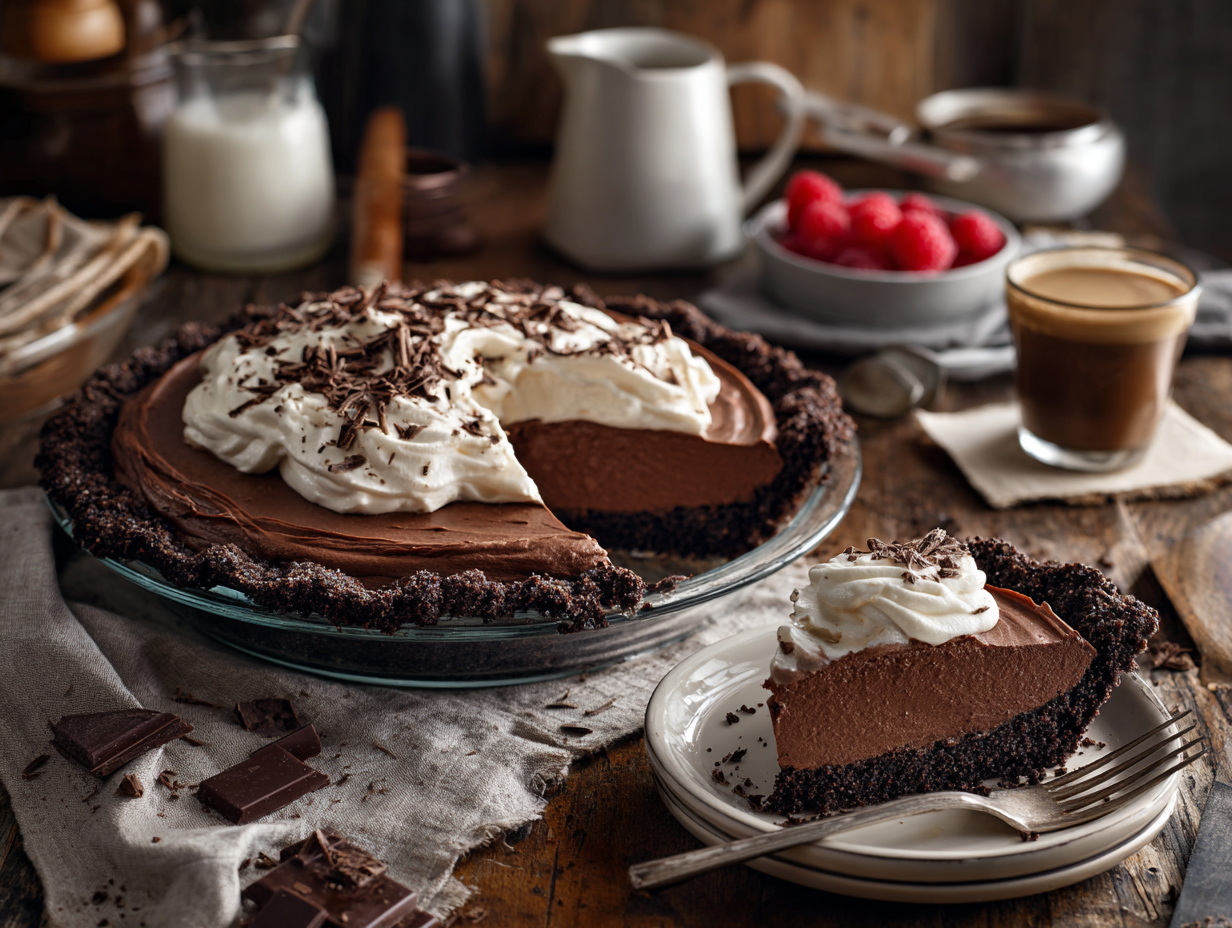
30-Minute Silky Chocolate Cream Pie

Equipment
- 9-inch pie plate (glass or metal)
- Food processor or zip-top bag with rolling pin
- Measuring cups and spoons
- Mixing bowls
- Medium saucepan (2–3 quart)
- Whisk
- Silicone spatula
- Electric hand mixer or stand mixer (for whipped cream)
- Oven
- Refrigerator or freezer
- Microplane or peeler (for chocolate shavings)
- Sharp knife for slicing
Ingredients
Crust
- 1 ½ cups chocolate wafer cookie crumbs About 6 oz; use high-quality wafers or scraped Oreo crumbs for deeper flavor
- 5 tablespoons unsalted butter, melted Melt just until liquid, not sizzling
- 1 tablespoon granulated sugar Optional, enhances caramelized cookie notes
- 1 pinch kosher salt Balances sweetness
Filling
- ½ cup granulated sugar Adjust to taste if using very dark chocolate
- 3 tablespoons unsweetened cocoa powder Dutch-process preferred for smooth, deep flavor
- 3 tablespoons cornstarch For quick, sliceable set
- ¼ teaspoon kosher salt Enhances chocolate notes
- 2 ¼ cups whole milk 2% works; whole gives best silkiness
- 4 ounces semisweet chocolate, finely chopped 60–70% cacao; good baking chocolate melts smoothly
- 1 tablespoon unsalted butter Stirs in at the end for sheen
- 1 teaspoon pure vanilla extract Adds roundness and aroma
Topping & Garnish
- 1 cup cold heavy cream Chill bowl and beaters for fastest whip
- 2 tablespoons powdered sugar For lightly sweetened cream
- ½ teaspoon vanilla extract
- 1–2 tablespoons dark chocolate shavings or curls Optional garnish
Instructions
- Heat the oven: Preheat to 350°F (175°C). Place a rack in the center. Lightly mist a 9-inch pie plate with nonstick spray.
- Make the crust (5 minutes active, 8 minutes bake): In a bowl, combine 1 1/2 cups chocolate wafer crumbs, 5 tablespoons melted butter, 1 tablespoon sugar, and a pinch of salt. Stir until the crumbs feel like damp sand and clump when pressed.Press firmly into the pie plate, pushing up the sides. Use the bottom of a measuring cup for an even, compact layer. Bake for 8 minutes at 350°F (175°C) until fragrant and slightly set. Cool on a rack for 2 minutes, then transfer to the freezer to quick-chill while you make the filling.No processor? Place cookies in a zip-top bag and crush with a rolling pin until fine.
- Start the filling base (2 minutes): In a medium saucepan off heat, whisk together 1/2 cup sugar, 3 tablespoons cocoa powder, 3 tablespoons cornstarch, and 1/4 teaspoon salt. Gradually whisk in 2 1/4 cups milk until smooth with no dry pockets.
- Cook the filling (8–10 minutes): Set the pan over medium heat and whisk constantly. After 3–4 minutes it will steam; after 6–8 minutes it will thicken and bubble with a glossy sheen. Continue whisking 30–60 seconds after the first bubbles for a stable set. Sensory cue: the whisk will leave visible trails and the cream will slowly fall back on itself.
- Finish with chocolate and vanilla (1–2 minutes): Remove from heat. Add 4 oz chopped semisweet chocolate, 1 tablespoon butter, and 1 teaspoon vanilla. Whisk until completely smooth and satiny.Speed-cool option: Nest the saucepan in a bowl of ice water and stir 1–2 minutes to drop the temperature while keeping it pourable.
- Assemble: Retrieve the chilled crust. Pour the hot, silky filling into the crust and smooth the top with a spatula. Chill in the freezer for 10 minutes (or refrigerator 20–30 minutes) while you whip the cream. It should set to a gentle wobble—sliceable but plush.
- Whip the topping (2–3 minutes): In a chilled bowl, beat 1 cup cold heavy cream with 2 tablespoons powdered sugar and 1/2 teaspoon vanilla to soft peaks (the tip curls over). Spread or pipe over the pie. Garnish with chocolate shavings.How to make shavings: Warm a chocolate bar slightly with your hand and draw a peeler along the long edge for delicate curls.
- Serve: For the cleanest slices, dip a sharp knife in hot water and wipe between cuts. Look for a glossy finish, a gentle jiggle at the center, and creamy, pudding-silk texture.
Notes
Jen’s Tips
- Boost the chocolate: Add 1 teaspoon instant espresso powder with the dry ingredients to deepen cocoa notes without tasting like coffee.
- Ultra-firm slices: Reduce milk to 2 cups or add 1 teaspoon powdered gelatin bloomed in 1 tablespoon cold water; whisk in off heat.
- Dairy-free: Use full-fat canned coconut milk (shake well) and plant-based butter; whip coconut cream for topping.
- Gluten-free: Swap in gluten-free chocolate cookies for the crust.
- Smoother custard: Strain the hot filling through a fine-mesh sieve into the crust for a patisserie finish.
- Make-ahead crumbs: Crush cookies up to 3 days ahead and store airtight; this shaves minutes off your prep.
Serving Suggestions
- Plate a wedge with a light dusting of cocoa and a few flaky sea salt crystals to pop the chocolate.
- Add fresh raspberries or macerated cherries for color and acidity.
- Pair with espresso, a glass of cold milk, or a small pour of tawny port.
Culinary Context
This pie bridges American diner tradition—think classic chocolate cream—with a French-style pudding technique thickened by cornstarch. It became popular in mid-20th-century pie cases, where the contrast of crisp crust, velvety filling, and airy cream won over crowds.Optional Advanced Instructions
- Parallel processing: While the crust bakes, scale filling ingredients; while the filling cooks, chill the crust. This keeps total time near 30 minutes.
- Ice-bath cool: Set the cooked filling over an ice bath and stir 1–2 minutes to accelerate setting without lumps.
- Piping finish: Load whipped cream into a piping bag with a large star tip and pipe rosettes for an elegant finish in seconds.
FAQ
Do I really need to use the freezer, or can I just refrigerate the crust?
The freezer is genuinely important here. Refrigerating the crust takes much longer to get it cold enough to create the temperature contrast that helps the filling begin setting quickly. Ten minutes in the freezer gets the crust firm and cold without any risk of over-freezing.
How do I know when the custard filling is actually done cooking?
It’s done when it’s thick enough to coat the back of a spoon and holds a line when you drag your finger across it — similar to a loose pudding. This usually happens right after you see the first big bubbles break through the surface, which means the cornstarch has fully activated.
Can I make this without an electric mixer for the whipped cream?
Yes, you can whip cream by hand with a balloon whisk. It takes about 4 to 5 minutes of vigorous whisking in a cold bowl. Make sure the cream is very cold and the bowl is large enough to give you room to move.
Try these next
- Quick Double Chocolate Cookies
- Quick Lemon Meringue Pie
- Quick Sicilian Cannoli Recipe
- Quick Paula Deen Banana Pudding