
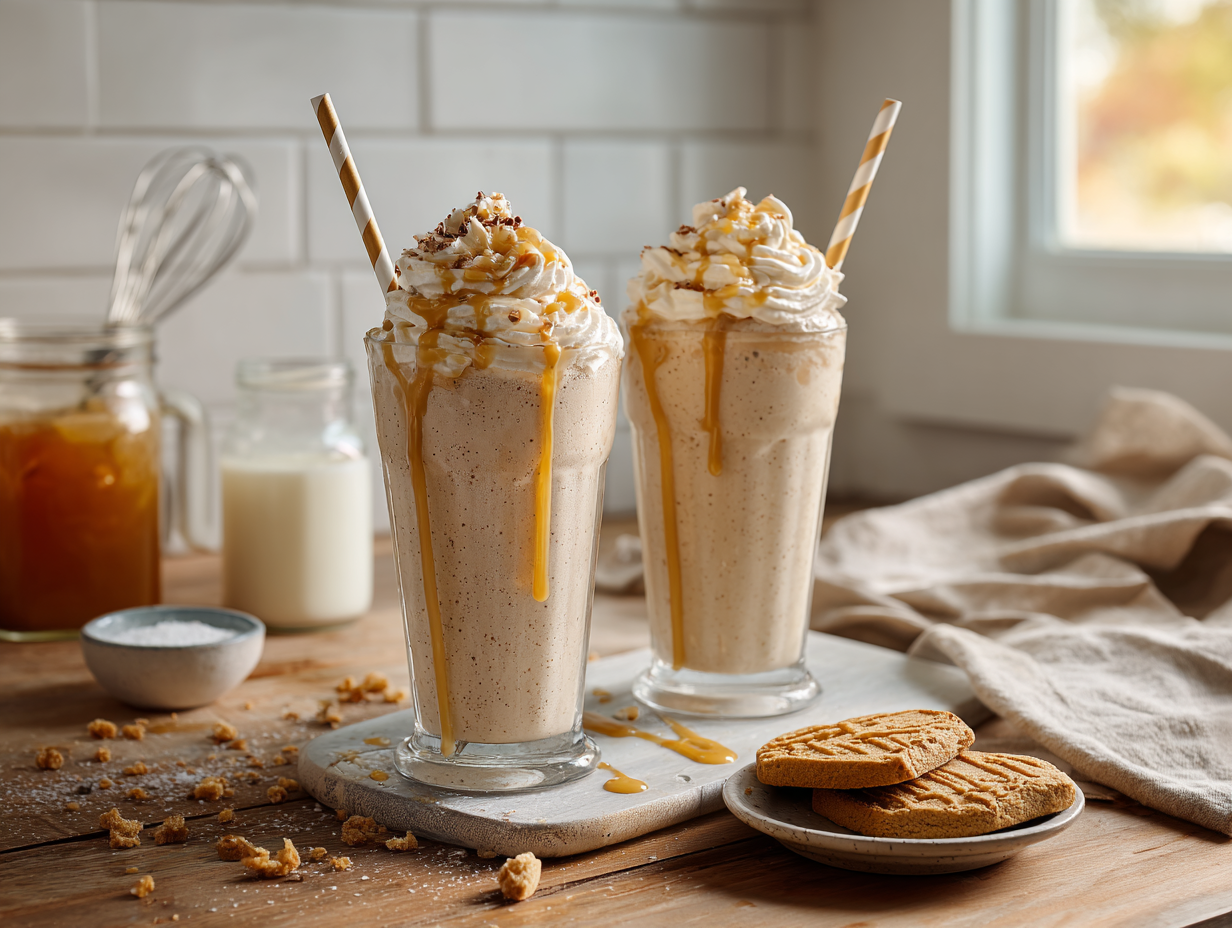
This is a cold brew milkshake with homemade salted caramel — two glasses, done in under 25 minutes. The caramel takes about 8 minutes on the stove and makes the whole thing taste like you put in way more effort than you did. If you have cold brew in the fridge and a pint of vanilla ice cream, you’re most of the way there.
Before you start
The caramel is the only part that needs your full attention, and the key is not stirring it once the sugar hits the pan. Swirl the pan gently if you need to even out the color, but a spoon will cause crystallization and you’ll end up with a grainy mess. The other thing that matters: warm your heavy cream slightly before adding it to the hot sugar. Cold cream hitting a 350°F caramel will seize and splatter — 20 seconds in the microwave is enough to prevent both problems. Get those two things right and the rest of the recipe is just blending.
Shopping notes
- Cold brew concentrate vs. ready-to-drink: If you’re buying bottled cold brew, check the label. Concentrate is much stronger — use about half the amount and top up with a splash of water, or your shake will taste like straight espresso.
- Heavy cream for the caramel: Half-and-half won’t work here. You need the fat content of true heavy cream (36–40% milkfat) to emulsify properly with the hot sugar.
- Flaky sea salt: Regular fine sea salt is already called for in the caramel itself. The flaky stuff (Maldon or similar) is just for finishing — it’s worth having a small box around, but if you don’t, a very light pinch of coarse kosher salt does the job.
Mistakes to avoid
- Using warm or room-temperature ice cream: If your ice cream is soft, the shake will be thin no matter how much you blend it. Put the scoops back in the freezer for 10 minutes if they’ve been sitting out.
- Pouring hot caramel straight into the blender: Let the caramel cool for at least 5 minutes before it touches the ice cream. Hot caramel melts the ice cream on contact and you lose the thick texture entirely.
- Over-blending: Stop as soon as the mixture is smooth. Every extra second of blending adds air and heat, both of which thin the shake out. Ten to fifteen seconds on high is usually enough.
- Skipping the glass chill: The recipe calls for frozen glasses and it’s not fussy — it’s functional. An unchilled glass warms the shake from the outside in, and you’ll notice the difference by the time you’re halfway through.
- Adding too much liquid at once: Start with the smaller amount of cold brew called for in the recipe card. You can always add more to loosen the shake, but you can’t thicken it back up without adding more ice cream.
Storage and reheating
Milkshakes don’t store well — the texture separates within an hour and there’s no recovering it. Make these right before you serve them. The salted caramel sauce, however, keeps beautifully: store any leftover caramel in a sealed jar in the fridge for up to two weeks. It will firm up when cold; just microwave it in 10-second bursts, stirring between each, until it’s pourable again. Skip the garnish of whipped cream if you’re making these even a few minutes ahead — not worth the extra dish when it deflates that fast anyway.
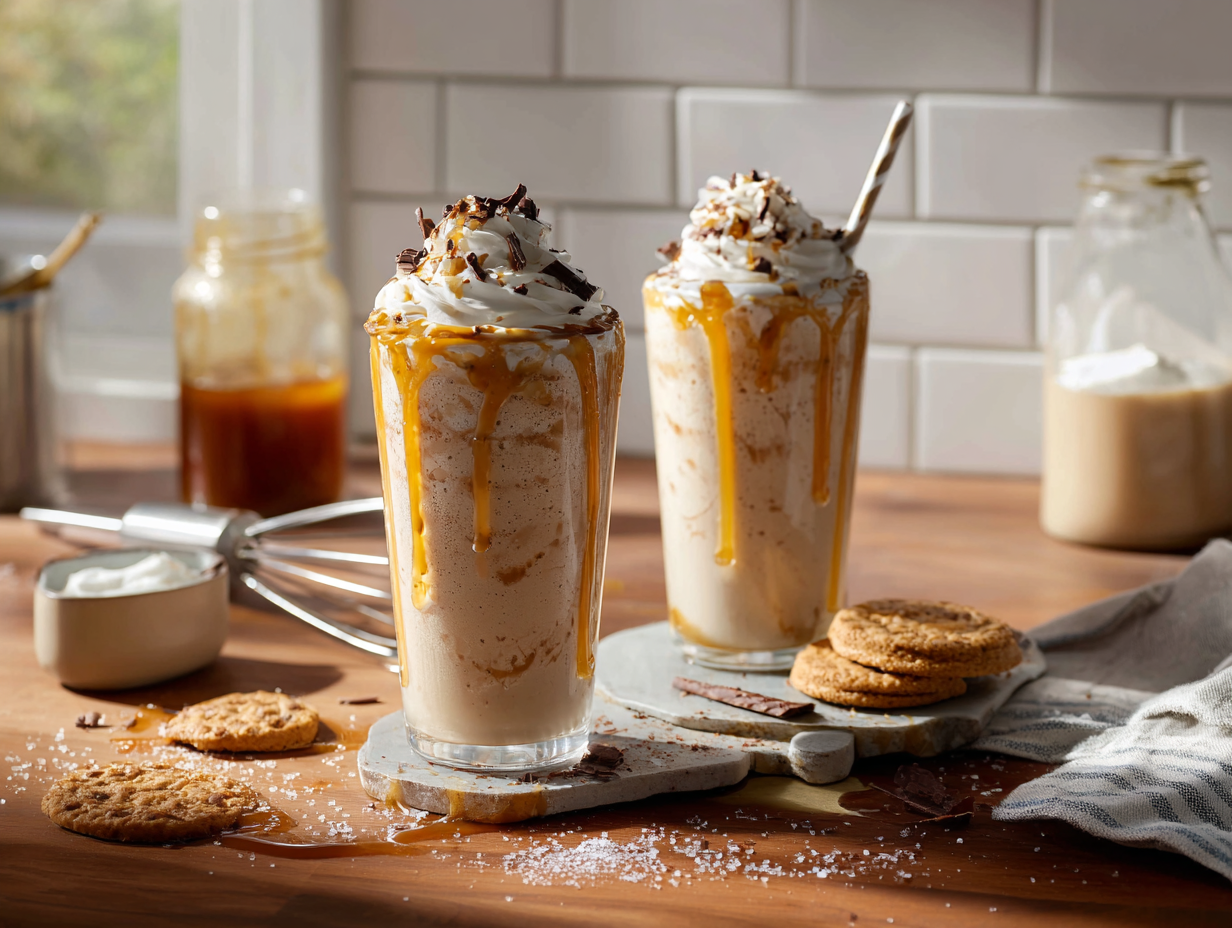
Salted Caramel Cold Brew Milkshake

Equipment
- High-powered blender
- Small heavy-bottomed saucepan (1–2 quart)
- Heatproof whisk
- Silicone spatula
- Measuring cups and spoons
- Ice cream scoop
- Instant-read thermometer (optional, for caramel)
- Two tall 12–16 oz glasses
Ingredients
For the Quick Salted Caramel:
- ½ cup granulated sugar use fresh, fine granulated sugar for even melting
- 2 tbsp water helps the sugar dissolve evenly
- ⅓ cup heavy cream look for 36–40% milkfat; warm slightly for smoother emulsification
- 1 tbsp unsalted butter room temperature for quick melting
- ½ tsp fine sea salt adjust to taste; use flaky salt for garnish later
- ½ tsp pure vanilla extract adds roundness to the caramel
For the Milkshake Base:
- 3 cups premium vanilla ice cream high butterfat (at least 12–14%) for lush texture; slightly softened
- ½ cup cold brew coffee concentrate unsweetened; choose a chocolatey, low-acid roast
- ½ cup whole milk for a thicker shake, start with 1/3 cup
- ¼ cup homemade salted caramel (from above), slightly cooled plus more for drizzling inside the glass
For Garnish:
- 1 cup lightly sweetened whipped cream aerosol or freshly whipped to soft peaks
- 1 pinch flaky sea salt for finishing each glass
- 2 tbsp dark chocolate shavings optional, for aroma and contrast
Instructions
- Chill the Glasses (10 minutes): Slide two tall glasses into the freezer so they’re frosty by serving time. Aim for about 10 minutes at 0°F / -18°C. This keeps the shake thick and slow-melting.
- Make the Quick Salted Caramel (6–8 minutes): In a small heavy saucepan, combine 1/2 cup sugar and 2 tbsp water. Swirl gently to moisten (do not stir). Set over medium heat and cook until the syrup turns a deep amber, 6–8 minutes. Watch for fine, steady bubbles and a toasty, slightly bitter aroma. If using a thermometer, aim for 340–350°F / 171–177°C.
- Finish the Caramel (1 minute): Remove from heat. Immediately whisk in 1/3 cup heavy cream (it will bubble vigorously), followed by 1 tbsp butter, 1/2 tsp fine sea salt, and 1/2 tsp vanilla. Whisk until smooth and glossy. Transfer to a heatproof cup and let cool 3–5 minutes until warm, not hot—thick but pourable.
- Prepare the Blender: Add to the blender jar: 3 cups vanilla ice cream, 1/2 cup cold brew concentrate, 1/2 cup whole milk, and 1/4 cup of the warm salted caramel.
- Blend (30–45 seconds): Start on low to break up the ice cream, then blend on high until silky and thick.Texture Cue: The vortex should form quickly, and the shake should ribbon off a spoon like soft-serve. For a thicker shake, pulse in more ice cream; for thinner, splash in more milk.
- Dress the Glasses (1 minute): Drizzle the inside of each chilled glass with a little extra caramel, rotating to create cascading stripes. This adds flavor and a show-stopping look.
- Pour and Finish (1–2 minutes): Divide the milkshake between glasses. Top with a generous swirl of whipped cream, a pinch of flaky sea salt, and dark chocolate shavings if using. Serve immediately while frosty.
Notes
Lisa’s Tips:
- No Cold Brew? Use 1/2 cup strong chilled espresso or 1/2 cup very strong drip coffee. For zero caffeine, swap in 1/2 cup chocolate milk and add an extra 1–2 tbsp caramel.
- Ultra-Smooth Caramel: Warm the cream to about 120°F / 49°C before adding—it minimizes sputtering and prevents seized caramel.
- Faster Melting Sugar: Add 1 tsp light corn syrup to the sugar-water to discourage crystallization.
- Dairy-Free Version: Use rich coconut ice cream, full-fat coconut milk, and a coconut cream caramel. Finish with coconut whipped cream.
- Flavor Twists: Add a pinch of cinnamon or 1–2 drops almond extract; or blend in 1 ripe banana for a banoffee vibe.
Serving Suggestions:
- Presentation: Caramel-drizzled glass, tall pour, lofty whipped-cream peak, sparkle of flaky salt, and a chocolate curl. Colors should range from golden caramel to creamy beige with dark speckles of coffee and chocolate.
- Pairings: A shortbread cookie or chocolate biscotti amplifies the caramel notes. For a beverage side, a shot of espresso on the side is delightful.
Culinary Context:
The classic American milkshake finds a cosmopolitan twist with cold brew—its lower acidity and chocolatey notes pair naturally with salted caramel, a tradition linked to Brittany, France. I first made a version of this after a late service, when leftover caramel from dessert prep met the barista’s cold brew—the staff’s unanimous favorite nightcap.Optional Advanced Instructions:
- Make-Ahead: Caramel can be made up to 2 weeks ahead and refrigerated; warm gently to 100–110°F / 38–43°C to pour.
- Decorative Rim: Dip glass rims in caramel, then in crushed wafer cookies; chill 5 minutes before filling.
- No Thermometer Caramel: Rely on color and aroma—pull the pan when it’s a deep reddish-amber and smells toasty but not burnt.
Timing:
- Prep Time: 15 minutes
- Cook Time: 8 minutes (caramel)
- Total Time: 23 minutes
Nutrition
Your questions, answered
Can I use regular brewed coffee instead of cold brew?
You can, but brew it strong and let it cool completely in the fridge first — never add warm coffee to ice cream. Hot-brewed coffee also tends to taste more bitter once chilled, so the shake will be sharper; a small pinch of extra sugar in the blender helps balance it.
My caramel hardened into a solid lump when I added the cream. What went wrong?
The cream was too cold relative to the sugar, which caused it to seize. Return the pan to low heat and stir continuously — the solid pieces will melt back into a smooth sauce within a minute or two.
Can I make this dairy-free?
Yes. Use full-fat coconut milk ice cream and replace the heavy cream in the caramel with full-fat canned coconut cream. The caramel will have a slight coconut flavor, which works well here.
How do I know when the caramel is the right color without a thermometer?
Look for a deep amber color — similar to an old copper penny. If it looks pale gold, give it another 30 seconds; if it smells at all burnt, pull it off the heat immediately and add the cream to stop the cooking.
Can I make the caramel ahead of time to speed things up?
Yes, and it’s the smartest shortcut for this recipe. Make the caramel up to two weeks in advance and store it in the fridge. On the day you want the shakes, all you need to do is warm the sauce and blend — the whole thing comes together in under 5 minutes.