
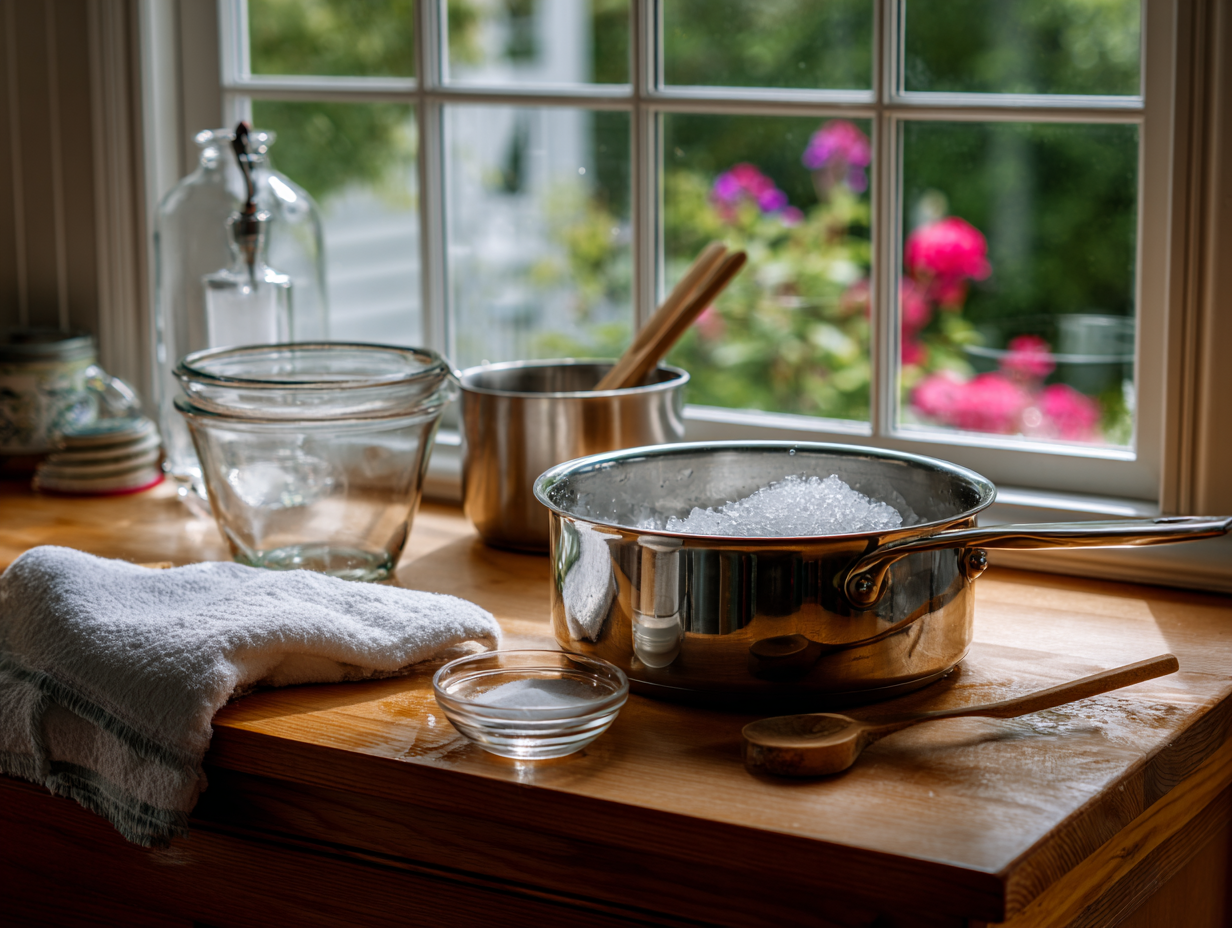
This is a two-ingredient sugar water made at a 1:4 ratio — one part plain white sugar to four parts water — that matches the sucrose concentration of the flower nectar hummingbirds naturally drink. It takes 20 minutes start to finish and costs almost nothing. If you have a feeder and a bag of sugar, you’re ready.
Why this recipe works
Two things actually matter here. First, the ratio: 1 part sugar to 4 parts water lands at roughly 20% sucrose, which is close to what hummingbirds get from real flowers. Go stronger and you risk dehydrating the birds; go weaker and they’ll ignore the feeder. Second, briefly boiling the water before dissolving the sugar does two jobs at once — it drives off chlorine from tap water, which can affect taste, and it kills any mold spores or bacteria that would otherwise shorten the nectar’s shelf life. The result is a clear, stable solution that stays fresh longer than cold-mixed nectar.
Shopping notes
- Sugar: Plain white granulated sugar is the right call — it’s pure sucrose, which is exactly what you want. Skip the honey, brown sugar, turbinado, and raw sugar; all of them contain minerals or compounds that can cause digestive problems for hummingbirds. Powdered sugar often contains cornstarch, so skip that too.
- Water: Tap water works fine once boiled. If your tap water is heavily chlorinated or has a strong taste, filtered water is a reasonable swap, but it’s not required.
- Red dye: Don’t add it. Most feeders have red parts already, and the dye adds zero nutritional value — skip the garnish, not worth the extra risk.
Mistakes to avoid
- Filling the feeder before the nectar is fully cool: Warm nectar speeds up fermentation inside the feeder. Let it reach room temperature, or use an ice bath to get there faster before pouring.
- Skipping feeder cleaning between refills: Even refrigerator-fresh nectar can feed mold growth in a dirty feeder. Rinse the feeder with hot water and a bottle brush every time you refill — soap residue is also harmful, so rinse thoroughly if you use any.
- Making too large a batch in summer: Nectar in a feeder can ferment in as little as two days in hot weather. Make smaller batches more often rather than filling the feeder to the top every time.
- Using a metal pot that isn’t fully clean: Residual grease or soap from a previous use can cloud the nectar or introduce off-flavors. A quick rinse with hot water before you start is enough.
- Storing nectar in a warm spot: The refrigerator is the only safe storage location. Leaving a jar on the counter, even for a few hours, accelerates bacterial growth.
Storage and reheating
Store unused nectar in a clean glass jar or airtight container in the refrigerator for up to two weeks. There is no freezer storage worth bothering with here — the recipe makes 4 cups in 20 minutes, so just make a fresh batch when you run out. To use refrigerated nectar, pour what you need directly into the feeder; it does not need to be warmed first, and cold nectar is safe for the birds.
Hummingbird Food (Nectar) Recipe: Crystal-Clear Sugar Water

Equipment
- Medium saucepan (2–3 qt)
- 4-cup heatproof measuring cup
- Wooden spoon or silicone spatula
- Instant-read thermometer (optional)
- Large bowl for ice bath
- Funnel
- Clean hummingbird feeder (with perch optional)
- Bottle brush or narrow-neck brush
- Clean glass jar with lid for storage
Ingredients
For Cleaning Feeder (Optional but Recommended):
- ¼ cup distilled white vinegar for sanitizing feeder; rinse thoroughly until no vinegar scent remains
- 2 cups warm water for cleaning; comfortably hot to the touch (~110°F / 43°C)
- 1 tbsp uncooked white rice optional abrasive for narrow bottles; rinse all grains out
For the Nectar:
- 4 cups water use filtered or good-tasting tap water
- 1 cup granulated white sugar pure cane or beet sugar; avoid honey, brown sugar, organic unrefined, or artificial sweeteners. Brand note: C&H or Domino work well
- 4 cups ice for ice bath to cool nectar quickly; not added to the nectar
Instructions
- Clean the Feeder (about 5 minutes): Disassemble the feeder. Swirl together 1/4 cup distilled white vinegar and 2 cups warm water (~110°F / 43°C) in the reservoir. Use a bottle brush to scrub, adding 1 tbsp uncooked rice if the neck is narrow (the rice acts as a gentle abrasive). Rinse with plenty of clean water until there’s no vinegar aroma. Air-dry while you make the nectar.
- Boil the Water (3–4 minutes): In a medium saucepan, bring 4 cups water to a rolling boil (100°C / 212°F) over high heat. You’ll see steady bubbles and steam.
- Dissolve the Sugar (about 1 minute): Remove the pan from heat. Add 1 cup granulated white sugar and stir continuously until the liquid turns completely clear with no visible crystals.Optional: Return to a bare simmer for 30–60 seconds for extra sterilization, keeping below a hard boil (~90–95°C / 194–203°F).
- Cool Quickly (about 10 minutes): Nest the saucepan in a large bowl filled with ice and a little water to make an ice bath. Stir occasionally until the nectar reaches room temperature (68–75°F / 20–24°C). It should taste clean and feel thin—not syrupy—between your fingers.
- Fill and Hang: Use a funnel to fill the dry, clean feeder. Wipe any drips. Hang in bright shade or morning sun, away from ant trails and strong afternoon heat.
- Store the Rest: Pour extra nectar into a clean glass jar, label with the date, and refrigerate. Use within 7–10 days for best freshness.
- Sensory Cues: Clear nectar with no cloudiness, a faintly sweet aroma, and no caramel notes (avoid browning).
Notes
Jen’s Tips:
- Golden Ratio: 1 part sugar to 4 parts water (1:4) is ideal. Avoid red dye; your feeder’s red accents are sufficient.
- Emergency Cold Snap: In unusually cold, wet storms, a temporary 1:3 mix may help for no more than 24–48 hours. Return to 1:4 promptly.
- Do Not Substitute: No honey, brown sugar, molasses, coconut sugar, or artificial sweeteners—these can ferment, mold, or harm birds.
- Placement: Choose dappled shade. Heat speeds fermentation; shade keeps nectar fresher longer.
- Cleaning Cadence: Clean every 2–3 days in hot weather; every 3–5 days in cooler weather. If nectar looks cloudy or stringy, replace immediately.
- Ants & Bees: Use built-in moats or add an ant moat. Keep ports clean; avoid dripping to deter bees.
- Make-Ahead: Chill nectar before filling to help feeders stay fresh longer.
Serving Suggestions:
Think like a garden sommelier. Hang a clear feeder framed by hummingbird-friendly blooms like salvia, bee balm, and fuchsia. Aim for a calm, shaded backdrop so their iridescence pops. A shallow water feature nearby adds sparkle and sound. Perfect nectar is crystal clear with a clean, soft sweetness—no caramel hue, no cloudiness.Culinary Context:
Wild flower nectar typically ranges around 20–25% sucrose. This recipe’s 1:4 ratio approximates that natural profile without additives, honoring guidance from leading ornithological groups. The simplicity is its elegance: clarity, purity, and consistency invite repeat visits from migrating and resident hummingbirds.Optional Advanced Instructions:
- Concentrate Method: Make a 1:1 concentrate by boiling 2 cups water with 2 cups sugar until dissolved. Refrigerate up to 2 weeks. To serve, mix 1 cup concentrate + 3 cups cold water to yield 1:4 instantly.
- Sterile Storage: Run your jar and lid through the dishwasher’s hot cycle or submerge in boiling water for 1 minute (100°C / 212°F) before filling.
- No Thermometer? Use visual cues: rolling boil = vigorous, constant bubbles; room temp nectar feels neutral to the touch.
Timing:
- Prep time: 15 minutes (clean feeder 5 minutes + cool nectar ~10 minutes).
- Cook time: 5 minutes (bring to boil 3–4 minutes + dissolve/simmer ~1 minute).
Course:
Beverage (Wildlife/Nectar)Origin:
American backyard birding tradition, inspired by the natural sucrose levels of North American flora. Note: For birds only—do not consume. Keep away from pets and children.Nutrition
Common questions
Can I use a 1:3 ratio instead of 1:4 to give the birds more energy?
Stick with 1:4 — a stronger mix can actually stress hummingbirds by pulling water from their bodies as they digest it. The 1:4 ratio is calibrated to match natural flower nectar, and the birds will visit reliably at that concentration.
My tap water has a strong chlorine smell. Does that affect the nectar?
Boiling the water for a minute or two drives off most chlorine before you add the sugar. If the smell is very strong, a simple pour-through pitcher filter is a cheap fix, but boiling alone handles it for most tap water.
How do I know if the nectar in the feeder has gone bad?
Cloudy or milky nectar, visible black or white specks, or a sour smell all mean it’s time to dump and clean. In temperatures above 80°F, plan to change the nectar every two days regardless of how it looks.
I don’t have a bottle brush. Can I still clean the feeder properly?
Yes — fill the feeder with hot water, add a small handful of uncooked rice, seal it, and shake vigorously; the rice scrubs the interior without scratching. Rinse several times with hot water until no residue remains.
More quick recipes to try
- Perfect Matcha Latte Recipe
- Quick Honey-Swirl Strawberry Smoothie
- Citrus Glow Adrenal Cocktail
- Copycat Orange Julius Recipe