
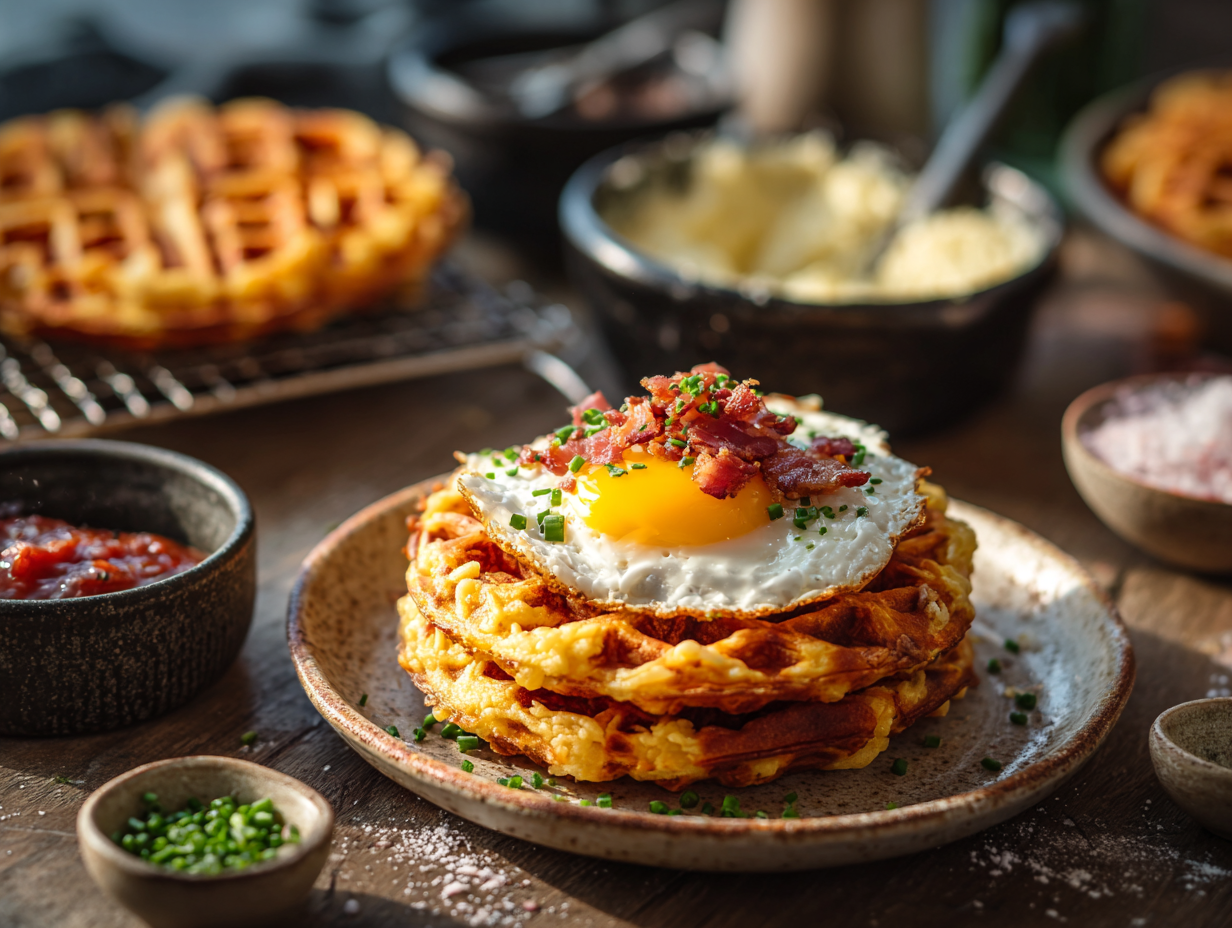
Chaffles are two-ingredient keto waffles — shredded mozzarella and egg — cooked in a waffle iron until the edges are genuinely crispy. This version adds a small amount of almond flour and baking powder to give them enough body to hold up as a sandwich bun or stack for the week. Total time is about 20 minutes, and the batch keeps well, which is the real reason to make them.
What makes this version work
Two things matter here. First, use low-moisture part-skim mozzarella, finely shredded — not fresh mozzarella, not pre-shredded from a bag coated in anti-caking starch. The fine shred melts fast and evenly, which is what creates those crispy lace edges instead of a rubbery center. Second, let the iron do its job: don’t lift the lid early. The chaffle releases cleanly on its own when it’s ready; forcing it open at 3 minutes pulls the cheese apart before it has set. Wait for the steam to slow down, usually around 4 to 5 minutes, and the chaffle will lift out in one piece.
Smart swaps
- Almond flour: Superfine blanched almond flour works best. Regular almond meal is coarser and produces a grainier texture. If you’re avoiding tree nuts, 1 tablespoon of coconut flour can substitute — use half the amount since coconut flour absorbs more liquid.
- Mozzarella: Finely shredded cheddar or a cheddar-mozzarella blend works and adds sharper flavor. Avoid anything labeled “pizza blend” with added starches.
- Egg: No reliable egg-free substitute here — the egg is structural. Room temperature eggs blend into the batter more smoothly than cold ones straight from the fridge.
Make-ahead notes
Cooked chaffles keep in the fridge for up to 4 days in an airtight container with parchment between layers so they don’t stick. For longer storage, freeze them in a single layer on a baking sheet for 1 hour, then transfer to a zip bag — they’ll keep for up to 2 months. Reheat straight from frozen in a toaster on a medium setting; one cycle is usually enough to bring back the crisp edges. Skip the microwave — it makes them soft and a little rubbery, which defeats the point.
Mistakes to avoid
- Overfilling the iron: A mini waffle maker takes about 3 tablespoons of batter. Too much and the batter overflows, burns on the outside of the iron, and the chaffle won’t close properly. Err on the side of less.
- Skipping the preheat: Adding batter to a cold or only partially heated iron means the cheese melts slowly and sticks. Let the iron heat fully — the indicator light should cycle off at least once before you pour.
- Not greasing between batches: The first chaffle often releases fine on residual heat, but by the second or third, the iron gets dry. A quick brush of butter or a light spray between each one prevents tearing.
- Eating them straight off the iron: They firm up as they cool. Give them 2 minutes on a cooling rack before eating or stacking — the exterior crisps noticeably in that window.
- Using pre-shredded bagged cheese: The cellulose coating on most bagged shredded cheese prevents it from melting cleanly, leaving a greasy, uneven result. Shred your own from a block — skip the extra bowl if you want, but don’t skip this step.
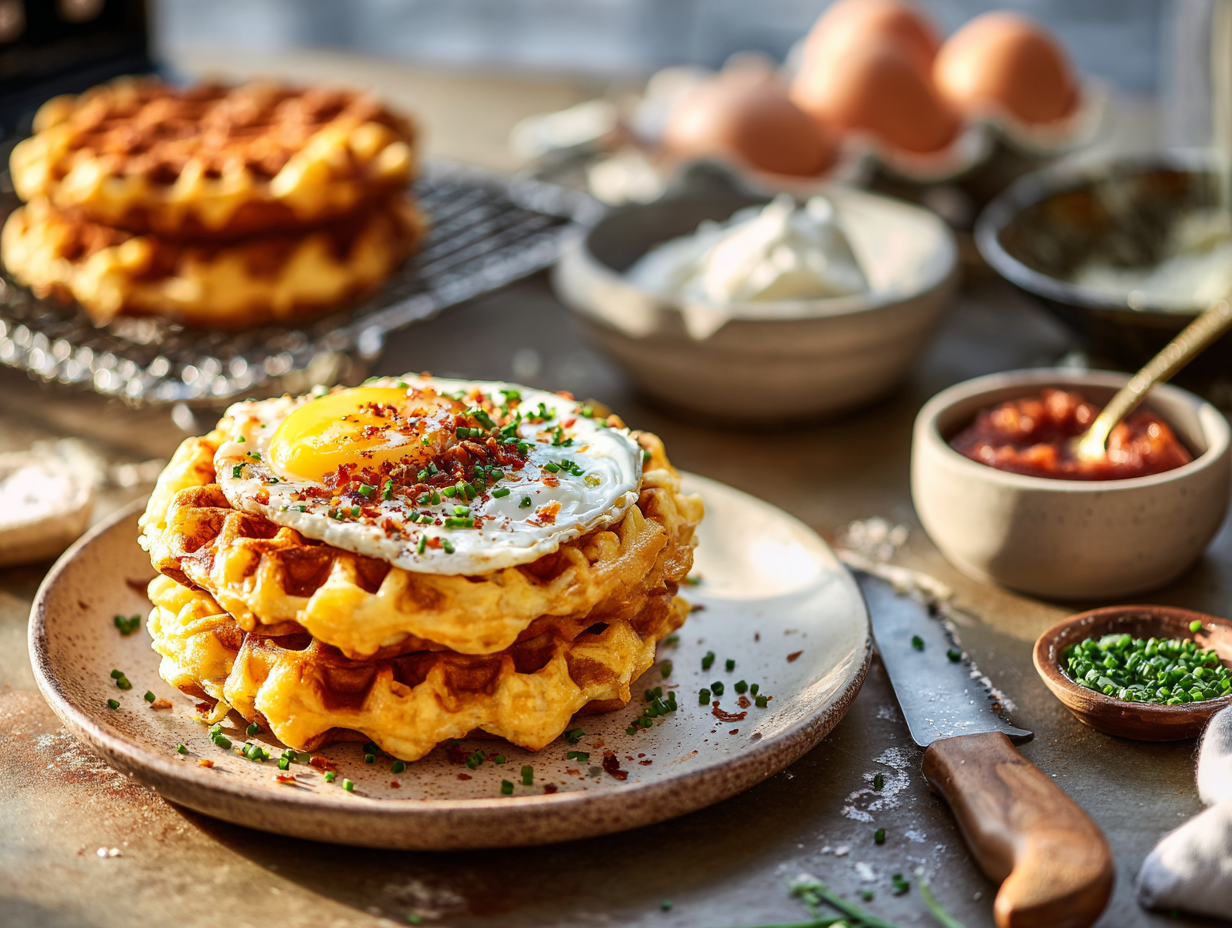
Easy Keto Chaffle Recipe (Crispy, 10-Minute Batter)

Equipment
- Mini waffle maker (e.g., Dash) or standard waffle iron
- Medium mixing bowl
- Whisk
- Rubber spatula
- Measuring cups and spoons
- Silicone pastry brush (for buttering the iron)
- Cooling rack
- Tongs
Ingredients
For the Chaffle Batter:
- 1 large egg, at room temperature
- ½ cup low-moisture part-skim mozzarella, finely shredded about 2 oz; finely shredded melts and binds best
- 2 tbsp blanched superfine almond flour superfine for best texture
- ½ tsp baking powder (aluminum-free)
- ⅛ tsp fine sea salt
- ¼ tsp garlic powder optional, for a savory note
- 1 tbsp grated Parmesan cheese optional, boosts crispness
For the Waffle Iron:
- 1 tsp unsalted butter, melted or avocado oil spray, for greasing
To Finish (optional):
- 1 tbsp fresh chives, finely chopped optional garnish
- 1 pinch crushed red pepper flakes optional, for heat
Instructions
- Preheat the Waffle Maker (3–4 minutes): Plug in your mini waffle maker and allow it to fully preheat until the ready light turns on. If your iron has settings, aim for medium-high—about 375°F (190°C). A thoroughly preheated iron is the key to crisp edges.
- Whisk the Wet, then Add Dry (2 minutes): In a medium bowl, whisk 1 large egg until lightly frothy—about 15–20 seconds. Sprinkle in 2 tbsp almond flour, 1/2 tsp baking powder, 1/8 tsp salt, and 1/4 tsp garlic powder (if using). Whisk until smooth; the batter will be thick but scoopable.
- Fold in the Cheeses (1 minute): Switch to a rubber spatula and fold in 1/2 cup finely shredded mozzarella and 1 tbsp grated Parmesan (if using). Look for a cohesive batter where shreds are evenly coated—no dry pockets.
- Grease the Iron (30 seconds): Lightly brush plates with 1 tsp melted butter (or spritz with avocado oil). A thin, even sheen prevents sticking and helps color.
- Cook the Chaffles (12 minutes total; 3 minutes each × 4): For a mini waffle maker, portion about 1/4 cup batter into the center, then gently spread to the edges. Close and cook 3 minutes, resisting the urge to peek for the first 2 minutes. Visual cue: steam will taper and edges will look deeply golden. Remove with tongs to a cooling rack for maximum crunch. Repeat to make 4 mini chaffles. For a standard iron, use about 1/2 cup batter per chaffle and cook 4–5 minutes.
- Finish and Serve (immediately): Sprinkle with chopped chives and a pinch of red pepper flakes if desired. Chaffles are best hot off the iron while the exterior is audibly crisp.
Notes
Jen’s Tips:
- Crisp Factor: Finely shredded, low-moisture mozzarella is essential; moisture equals softness. The optional Parmesan adds extra snap.
- Extra-Crispy Finish: After cooking 3 minutes, add 30–60 seconds more if you like a darker crust—just watch the steam. You can also re-crisp in a toaster or air fryer at 375°F (190°C) for 1–2 minutes.
- Nut-Free Swap: Replace almond flour with 1 tbsp coconut flour and add 1 tsp water to loosen the batter.
- Sweet Variation (still keto): Omit garlic/Parmesan; add 1–2 tsp allulose or erythritol and 1/4 tsp vanilla extract. Serve with a pat of butter and a few raspberries.
- Bun Duty: Make two slightly paler chaffles and use them as burger or breakfast sandwich buns.
Nutrition
Common questions
Can I make chaffles without a mini waffle maker?
Yes — a standard full-size waffle iron works fine. The chaffle will be thinner and larger, so watch the cook time; it may be done closer to 3 minutes. You can also use a round waffle maker, but the batter amount per well stays the same.
Why is my chaffle sticking to the iron?
The iron wasn’t hot enough when you added the batter, or it wasn’t greased between batches. Brush the plates with a little butter before each chaffle, not just the first one.
Are chaffles actually crispy, or just firm?
The edges get genuinely crispy — similar to the lace edges on a thin grilled cheese. The center stays a little softer, which is normal. Cooling them on a rack for a couple of minutes after cooking makes a real difference to the texture.
How do I use chaffles as a burger bun?
Make two chaffles per serving and let them cool completely on a rack before loading them up — warm chaffles compress and go soft under the weight of fillings. They hold up well to a burger patty, but skip heavy sauces on both sides or the bottom one will get soggy fast.
Can I double or triple the recipe for meal prep?
Yes, and it’s worth doing. Mix a larger batch of batter and cook them back to back — the iron stays hot so each one goes faster than the first. Stack cooled chaffles with parchment between layers and refrigerate for up to 4 days or freeze for up to 2 months.
More quick recipes to try
- Quick Vanilla Cinnamon French Toast
- Weeknight Shakshuka Recipe
- Quick Skillet Garlic Flatbreads
- Diner-Style Patty Melt Recipe