
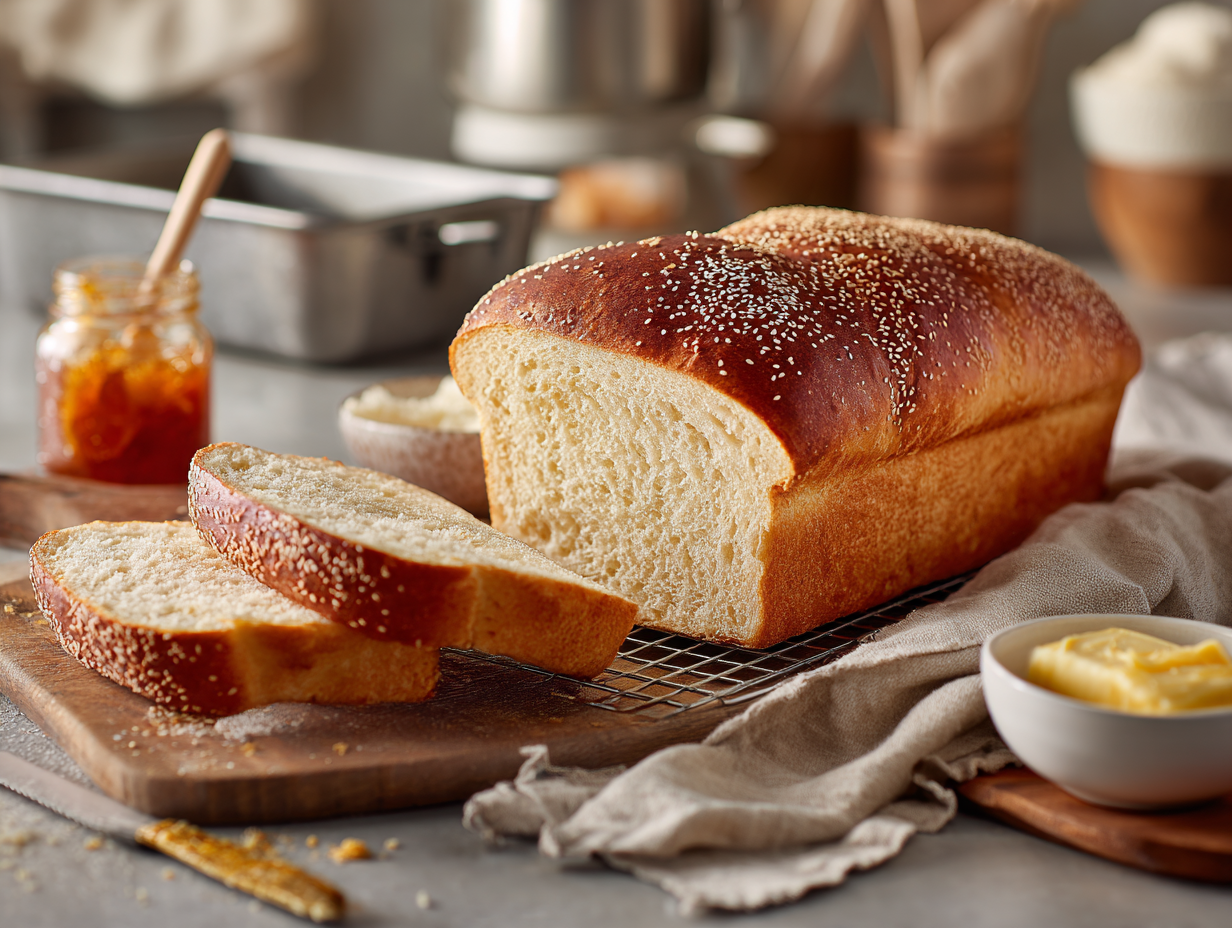
This is a batter-style sandwich bread — no kneading, one short rise, done in 40 minutes start to finish. The loaf slices cleanly, holds sandwich fillings without falling apart, and toasts well the next day. Make it when the store-bought loaf is gone and you don’t want to make a trip.
The short version of why this works
Two things carry this recipe. First, the dough is wet — much wetter than traditional bread dough — so instead of kneading, you beat it. Vigorous mixing develops just enough gluten structure to give the loaf a sliceable crumb without any hand-work. Second, instant yeast at 110–115°F with a little sugar moves fast enough that a 10–12 minute proof is genuinely sufficient for lift. You’re not getting the complex flavor of a long ferment, but you’re getting a real yeast bread with a proper dome and a soft interior, on a weeknight, from pantry staples.
What can go wrong
- Loaf doesn’t rise in the oven: The most common cause is liquid that was too hot — above 120°F kills yeast quickly. If you don’t have a thermometer, test the milk and water on your wrist; it should feel warm, not hot. If your yeast is old, proof it in the warm liquid with the sugar for 5 minutes before adding flour — it should look foamy.
- Dense, gummy center: This usually means underbaking. Oven temperatures vary. The loaf is done when an instant-read thermometer reads 195–200°F in the center, not just when the crust looks golden. If the top is browning too fast, tent loosely with foil and keep baking.
- Batter sticks badly to the pan: Grease the pan thoroughly — butter or neutral oil, including the corners. A light dusting of flour after greasing adds extra insurance, especially with older pans that have lost their nonstick coating.
- Loaf collapses after coming out: The rise was too long or the oven wasn’t fully preheated. Keep the proof to 10–12 minutes and make sure your oven is at 400°F before the pan goes in. Oven spring in the first few minutes of baking is what sets the structure.
Ingredient notes
- Whole milk: 2% works fine. Skim milk produces a slightly less tender crumb but still bakes up well. Non-dairy milks (oat, soy, unsweetened almond) are usable — the loaf will be a little less rich but still sliceable.
- Instant yeast vs. active dry: Active dry yeast works but needs to be proofed first in the warm liquid for 5–10 minutes until foamy. Add about 25% more than the recipe calls for to match the speed of instant.
- All-purpose flour: You can swap up to one cup for whole wheat flour. More than that and the loaf gets heavy. Bread flour also works and gives a slightly chewier crumb — use the same amount.
- Butter: Neutral oil (vegetable, canola) substitutes 1:1 by volume and keeps the loaf soft. Skip the fancy finishing butter on top if you’re low — it adds a nice crust sheen but doesn’t affect the interior at all.
Make-ahead notes
Once fully cooled, wrap the loaf tightly in plastic wrap or store in a zip-lock bag at room temperature — it stays soft for 2 days. After that, the texture starts to dry out, but it toasts well for another day or two. For longer storage, slice the cooled loaf, layer parchment between slices, and freeze in a zip-lock bag for up to 2 months. Pull out individual slices and toast directly from frozen; no thawing needed. Don’t refrigerate the loaf — it goes stale faster in the fridge than on the counter.
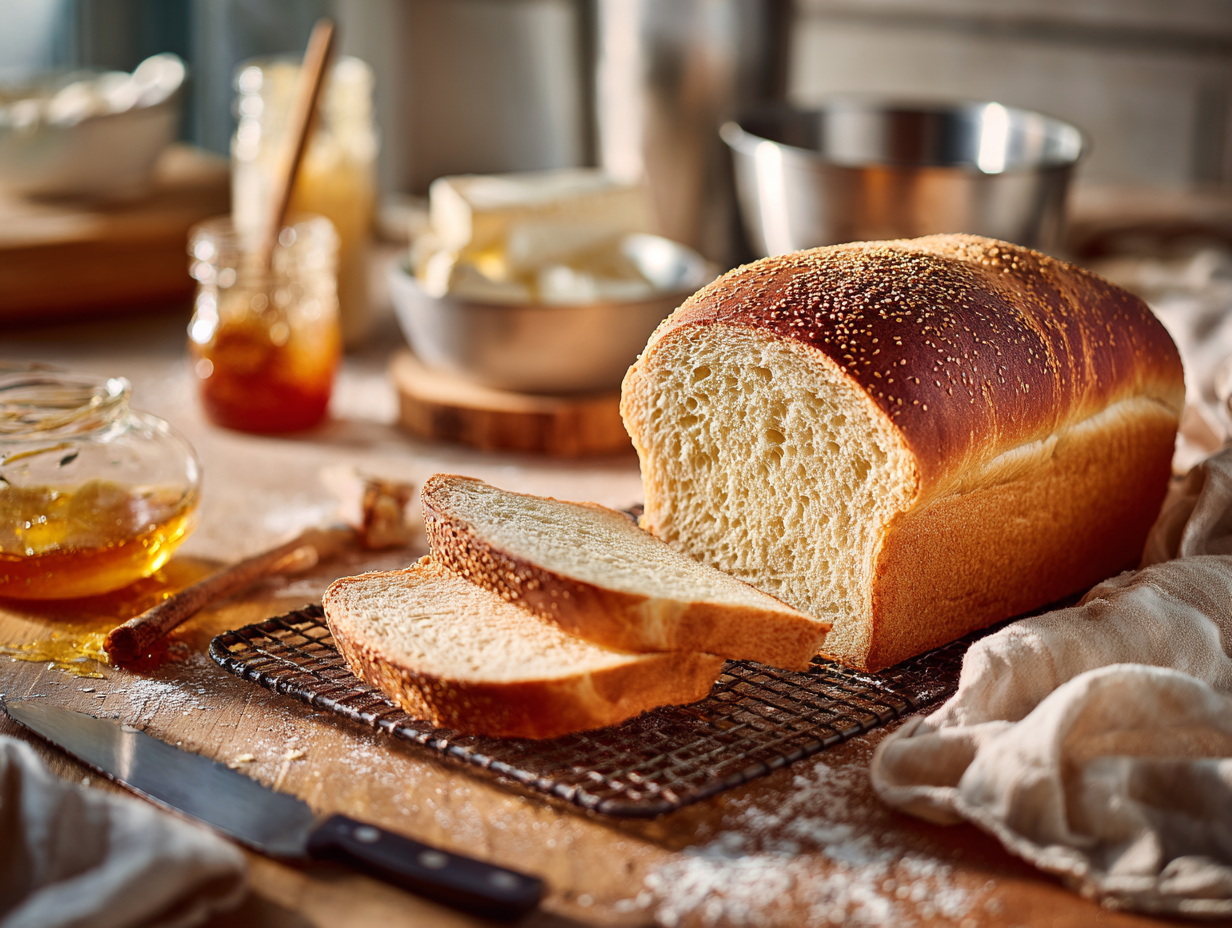
30-Minute Batter-Style Sandwich Bread

Equipment
- 8.5 x 4.5-inch loaf pan (metal preferred)
- Stand mixer or hand mixer (paddle beaters) or sturdy whisk
- Large mixing bowl
- Measuring cups and spoons
- Instant-read thermometer (optional but helpful)
- Silicone spatula
- Pastry Brush (optional)
- Aluminum foil (for tenting, if needed)
- Wire Rack
- Oven mitts
Ingredients
For the Batter:
- 1 cup whole milk, warmed to 110–115°F warm but not hot to the touch; 43–46°C
- ½ cup warm water, 110–115°F 43–46°C
- 1 tbsp granulated sugar helps jump-start the yeast and browning
- 1 tbsp instant yeast (rapid-rise/SAF type) for speed; active dry also works (see tips)
- 3 cups all-purpose flour unbleached preferred for fuller flavor
- 1 ½ tsp kosher salt use 1 tsp if using fine table salt
- 2 tbsp unsalted butter, melted and slightly cooled adds tenderness and flavor
For the Pan and Finish (optional):
- 1 tsp neutral oil or softened butter for greasing the loaf pan
- 1 tbsp milk or melted butter for brushing the top before baking
- 1 tsp sesame seeds or flaky salt optional sprinkle for the crust
Instructions
- Prep the Pan and Oven: Grease an 8.5 x 4.5-inch loaf pan with oil or butter. Preheat the oven to 400°F (205°C). For a speedy rise, create a warm proofing spot: briefly preheat your oven to 200°F (93°C) for 2 minutes, then turn it off and keep the door closed.
- Warm the Liquids: Gently heat the milk and water until they reach 110–115°F (43–46°C). They should feel warm, not hot. Use short microwave bursts or a saucepan; stir and check with an instant-read thermometer for accuracy.
- Activate the Yeast (optional but helpful for speed): In a large bowl, whisk the warm milk, warm water, and sugar, then sprinkle in the instant yeast. Whisk for 30 seconds. Let stand 2–3 minutes until lightly foamy and fragrant with a bready aroma. (Instant yeast can be mixed directly with flour if you prefer.)
- Mix the Batter: Add the flour and salt. Beat vigorously with a stand or hand mixer on medium speed for 2 minutes (or whisk hard by hand for 3 minutes) until the mixture thickens into a glossy, stretchy batter—thicker than cake batter but looser than kneadable dough. Beat in the melted butter for 30 seconds more until fully incorporated and silky.
- Pan and Proof Quickly: Scrape the batter into the prepared pan and smooth the top with a damp spatula. Cover loosely (inverted bowl or lightly oiled foil). Place in your warm spot and let rise until the crown is about 1/2 inch above the rim, 10–12 minutes.Visual Cue: The surface will dome and show a few tiny bubbles.
- Finish and Bake: Uncover. Brush the top with milk or melted butter and sprinkle sesame seeds or flaky salt if using. Bake at 400°F (205°C) for 22–25 minutes until the top is deep golden and the loaf sounds hollow when tapped; internal temperature should read 195–200°F (90–93°C). If browning too quickly, tent with foil after 15 minutes.
- Unmold and Cool: Let the loaf rest in the pan for 5 minutes, then turn out onto a wire rack. Cool at least 10 minutes before slicing for sandwiches. The crumb will slice cleanly once steam dissipates; aroma should be buttery and gently sweet.
- Slice: Use a serrated knife to cut 1/2-inch slices for sturdy sandwiches or thinner slices for toast. Expect a fine, even crumb and tender bite.
Notes
Lisa’s Tips:
- Yeast Choices: Instant yeast is fastest. If using active dry, proof it as written but extend the quick rise to 12–15 minutes.
- Richer Crumb: Add 1 tbsp dry milk powder with the flour for extra softness.
- Whole-Wheat Variation: Swap 1 cup of the all-purpose flour for white whole-wheat; add 1–2 tsp extra water if batter seems stiff.
- Dairy-Free: Use unsweetened oat or almond milk and replace butter with neutral oil.
- Flavor Twists: Stir in 1 tsp onion powder and 1 tsp dried thyme for a savory loaf; or 1 tbsp honey instead of sugar for a rounder sweetness.
- Texture Cue: Batter should ribbon off a spatula and slowly level; if too thick, mix in 1–2 tsp warm water.
Serving Suggestions:
- Classic Sandwich: Layer with crisp lettuce, ripe tomato, and roasted turkey; the slices should flex without tearing.
- Grilled Cheese: The golden crust browns beautifully in a skillet—pair with tomato soup or a bright, tangy pickle.
- Plating: Fan three slices on a board, brush with a whisper of melted butter, and finish with a sprinkle of flaky salt. Look for a uniform, pale-cream crumb with a shiny, thin crust.
Culinary Context:
This quick loaf riffs on mid-20th-century American batter breads—ingenious recipes designed to deliver fresh bread fast with vigorous mixing rather than kneading. The method favors a tender, fine crumb perfect for sandwiches.Optional Advanced Instructions:
- Make-Ahead: Measure dry ingredients in a lidded container up to 2 days in advance. Melt and cool butter ahead.
- Proof Box Hack: Microwave a mug of water for 2 minutes, then place the covered pan in the warm microwave (water removed) to rise.
- Shinier Crust: Brush with egg wash (1 egg beaten with 1 tsp water) before baking.
Timing:
- Prep Time: 15 minutes (0 hours 15 minutes)
- Cooking Time: 25 minutes (0 hours 25 minutes)
- Total Time: 40 minutes (0 hours 40 minutes)
Course:
LunchOrigin:
AmericanNutrition
Frequently asked questions
Can I make this without a stand mixer or hand mixer?
Yes — a sturdy whisk or wooden spoon works, but you need to beat the batter hard for about 2 full minutes to develop enough structure. The batter should look smooth and slightly stretchy when you’re done; if it still looks shaggy and floury, keep going.
My kitchen is cold. Will the bread still rise in 10–12 minutes?
Probably not in 10 minutes, but it will get there — just give it up to 20 minutes and watch the dough rather than the clock. A useful trick: turn your oven on for 60 seconds, turn it off, then set the covered pan inside to proof. The residual warmth is usually enough without overheating.
Can I double the recipe to make two loaves?
Yes, doubling works well. Mix the full batch in one large bowl, then divide the batter evenly between two greased 8.5 x 4.5-inch pans before proofing. Baking time stays the same — check both loaves at the 20-minute mark and use a thermometer to confirm doneness since ovens heat unevenly with two pans.
More quick recipes to try
- Quick Soft Pretzels
- Quick Skillet Garlic Flatbreads
- Classic Southern Ham Salad
- Diner-Style Patty Melt Recipe