
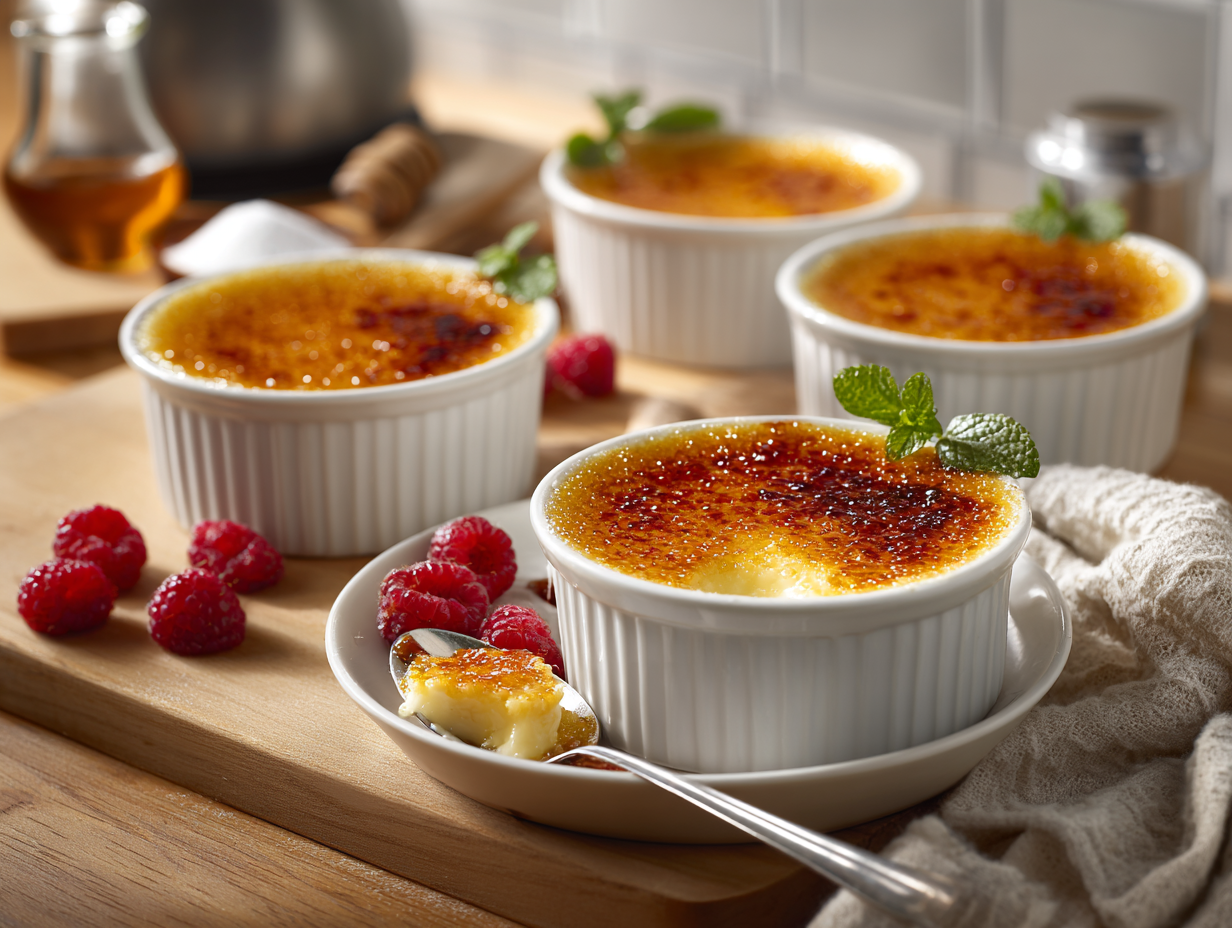
This is crème brûlée made with shallow 4-oz ramekins and a hot water bath, which cuts oven time to about 25 minutes and gets the whole thing done in roughly 35 minutes total. The custard is vanilla-forward and genuinely creamy, and the torched sugar top shatters the way it should. If you want a restaurant-quality dessert on a Tuesday without clearing your whole evening, this is the one to make.
The technique that matters
Two things make or break this recipe. First, temper the eggs slowly — pour the warm cream into the yolks in a thin, steady stream while whisking constantly. Pour too fast and you’ll scramble the eggs before the custard even hits the oven. Second, the water bath needs to come at least halfway up the sides of the ramekins. Less than that and the edges of the custard will set and tighten before the center catches up, giving you a rubbery ring around a jiggly middle. Shallow ramekins already speed things up considerably, but the water level is what keeps the heat even across the whole custard. Both steps take about 90 extra seconds and are not optional.
Substitutions that actually work
- Vanilla bean paste vs. a whole bean: Vanilla bean paste is a direct swap at 2 teaspoons and gives you the same flecks and flavor. It’s also faster — no splitting or scraping required.
- Orange zest: This is genuinely optional. Skip it if you don’t have an unwaxed orange on hand; the custard stands on its own without it.
- Heavy cream fat content: Stay at 36–40% milkfat. Half-and-half will produce a looser custard that may not fully set in the shorter bake time this recipe uses.
- Sugar for the top: Regular granulated sugar works well and caramelizes evenly. Skip the garnish — not worth the extra dish.
Storage and reheating
Store baked, un-torched custards covered tightly with plastic wrap in the refrigerator for up to 3 days. Add the sugar and torch right before serving — a pre-torched top will soften and lose its crunch within 30 minutes. Crème brûlée does not freeze well; the custard weeps and the texture turns grainy once thawed. There’s no reheating step — serve the custard cold straight from the fridge, then torch the top immediately before it hits the table.
If something goes sideways
- Custard is still liquid after 25 minutes: Oven temperatures vary. Give it 3–5 more minutes and check again — it should have a slight wobble in the very center but look set at the edges. If your ramekins are deeper than 4 oz, add 8–10 minutes to the bake time.
- Surface has small bubbles or looks foamy: This happens when the cream was poured too quickly or the mixture was whisked too vigorously. Skim the foam off the top of the strained custard before pouring into ramekins and it won’t show up in the finished dish.
- Sugar won’t caramelize — it just melts and pools: The torch is probably too far away or moving too slowly. Hold it 2–3 inches from the surface and keep it moving in small circles. If the sugar is wet or humid, pat the top of the custard dry with a paper towel before sprinkling.
- Custard cracked on top: The oven was too hot or the water bath ran dry. Cracks don’t affect flavor, but the sugar layer won’t sit as evenly. Next time, check the water level halfway through and top it off with hot water if needed.
- Eggy or curdled texture: The cream was too hot when it hit the yolks, or the custard overbaked. Pull the ramekins when the center still has a slight jiggle — carryover heat will finish the job as they cool.
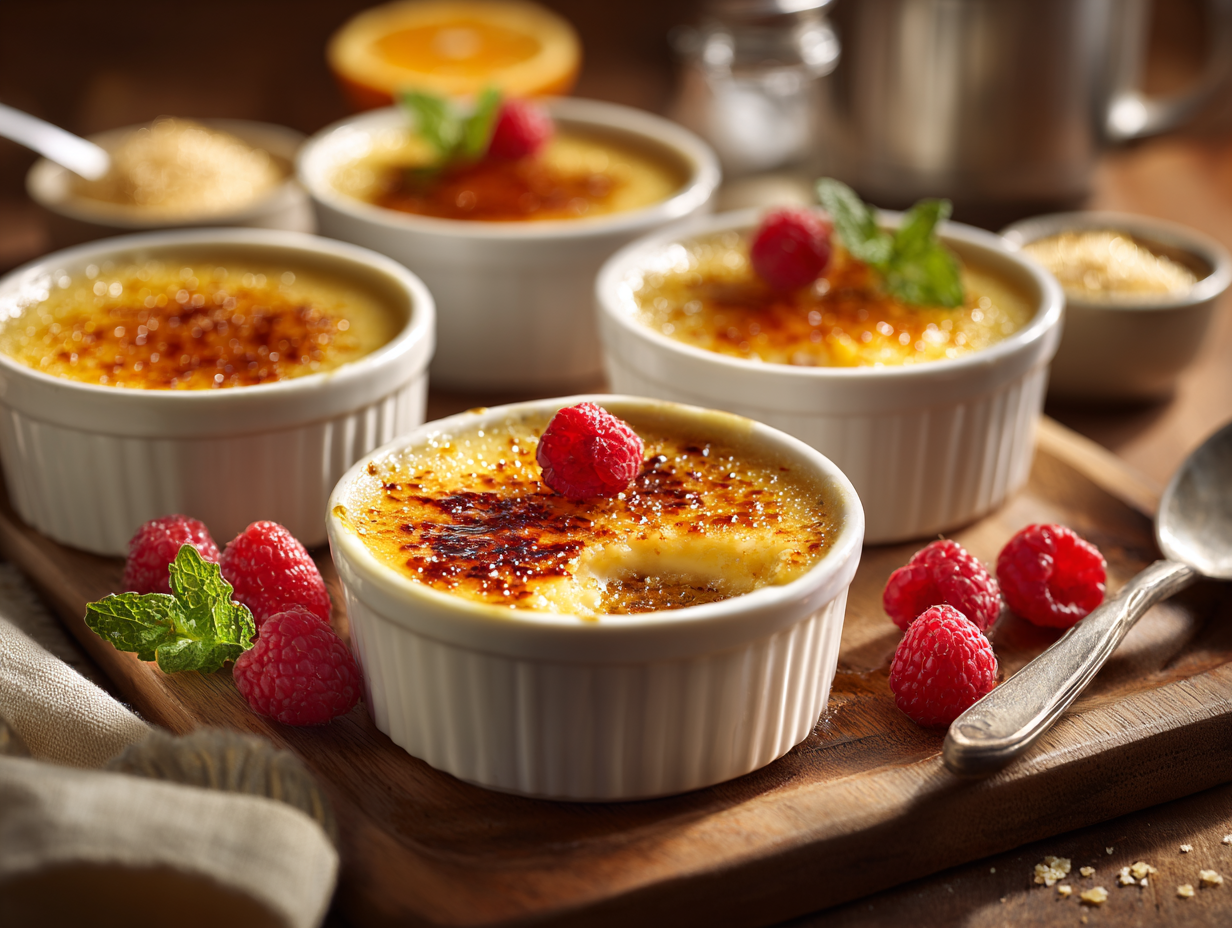
Quick Classic Crème Brûlée (30-Minute Creme Brulee Recipe)

Equipment
- 4 shallow 4-oz ramekins
- Kitchen torch
- Heatproof baking dish or roasting pan
- Kettle or saucepan for boiling water
- Medium saucepan
- Mixing bowl
- Whisk
- Fine mesh strainer
- Measuring cups and spoons
- Tongs and kitchen towel
- Instant-read thermometer (optional)
Ingredients
- 2 cups heavy cream 36–40% milkfat; high-quality dairy recommended
- 1 piece vanilla bean, split and scraped or 2 tsp vanilla bean paste
- 1 strip orange zest (optional) about 3 inches; from unwaxed orange
- ⅛ tsp fine sea salt balances sweetness
- 5 pieces egg yolks room temperature
- ⅓ cup granulated sugar for custard
- 1 tsp bourbon or dark rum (optional) enhances vanilla
- 4 cups near-boiling water for bain-marie
- 4 tsp granulated sugar for brûlée topping; ~1 tsp per ramekin
- 2 tsp demerara sugar (optional) mix with granulated for extra crunch
Instructions
- Preheat and Prepare the Bath: Heat oven to 325°F (163°C). Set a kettle of water to boil. Arrange 4 shallow 4-oz ramekins in a heatproof baking dish; place a folded kitchen towel in the bottom to prevent slipping and promote gentle, even heat.
- Infuse the Cream: In a medium saucepan, combine 2 cups heavy cream, the split vanilla bean (scraped seeds and pod), orange zest (optional), and 1/8 tsp fine sea salt. Warm over medium heat until steaming with tiny bubbles at the edges, 3–4 minutes—do not boil. Remove from heat and let steep 2 minutes. Discard the zest and vanilla pod (seeds stay in).
- Whisk Yolks and Sugar: In a mixing bowl, whisk 5 large egg yolks with 1/3 cup granulated sugar until thickened and slightly pale, 30–60 seconds. Aim for ribbons that slowly fall off the whisk; avoid whipping in too much foam.
- Temper the Custard: While whisking constantly, slowly drizzle the hot cream into the yolk mixture. Whisk just to combine. Stir in 1 tsp bourbon (optional). Strain through a fine-mesh strainer into a spouted pitcher to remove any chalazae and bubbles. Skim surface foam with a spoon for a satin finish.
- Fill Ramekins: Divide the custard evenly among the ramekins. Pop any surface bubbles by briefly touching with the torch flame or by skimming with a paper towel corner.
- Water Bath and Bake: Slide the baking dish onto the middle oven rack. Carefully pour near-boiling water into the dish to come halfway up the ramekins. Bake at 325°F (163°C) for 18–22 minutes until the edges are set and centers wobble like soft gelatin when gently nudged. An instant-read thermometer should read about 170–175°F (77–79°C) at the center.
- Cool Quickly: Using tongs, transfer ramekins to a wire rack. Cool 5 minutes, then set into an ice bath for 10 minutes to quick-set. Dry the bottoms before brûléeing.
- Caramelize the Tops: Sprinkle about 1 tsp granulated sugar (optionally mixed with a little demerara) evenly over each custard. Use a kitchen torch in small, continuous circles to melt and caramelize the sugar, 30–45 seconds per ramekin, until amber to deep mahogany. For a broiler alternative, place all ramekins 6 inches (15 cm) from the element and broil 3–5 minutes, rotating as needed.
- Set the Glass: Let the caramel rest 2 minutes to harden. Serve warm with a cool, creamy center, or chill up to 30 minutes for a crisper cap.
- Presentation: Wipe ramekin rims, add 2–3 raspberries or a thin strawberry fan, and a tiny mint leaf. Listen for that delightful crack when tapped.
Notes
Jen’s Tips:
- Use Shallow Ramekins: More surface area sets quicker and gives a generous caramel top.
- Don’t Boil the Cream: Heat just to steaming; boiling can curdle eggs when tempering.
- Skim Bubbles: After straining, skim any foam for a glass-smooth custard.
- Torch Technique: Keep the flame moving in small circles to melt, then caramelize evenly without burning.
- No Torch? Broil 3–5 minutes, door ajar, rotating the pan for even color.
- Flavor Twists: Swap orange zest for lemon or a split tonka bean; or infuse a cinnamon stick for 5 minutes and remove before tempering.
- Dairy-Free: Use full-fat coconut milk and add 1 extra yolk for a richer set; flavor will be coconut-forward.
- For best texture, avoid boiling the cream and don’t overbake; slight jiggle is perfect.
- Chilling overnight deepens flavor, but this quick method delivers a beautiful classic in one sitting.
Serving Suggestions:
Serve each ramekin on a small plate with a napkin ring, the caramel glistening from amber to mahogany. Garnish with 2 or 3 fresh raspberries or a single macerated strawberry slice and a tiny mint leaf. The perfect brûlée shatters audibly when tapped with a spoon, releasing aromatic vanilla steam. Pair with espresso, brut Champagne, or Sauternes.Culinary Context:
Crème brûlée (literally “burnt cream”) has deep French roots with cousins across Europe (think Catalan crema). The drama is in the last-second fire—a playful tableside ritual I fell in love with during my first Paris staging. This streamlined version keeps the soul of the classic while suiting a home kitchen timeline.Optional Advanced Instructions:
- Make-Ahead Base: Whisk and strain the custard up to 24 hours ahead; refrigerate covered. Bake as directed when ready.
- Rapid-Chill Hack: After baking, set ramekins into an ice bath for 10 minutes, then dry the bottoms and brûlée.
- Broiler Method: Place ramekins on a preheated sheet under a broiler 6 inches (15 cm) from the element; sugar melts in 3–5 minutes. Rotate for even color.
Timing:
Prep Time: 10 minutesCook Time: 25 minutes
Total Time: 35 minutes (plus optional 10 minutes rapid chill; not included in cook time)
Course:
DessertCuisine / Origin:
FrenchNutrition
Frequently asked questions
Do I really need a kitchen torch, or can I use the broiler?
A kitchen torch gives you much better control and is strongly recommended here. A broiler can work in a pinch — place the ramekins on the top rack under a very hot broiler for 2–3 minutes — but it also warms the custard underneath, which softens the texture you worked to achieve.
Can I make this ahead of time?
Yes — bake the custards up to 3 days ahead and keep them covered in the fridge. Add the sugar and torch them right before serving, which takes under 2 minutes per ramekin.
How do I know when the custard is done baking?
The edges should look fully set and the center should wobble like firm Jell-O when you gently shake the pan — not slosh like liquid. If you have an instant-read thermometer, the center should read 170–175°F.
What to cook next
- Quick French Cream Puffs
- Quick Sicilian Cannoli Recipe
- Silky Chocolate Cream Pie
- Quick No-Yeast Beignets