
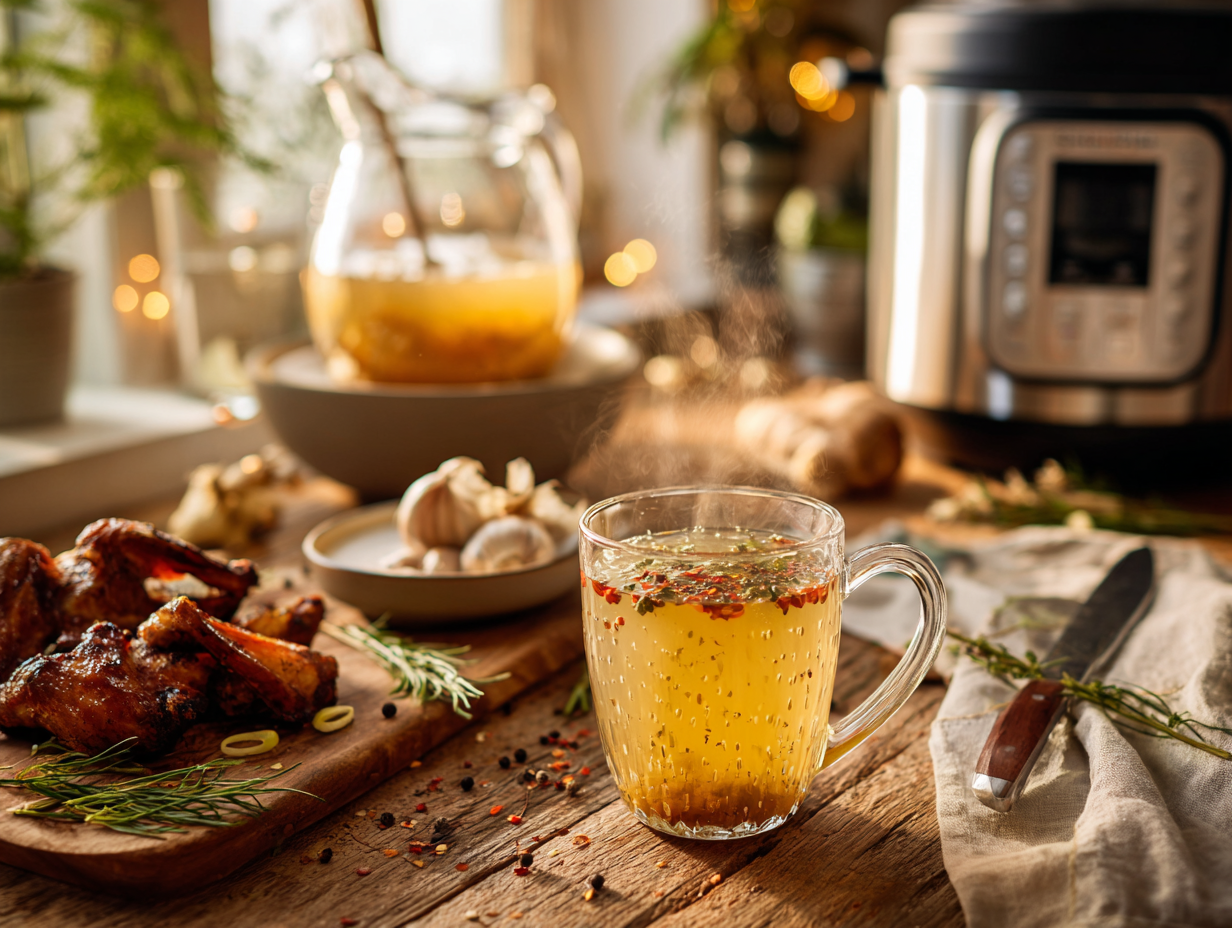
This is a pressure cooker bone broth that goes from raw bones to strained, golden stock in under an hour. The honest reason to make it tonight: homemade broth freezes well, scales easily, and makes every soup, grain, or pan sauce you cook this week taste noticeably better than anything from a carton.
The technique that matters
Hard-searing the bones before adding any liquid is the step that separates flat-tasting broth from something genuinely rich. You want real browning — not just a little color, but a deep golden crust on the bones and some stuck fond on the pot bottom. That fond dissolves into the broth during pressure cooking and provides flavor that extra cook time alone cannot replicate. The second thing that matters is a full natural pressure release rather than a quick one; venting too fast can cloud the broth and drive off some of the aromatic compounds you just spent time building. Both steps take only a few extra minutes and make a real difference in the finished result.
Shopping notes
- Chicken wings and carcasses: Wings are easy to find year-round, but ask your butcher for backs or frames — they’re cheaper and often have more collagen-rich connective tissue. Freeze carcasses from roast chickens until you have enough for a batch.
- Apple cider vinegar: Any grocery-store ACV works fine here. Skip the expensive raw or cloudy versions — the difference disappears entirely under pressure.
- Onion skins: These are genuinely useful, not a gimmick. They add color and a mild savory depth. Save them in a zip-lock in the freezer as you cook through onions during the week.
- Fresh ginger: No need to peel it. A few unpeeled coins add brightness without any prep fuss. Ground ginger is not a workable substitute here — the flavor reads as flat and slightly dusty in broth.
Storage and reheating
Strain the broth into a wide, shallow container and let it cool uncovered at room temperature for no more than 30 minutes, then refrigerate. It keeps in the fridge for up to 5 days. Once chilled, the fat will solidify on top — you can lift it off in one piece if you want a cleaner broth, or stir it back in for richer flavor. For longer storage, freeze in 1-cup or 2-cup portions; a standard muffin tin works well for smaller amounts. Frozen broth keeps for 3 months with no quality loss. Reheat straight from frozen in a small saucepan over medium-low, or microwave in 90-second intervals. Bring it to a full simmer before using it as a cooking liquid.
If something goes sideways
- Broth is thin and watery, not gelatinous: The bones-to-water ratio was likely off — too much water dilutes the collagen. Next batch, reduce the water by a cup or use more bones. You can also simmer the finished broth uncovered on the stovetop for 15–20 minutes to concentrate it.
- Broth tastes flat or bland: It probably needs salt — broth made without salt often tastes like nothing until you season it. Add salt gradually and taste as you go. If salt doesn’t fix it, the bones may not have been seared long enough to build fond.
- Broth is cloudy or murky: Most likely caused by a rapid pressure release or by boiling too aggressively after straining. Cloudiness doesn’t affect flavor or safety, but if clarity matters — say, you’re serving it as a sipping broth for a group — strain it a second time through a fine mesh strainer lined with a paper towel or cheesecloth.
- Pressure cooker won’t come to pressure: The sealing ring is the usual culprit. Check that it’s seated evenly in the lid and that the steam valve is set to sealing, not venting. Also confirm there’s enough liquid — the pot needs at least 1½ cups of water to build pressure safely.
- Strong off-flavor or bitterness: Overcooked aromatics, especially garlic, can turn bitter under extended pressure. Stick to the recipe’s cook time and avoid adding extra garlic beyond what’s called for. Onion skins from very old or sprouting onions can also contribute bitterness — use fresh ones.
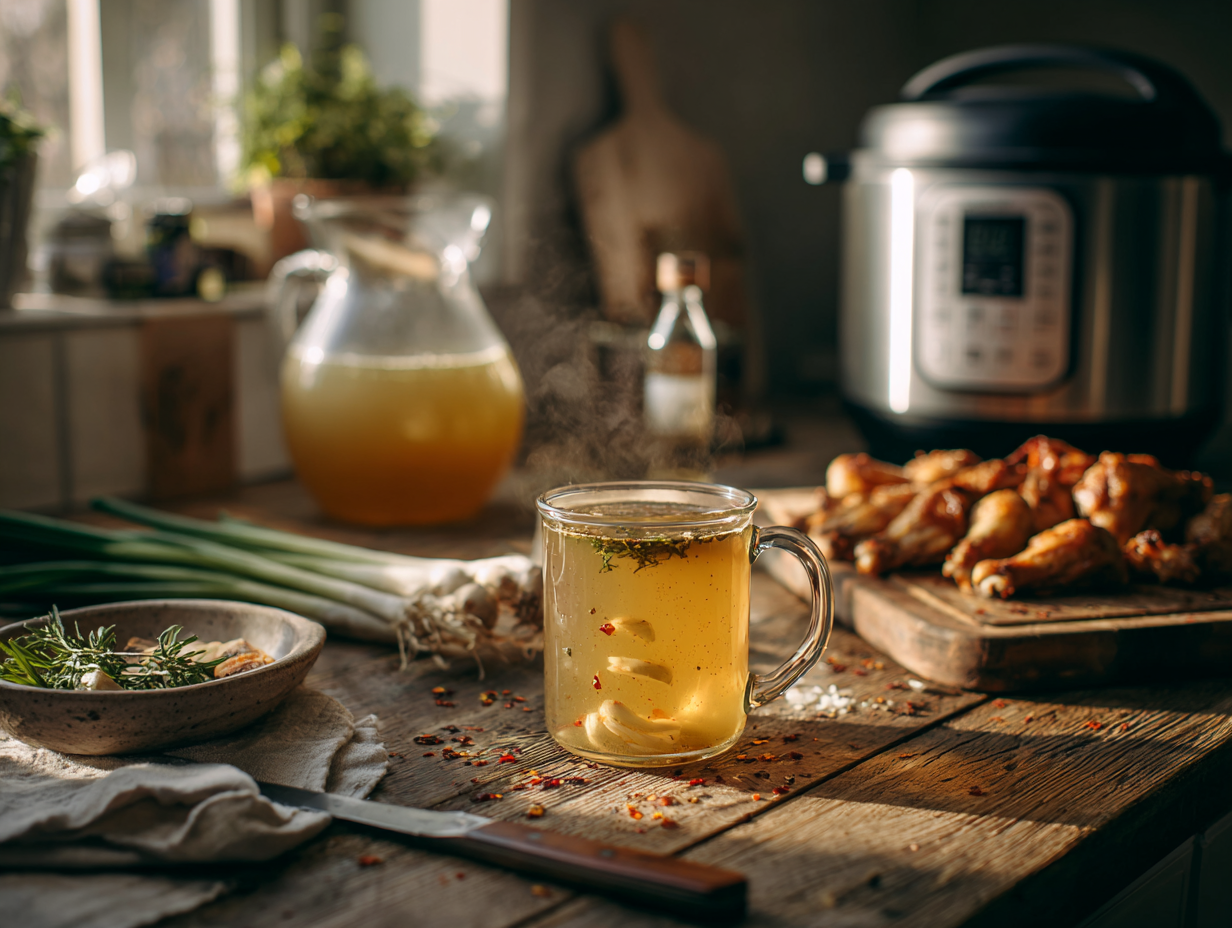
Weeknight Pressure Cooker Bone Broth (Deep Flavor in Under an Hour)

Equipment
- 6-quart electric pressure cooker (e.g., Instant Pot)
- Fine mesh strainer
- Heatproof bowl or pitcher
- Tongs
- Wooden spoon
- Ladle
- Cutting board
- Chefs Knife
- Skimmer or large spoon
- Fat separator (optional)
Ingredients
- 1 tablespoon neutral oil avocado or canola; helps browning
- 2 pounds chicken wings tips on; high in collagen; patted dry for better browning
- 1 whole rotisserie chicken carcass optional; stripped of meat; adds roasted depth. If skipping, add 1 more pound wings
- 1 medium yellow onion unpeeled, quartered; skins add color and antioxidants
- 2 medium carrots scrubbed, cut into 2-inch pieces
- 2 ribs celery cut into 2-inch pieces; leaves welcome
- 4 cloves garlic lightly smashed to release oils
- 1 piece fresh ginger thinly sliced; optional but brightens the aroma
- 2 tablespoons raw apple cider vinegar helps extract minerals and gelatin; Bragg recommended
- 8 cups cold water or to the cooker’s max fill line for pressure cooking liquids
- 1 teaspoon whole black peppercorns gently cracks with simmering; adds warm spice
- 2 pieces bay leaves preferably Turkish bay for softer flavor
- 2-6 pieces sprigs thyme or parsley stems stems carry big flavor; save the leaves for garnish elsewhere
- 1 teaspoon kosher salt plus more to taste at the end; Diamond Crystal preferred
- 1 tablespoon fish sauce optional umami booster; Red Boat recommended
- 1 teaspoon soy sauce or tamari optional; rounds saltiness and adds color
Instructions
- Heat the Pot: Set the pressure cooker to Sauté (High). Add the oil and heat until the surface shimmers, about 2 minutes. A hot pot jump-starts browning and flavor.
- Brown the Bones (5 minutes): Add chicken wings and the carcass in a single layer. Sear, turning occasionally, until golden brown with browned bits (fond) forming on the bottom, about 5 minutes. You should smell roasted chicken and see caramelized edges. Avoid overcrowding; brown in two batches if needed.
- Aromatics (2 minutes): Add onion, carrots, celery, garlic, and ginger. Cook, stirring, until glossy and fragrant, about 2 minutes. The fond will darken to a deep brown—this is flavor.
- Deglaze (1 minute): Pour in the apple cider vinegar and 1 cup of the water. Scrape the bottom thoroughly with a wooden spoon to dissolve the fond. This prevents the burn warning and dissolves savory sugars into the liquid.
- Load and Pressure Cook (25 minutes on High): Add remaining water, peppercorns, bay leaves, and parsley stems. Lock the lid, set to High Pressure for 25 minutes. The cooker will take a few minutes to come to pressure; once it does, your kitchen will carry a gentle roasted aroma.
- Controlled Release (about 8 minutes total): Allow a natural release for 5 minutes, then quick-release the remaining pressure (2–4 minutes). Keep your hands and face away from the steam valve.
- Strain and Season (2–3 minutes): Open the lid; you should see a glossy, clear golden broth with beadlets of fat on top. Strain through a fine-mesh strainer into a heatproof bowl or pitcher. Stir in 1 teaspoon kosher salt, then taste. Add more salt as needed, plus fish sauce and soy/tamari if using for deeper umami. For a richer mouthfeel, whisk vigorously to emulsify a little fat into the broth; for a cleaner finish, skim or use a fat separator.
- Optional Reduction (not included in cook time): For a more concentrated broth, simmer uncovered on Sauté (Low) to a gentle burble at about 190–200°F (88–93°C) for 5–10 minutes to reduce by roughly 25%.
- Optional Alternative for Extra Roastiness: Before Step 1, roast the wings and carcass on a sheet pan at 450°F (232°C) for 12–15 minutes until mahogany-brown; then proceed. This adds time but intensifies flavor.
Notes
Lisa’s Tips:
- Max Collagen, Minimal Time: Wings and carcasses have lots of connective tissue and exposed joints, releasing gelatin quickly. For even more body, add 4 chicken feet (cleaned) if available.
- No Pressure Cooker? Simmer covered on the stovetop: bring to a bare simmer, then cook gently for 2–2 1/2 hours. Keep the surface at tiny, lazy bubbles to avoid cloudiness.
- Clarity Vs. Richness: For crystal-clear broth, avoid boiling and don’t stir once pressure cooking starts. For a silkier mouthfeel, whisk a little fat back in before serving.
- Salt Smart: Season lightly at first if you plan to reduce or use the broth in sauces; concentrate will amplify saltiness.
- Flavor Variations: Swap parsley for thyme, add a 2-inch strip of lemon peel, or include 1 dried shiitake for savory depth.
- Storage: Chill quickly, then refrigerate up to 5 days or freeze up to 3 months. Freeze in ice-cube trays for drop-in flavor bombs.
Serving Suggestions:
- Sipping: Serve in pre-warmed mugs. Garnish with thin-sliced scallions, a crack of black pepper, and a few drops of chili oil. Look for a clear, golden hue with a gentle sheen.
- Soup Starter: Bring to a simmer and add quick-cooking noodles, baby spinach, and shredded leftover chicken for a 10-minute soup.
- Grains & Sauces: Use as the cooking liquid for rice, or reduce to glaze roasted vegetables or pan-seared mushrooms.
Culinary Context:
Every cuisine has its restorative broth—from French fonds to Japanese torigara and Chinese bone soups. This version leans Modern American in technique, borrowing pressure-cooker efficiency from restaurant prep to deliver long-simmered character on a weeknight timeline. I began making it after late services, chasing the same comfort I grew up with—but faster.Optional Advanced (Prep Ahead):
- Roast Ahead: Roast bones at 450°F (232°C) for 20 minutes and refrigerate up to 2 days; your broth will develop deeper mahogany notes.
- Chill and Clarify: Refrigerate overnight, lift the fat cap, and rewarm gently for a pristine, clean-tasting broth.
Timing:
- Prep Time: 10 minutes (0:10)
- Cook Time: 43 minutes (0:43)
- Total Time: 53 minutes (0:53)
Nutrition
Common questions
Can I double the recipe to make a bigger batch?
Yes, and it’s one of the best reasons to own a pressure cooker. Double all the ingredients but do not exceed the max fill line on your pot — typically two-thirds full for liquid-heavy recipes. The cook time stays exactly the same; pressure cooking doesn’t scale up the way stovetop simmering does.
Do I have to roast or blanch the bones first, or is the sear in the pot enough?
The in-pot sear is enough for good flavor. Oven-roasting first produces a slightly deeper, more complex result, but it adds 30–40 minutes and another pan to wash — skip it on a weeknight. If you want to go that route for a special occasion, roast bones at 425°F for 30 minutes before starting the recipe.
How do I know if the broth has enough gelatin in it?
Refrigerate a small amount and check it after 2 hours — it should wobble like loose Jell-O, not slosh like water. If it stays liquid when cold, the collagen extraction was incomplete, usually because there wasn’t enough connective-tissue-rich material in the pot. Add more wing tips or joints next time.
Can I use this broth as a base for soup right away, or does it need to be chilled first?
You can use it immediately straight from the pot. Chilling first is only necessary if you want to remove the fat layer before using it, or if you’re storing it. For a quick weeknight soup, strain it, season it, and go.
What to cook next
- Quick Chicken Noodle Soup
- Quick Smoky Weeknight Chili
- Quick Weeknight Pho Recipe
- Weeknight Hamburger Soup Recipe